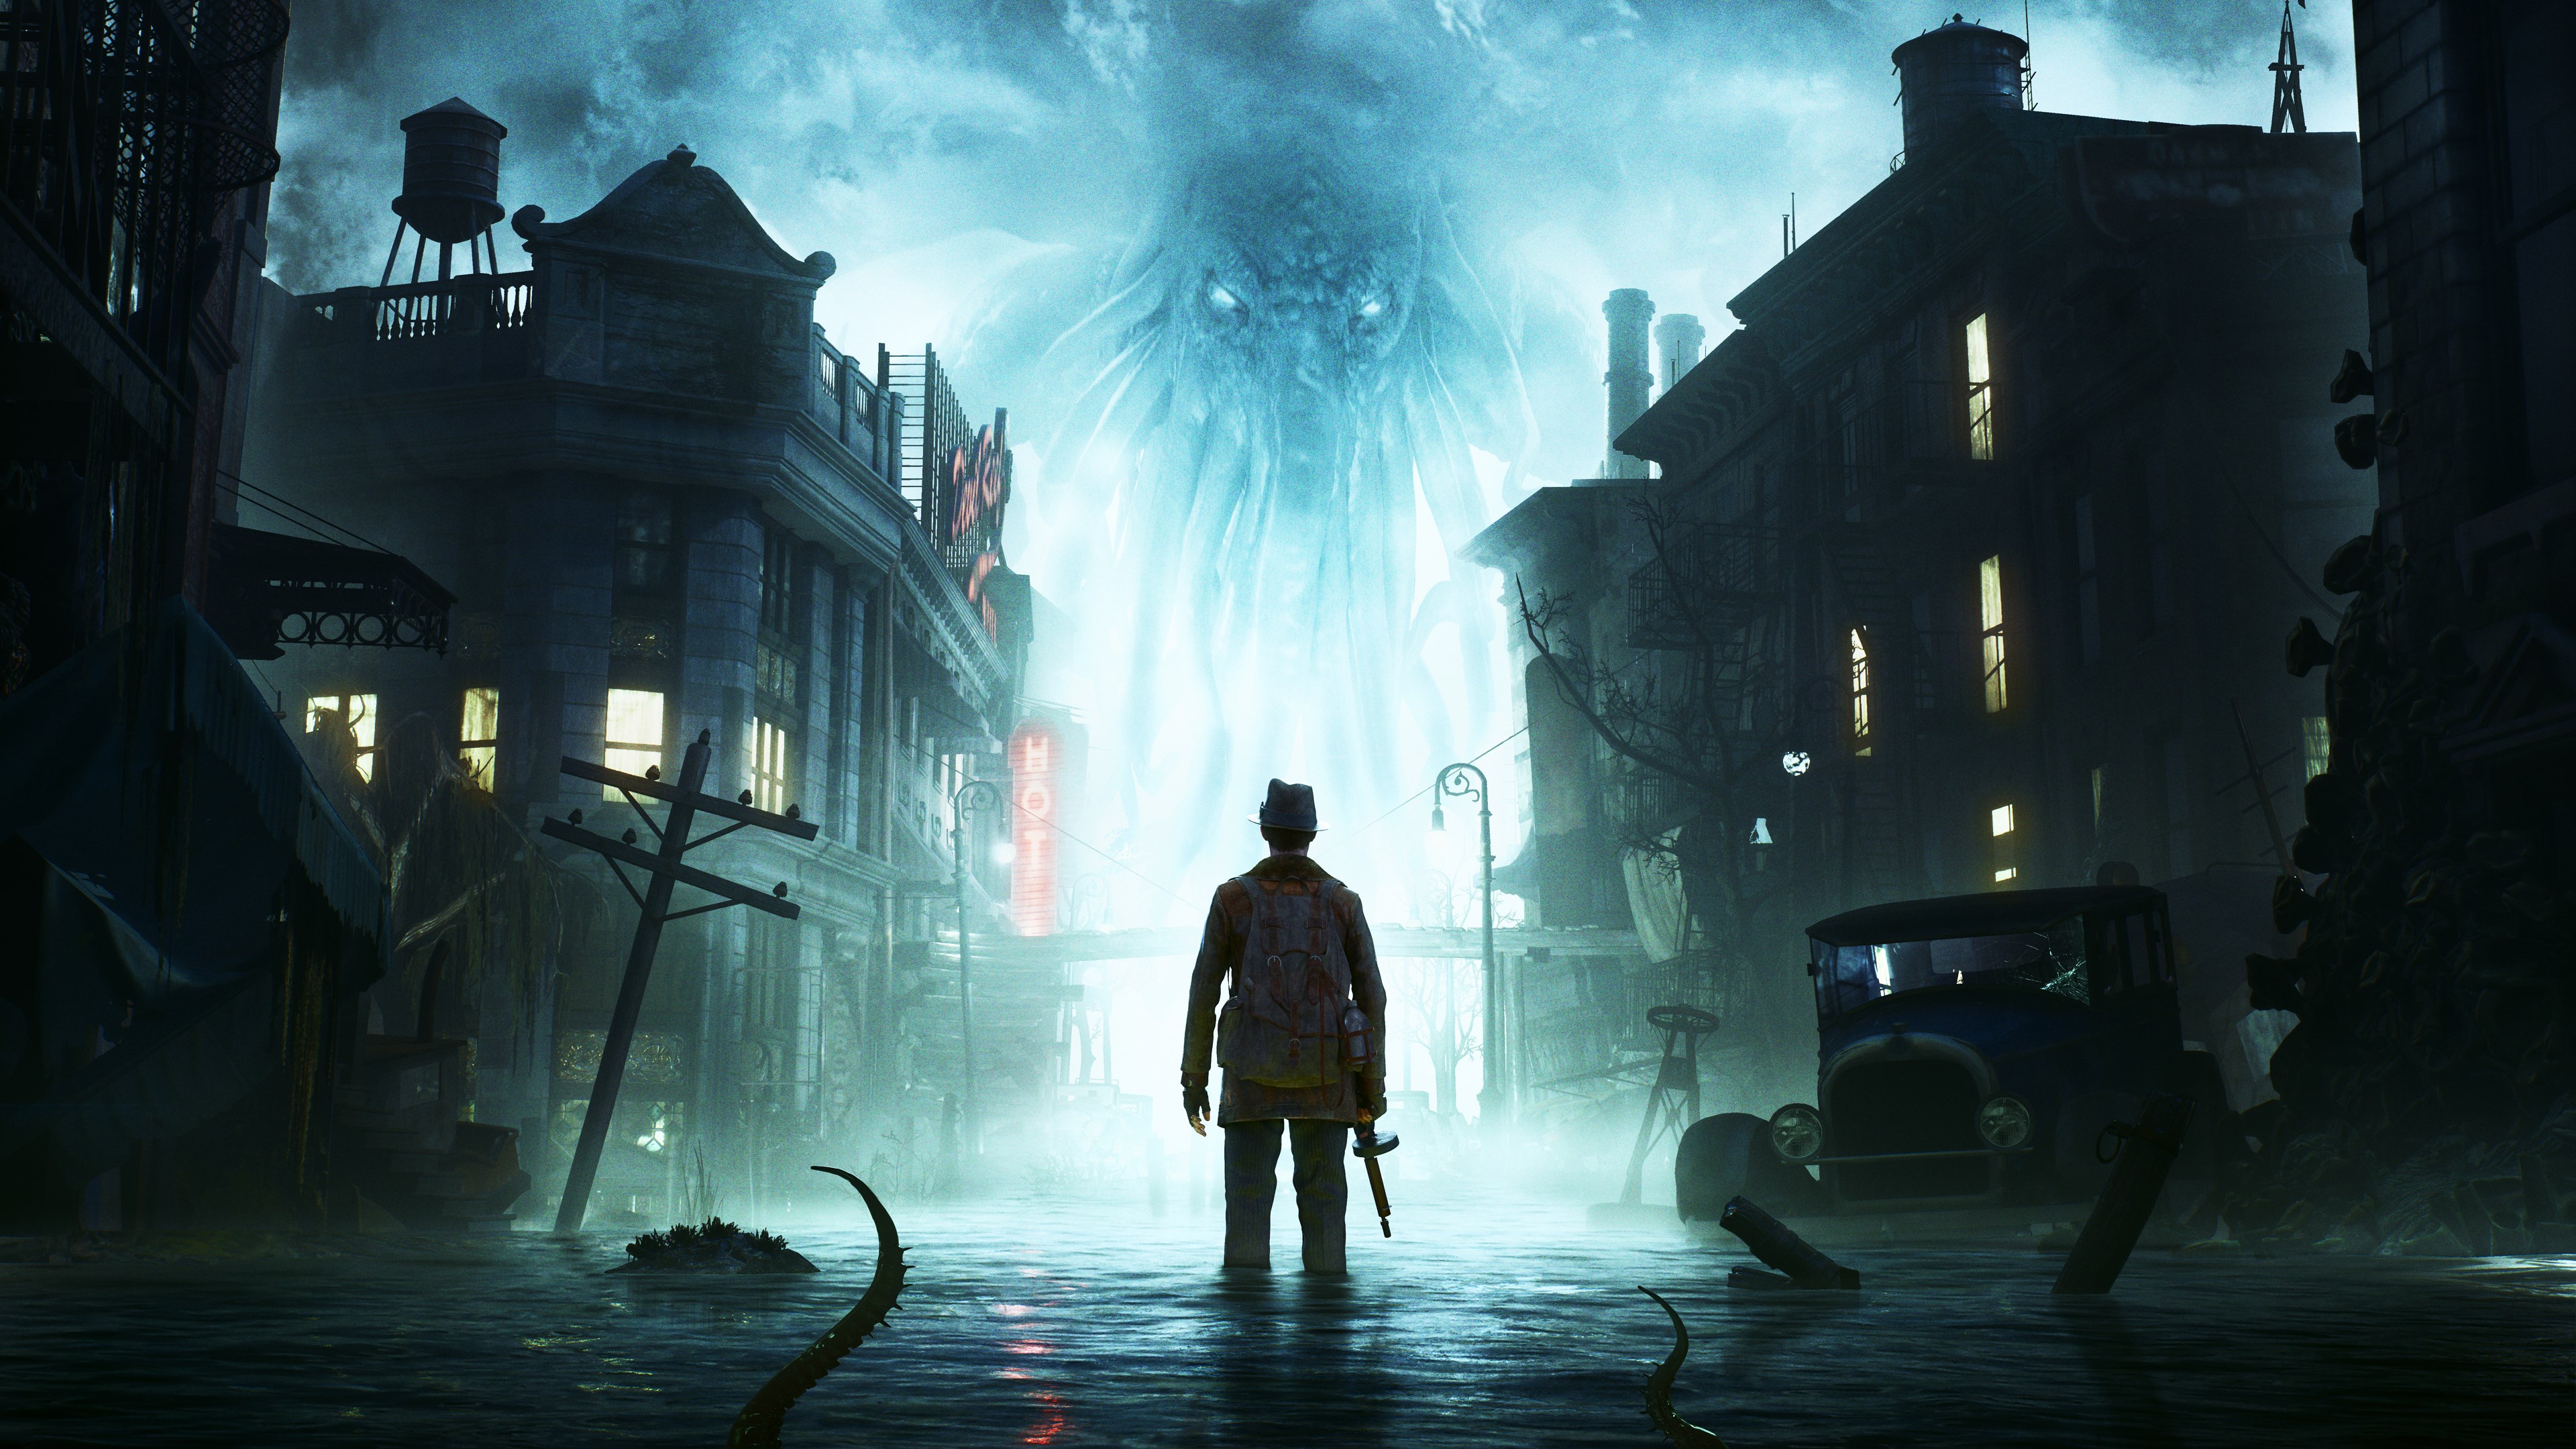
Welcome to Arkham, a city drowning in cosmic dread and eldritch horrors. In The Sinking City 2, you'll step into the rain-soaked boots of a supernatural investigator, piecing together mysteries in a world twisted by Lovecraftian madness. This isn't just about solving crimes; it's about surviving the encroaching darkness, managing scarce resources, and confronting grotesque creatures that defy sanity. If you're looking for a dark, atmospheric adventure that blends investigation with heart-pounding survival horror, you've found your game.
This guide is your lifeline through the flooded streets and sanity-shattering encounters of Arkham. We'll help you navigate the critical choices in cases like 'Fathers and Sons,' ensuring you find the right clues in the Oakmont Chronicle and make the correct deductions. We'll also cover essential early-game elements, like collecting all key evidence on the 'Charon' ship to maximize your XP, and advise on the best use of any special gear, like the Necronomicon Edition's Submachine Gun, to help you survive the horrors that await.
Introduction (I)
Complete walkthrough for The Sinking City 2, covering Frosty Welcome, Lost At Sea, and Quid Pro Quo missions.
- 1Frosty Welcome (MC1)
- Begin on the "Charon" Ship (MC1.1.1).
- 2Proceed through Oakmont City Port (MC1.1a).
- 3Navigate the Titania Lifeboat (MC1.1.2).
- 4Return to Oakmont City Port (MC1.1b).
- 5Investigate the Fishermen's House (MC1.1.3).
- 6Go back to Oakmont City Port (MC1.1c).
- 7Explore the Warehouse (MC1.1.4).
- 8Visit Oakmont City Port again (MC1.1d).
- 9Enter the "Under the Keel" Bar (MC1.1.5).
- 10Final stop at Oakmont City Port (MC1.1e).
- 11Lost At Sea (MC2)
- Start at Oakmont City Port (MC2.2.1a).
- 12Head to the Devil's Reef hotel (MC2.1.1a) and find Mystic Tomes (sc01.0) and Letters From Oakmont (sc02.00).
- 13Travel to Coverside (MC2.1a).
- 14Visit Expedition Headquarters (MC2.1.2).
- 15Return to Coverside (MC2.1b) and find Letters From Oakmont "Lullaby crossroad" (sc02.01).
- 16Go to The Oakmont Chronicle (MC2.1.3) and find Fool's Gold (sc03.0).
- 17Visit Coverside again (MC2.1c).
- 18Explore Grimhaven Bay (MC2.2a) and find Letters From Oakmont "Forlorn woman" (sc02.02), including Salvation Harbor (sc02.02.1) and Grimhaven Bay (sc02.02.2), and Bounty of the Sea (sc04.0).
- 19Proceed to Oakmont City Port (MC2.2.1b).
- 20Go to Pier N3 (MC2.2.2a).
- 21Explore Grimhaven Bay (MC2.2b) and find Letters From Oakmont "Innsmouther's notes" (sc02.03).
- 22Visit Coverside (MC2.1d).
- 23Go to the Hospital of St. Mary (MC2.1.4) and find Field Research (sc05.0).
- 24Visit Coverside (MC2.1e).
- 25Explore Grimhaven Bay (MC2.2c).
- 26Go to the Diving Suit Factory (MC2.2.3).
- 27Explore Grimhaven Bay (MC2.2d).
- 28Visit Pier N3 (MC2.2.2b).
- 29Go to Devil's Teeth (MC2.0.1a).
- 30Explore Seabed Below Devil's Teeth (MC2.0.2).
- 31Find the Cavern of the Seal (MC2.0.3).
- 32Return to Devil's Teeth (MC2.0.1b).
- 33Go back to the Devil's Reef hotel (MC2.1.1b).
- 34Visit Coverside (MC2.1f) and find Mystic Tomes "Tome in the ruins" (sc01.1), Functional Brain Cylinders "Form Alpha-One" (sc06.1), and Letters From Oakmont "Lone child" (sc02.04).
- 35Go to Oldgrove (MC2.3) and find Letters From Oakmont "Disgusting exaltation" (sc02.05).
- 36Visit Throgmorton Manor (MC2.3.1).
- 37Quid Pro Quo (MC3)
- Start at Throgmorton Manor (MC3.1.1a) and find A Delicate Matter (sc07.0).
- 38Go to Oldgrove (MC3.1a) and find A Delicate Matter (sc07.1), including Herbert Glover's Manor (sc07.1.1), Oldgrove (sc07.1.2), Throgmorton Manor (sc07.1.3), and Oldgrove (sc07.1.4).
- 39Visit Coverside (MC3.2a).
- 40Go to the Devil's Reef hotel (MC3.2.1).
- 41Visit Coverside again (MC3.2b).
- 42Go to Oakmont Police Department (MC3.2.2) and find A Delicate Matter (sc07.2).
- 43Visit Coverside (MC3.2c).
- 44Go to The Shells (MC3.3a).
- 45Visit the Fish Market (MC3.3.1a) and find Open House (sc08.0).
- 46Go back to The Shells (MC3.3b) and find Bounty of the Sea (sc04.1), including Salvation Harbor (sc04.1.1) and "The Pride" Barge (sc04.1.2), and Field Research (sc05.1), including Infected Man's Residence (sc05.1).
Case by Case Checklists (V)
Navigate every case in The Sinking City 2 with our comprehensive Case by Case Checklist guide. Find all missions and their walkthroughs.
Alright, so you're diving into The Sinking City 2 and want to make sure you don't miss a single spooky case or side investigation? This section is your go-to for keeping track of all the investigations you can tackle. Think of it as your master list to ensure you're seeing everything the game has to offer, from the main story cases to those intriguing side quests.
Below, you'll find a breakdown of all the cases available. We've organized them to help you see the flow of the game and what's coming up next. Just use this as a reference to make sure you're on the right track and to plan out which cases you want to tackle next. Happy investigating!
The Sinking City 2 Case List
Here's a look at all the cases you'll encounter. We've split them into the main story cases and the side cases, so you can easily see what's what.
Main Cases (MC)
- MC1: Frosty Welcome
- MC2: Lost At Sea
- MC3: Quid Pro Quo
- MC4: Fathers and Sons
- MC5: Nosedive
- MC6: Deal with the Devil
- MC7: Self-Defense
- MC8: Fleeing Phoenix
- MC9: Into The Depths
Side Cases (SC)
- sc01: Mystic Tomes
- sc02: Letters From Oakmont
- sc03: Fool's Gold
- sc04: Bounty of the Sea
- sc05: Field Research
- sc06: Functional Brain Cylinders
- sc07: A Delicate Matter
- sc08: Open House
- sc09: Assigned Reading
- sc10: Extra Hours
- sc11: Rest In Peace
- sc12: Historical Heritage
- sc13: Through the Looking Glass
- sc14: Defunct Brain Cylinders
- sc15: Silence is Golden
- sc16: Darling of Fortune
- sc17: All That Glitters
- sc18: Breaking News
- sc19: Blood From A Stone
- Stay Organized: Keep this checklist handy. It's easy to get lost in the fog of Oakmont, so knowing what cases are available and their general order can save you a lot of backtracking.
- Prioritize if Needed: Sometimes, you might have multiple cases active. Think about which ones are in the same general area to be more efficient with your travel time.
- Don't Rush: The Sinking City 2 is all about atmosphere and investigation. Take your time with each case, explore thoroughly, and soak in the story.
- Check Back Often: New cases might pop up as you progress through the main story or explore different districts. Always refer back to this list to see if you've missed anything.
Experience (EXP)
Unlock the secrets of Experience (EXP) in The Sinking City 2. This guide breaks down all missions and side quests, helping you maximize your gains and progress faster.
Hey there! So, you're diving into The Sinking City 2 and wondering about Experience, or EXP? Think of it as your main progression meter. The more you do, the more you level up, and the better equipped you'll be to handle the horrors of Oakmont. This section is basically a quick rundown of all the different missions and quests you'll encounter, each giving you a nice chunk of EXP when you complete it. We've got the main story missions, marked with 'MC', and a whole bunch of side quests, marked with 'sc'. Each one has a little code next to it, like (EXP.MC1) or (EXP.sc01), which just tells you it's related to EXP. Don't worry too much about those codes, just focus on completing the missions!
Here's a look at what you'll be tackling:
- Main Story Missions: These are the core quests that drive the narrative forward. You'll start with 'MC1: Frosty Welcome' and work your way through
- MC2: Lost At Sea
- MC3: Quid Pro Quo
- MC4: Fathers and Sons
- MC5: Nosedive
- MC6: Deal with the Devil
- MC7: Self-Defense
- MC8: Fleeing Phoenix
- MC9: Into The Depths
- Side Quests: These are optional but highly recommended for extra EXP and often lead to some interesting discoveries or help you gear up. They start with 'sc' and include things like:
- sc01: Mystic Tomes
- sc02: Letters From Oakmont
- sc03: Fool's Gold
- sc04: Bounty of the Sea
- sc05: Field Research
- sc06: Functional Brain Cylinders
- sc07: A Delicate Matter
- sc08: Open House
- sc09: Assigned Reading
- sc10: Extra Hours
- sc11: Rest In Peace
- sc12: Historical Heritage
- sc13: Through the Looking Glass
- sc14: Defunct Brain Cylinders
- sc15: Silence is Golden
- sc16: Darling of Fortune
- sc17: All That Glitters
- sc18: Breaking News
- sc19: Blood From A Stone
Your goal is to complete as many of these as you can. The main story missions are essential, but don't sleep on the side quests! They're a fantastic way to grind out that EXP, especially if you're finding the main story getting a bit tough. The more EXP you rack up, the higher your level will be, and the better your chances of surviving the madness that awaits you in The Sinking City.
Entries
Unlock all the secrets in The Sinking City 2! This guide details every Mind Palace, Casebook, and Lore Entry to help you piece together the mysteries of Oakmont.
Alright, so you're diving into The Sinking City 2 and want to make sure you're not missing any crucial bits of information? That's smart! The game is packed with details that flesh out the story and the world, and keeping track of them can be a bit of a challenge. This guide is here to help you navigate all the different types of entries you'll encounter, from the personal thoughts in your Mind Palace to the gritty details in your Casebook, and even the deeper lore scattered throughout Oakmont.
We'll break down what each section is for and what kind of entries you can expect to find within them. Think of it as your personal checklist to ensure you're uncovering every clue and understanding the full picture of what's happening in this waterlogged city.
Mind Palace Entries (MPE)
These are the entries that really get into the protagonist's head. They're often tied to specific moments in the main story and give you insight into their thoughts, feelings, and deductions. You'll typically unlock these as you progress through the main quests.
- MC1: Frosty Welcome
- MC2: Lost At Sea
- MC3: Quid Pro Quo
- MC4: Fathers and Sons
- MC5: Nosedive
- MC6: Deal with the Devil
- MC7: Self-Defense
- MC8: Fleeing Phoenix
- MC9: Into The Depths
Casebook Entries (CE)
This is where the real detective work happens. The Casebook is your go-to for evidence, witness statements, and all the nitty-gritty details you gather while investigating cases. It's organized to help you keep track of the facts, and you'll find a mix of main case entries and side-case specific ones here.
- MC1: Frosty Welcome
- MC2: Lost At Sea
- MC3: Quid Pro Quo
- MC4: Fathers and Sons
- MC5: Nosedive
- MC6: Deal with the Devil
- MC7: Self-Defense
- MC8: Fleeing Phoenix
- MC9: Into The Depths
- sc01: Mystic Tomes
- sc02: Letters From Oakmont
- sc03: Fool's Gold
- sc04: Bounty of the Sea
- sc05: Field Research
- sc06: Functional Brain Cylinders
- sc07: A Delicate Matter
- sc08: Open House
- sc09: Assigned Reading
- sc10: Extra Hours
- sc11: Rest In Peace
- sc12: Historical Heritage
- sc13: Through the Looking Glass
- sc14: Defunct Brain Cylinders
- sc15: Silence is Golden
- sc16: Darling of Fortune
- sc17: All That Glitters
- sc18: Breaking News
- sc19: Blood From A Stone
Lore Entries (LE)
Want to really dig into the backstory of The Sinking City 2? The Lore Entries are your key. These cover everything from the history of Oakmont and its strange inhabitants to specific documents and bestiary entries about the creatures you'll encounter. It's the perfect place to go when you want to understand the world on a deeper level.
- City
- Correspondence
- Documents
- Bestiary
- Mythos
- Letters From Oakmont
- Mystic Tomes
- Brain Cylinders
- Deep Ones' Gold
By keeping an eye on these different entry types, you'll be well on your way to becoming a master investigator in The Sinking City 2. Happy sleuthing!
Similar guides you might like


100% Human-Written. AI Fact-Checked. Community Verified. Learn how AntMag verifies content