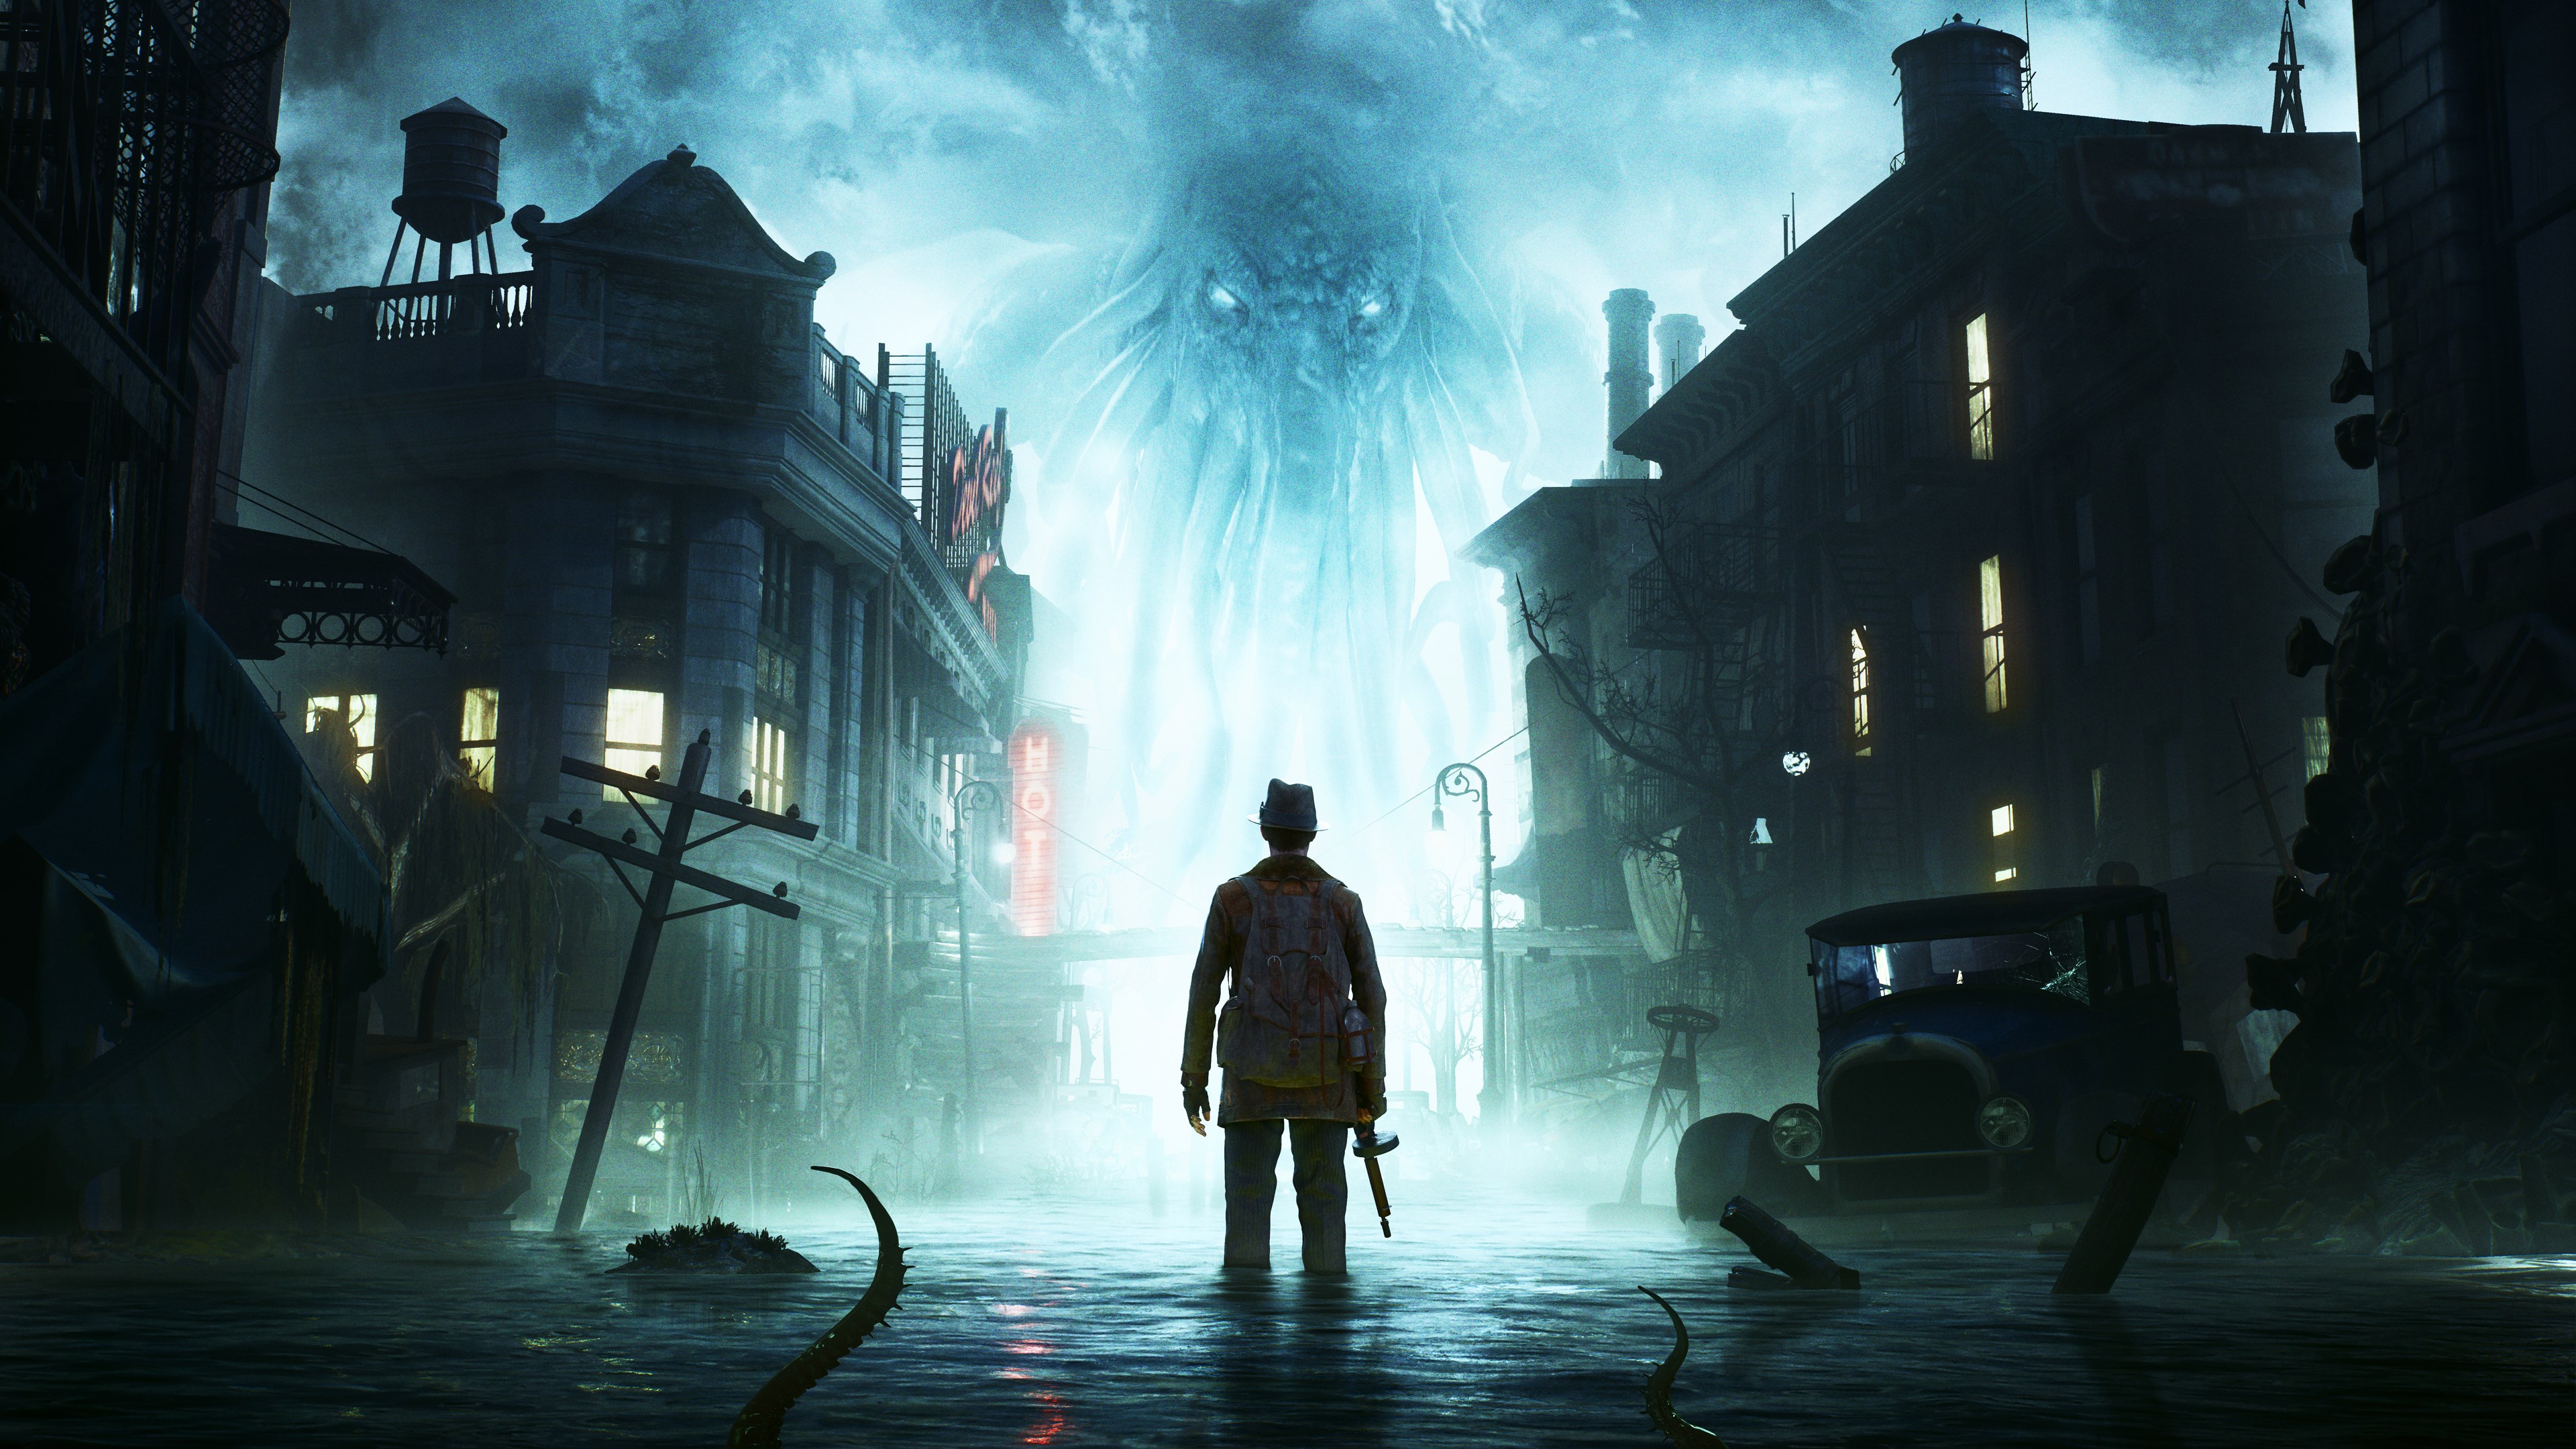
Navigate Oakmont City Hall (4) in The Sinking City 2. Follow our walkthrough to find key evidence, complete objectives, and uncover the mysteries within this crucial location.
Walkthrough
- 1Upon arriving at Oakmont City Hall (4), your primary objective is to locate and collect specific pieces of evidence scattered throughout the area.
- 2The first key piece of evidence is your own belongings, which must be collected from a table. This action is necessary to proceed.
- 3Among your belongings, you will find a Letter from J. van der Berg.
- 4You will also acquire a Camera, a crucial tool for documenting evidence.
- 5Your Pistol is also found here. To collect it, pick it up, rotate it until an 'eyeball' symbol appears on the handle, and press X to examine it. You will receive 6 .38 pistol rounds. Remember to reload your weapon before use.
- 6For additional evidence, use your camera to take a picture of the strange fish mounted on the wall.
- 7Examine the flyer located on the desk to the left of where you collected your belongings.
- 8Lootable objects, marked with a specific symbol, can be found in the area, such as a locker to the right of the desk. These can be repeatedly looted for ammunition and crafting materials.
- 9After collecting the necessary items, exit the boat by climbing onto the dock using the Triangle button.
- 10You will automatically engage in a conversation with Johannes van der Berg. Choose dialogue options that advance the main quest, such as discussing your problem, inquiring about Robert Throgmorton, and stating your need for lodging.
- 11To find Robert Throgmorton, proceed north along the pier and turn right at the sign pointing towards an exit.
- 12Climbing the stairs will initiate a conversation with Robert Throgmorton. Select dialogue options that progress the investigation, such as asking about his son, the Innsmouthers, the visions, and agreeing to find Albert.
- 13An optional investigation site, the Lifeboat Titania, can be accessed by returning to the pier sign, heading left down a path, and then left towards the sea.
- 14At the Lifeboat Titania, inspect the boat's name ('TITANIA').
- 15Examine the Diving Helmet, rotating it to find a search prompt on the front faceplate. Be mindful of your sanity while examining this item.
- 16Find Albert Throgmorton's will on one of the lifeboat's seats. You may need to climb into the lifeboat using Triangle to collect it.
- 17Returning Albert's Will to Robert Throgmorton unlocks an optional conversation.
Tips
- The Submachine Gun, if acquired through DLC, is powerful but consumes ammunition rapidly. Save its clip for critical moments.
- Consider investing the initial Skill Point into the 'Absolute Clarity' Mind skill for a 5% XP bonus.
- Lootable objects can be reset by leaving and returning to the area, providing a renewable source of ammunition and crafting materials.
- The Lifeboat Titania is an optional investigation that provides extra XP and an additional conversation, but its evidence is not required for case progression.
- Be cautious when examining the Diving Helmet at the Lifeboat Titania, as it can drain your sanity.
100% Human-Written. AI Fact-Checked. Community Verified. Learn how AntMag verifies content