Stuck on the Siwakama Shrine in Zelda: Tears of the Kingdom? Follow our step-by-step guide to solve the Moving the Spheres puzzle and claim your Light of Blessing.
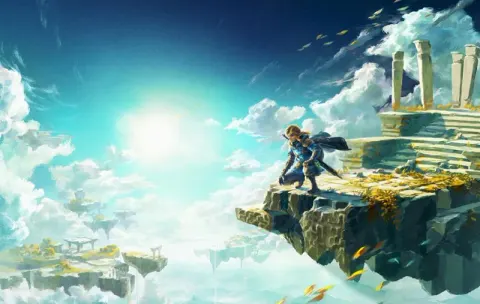
Alright, let's get you through the Siwakama Shrine! This one's all about using those big spheres to cross some gaps. You'll find it in the eastern part of the Gerudo Desert, southeast of Gerudo Town, sitting out on a rock formation. Just a heads-up, there's a Molduga chilling in the area, so if you can, try gliding down from a higher spot to avoid a nasty surprise!
- 1
The First Room: You'll start in a room with a gap. On the other side, there's a large sphere. Your first task is to move this sphere onto the raised platform in front of you. Once it's positioned correctly, use it as a stepping stone to cross the gap. Remember, you can't climb the shrine walls, so make sure that sphere is centered on the platform. If you happen to fall, don't worry – there are ladders on either side to help you get back up.
- 2
The Hidden Chest: After crossing the first gap, use your Ultrahand ability to grab the sphere and bring it into the next area. Before you move on, look to the side and you'll see a ramp. Your goal here is to get a sphere up to the top of that ramp. Once it's in place, let it roll down. This will break through a hidden wall, revealing a chest! Inside, you'll find Bomb Flower x5. Pretty handy!
- 3
Crossing the Second Gap: Now, grab the two spheres in this room. Use Ultrahand to glue them together. Then, position them on the slanted part of the floor. Make sure the glued section is right at the peak of the slope. This setup will keep them stable, allowing you to use them as a platform to reach the third and final room.
- 4
The Final Room and Altar: In this last room, you'll find another sphere. Grab the two spheres you glued together from the previous room and attach them to this new one. You'll want to arrange them in a triangle shape. Position the center of this triangle formation at the point of the small structure in the room. This should give you just enough height to make the final jump to the altar and claim your Light of Blessing!
- The key to this shrine is understanding how to use the spheres as platforms and how to position them effectively, especially when gluing them together.
- Don't forget to break the wall for the Bomb Flowers – it's easy to miss if you're just rushing to the end!
- If you fall, remember those ladders are there to help you get back up without having to restart the whole shrine.
- Light of Blessing
- Bomb Flower x5 (from the hidden chest)
100% Human-Written. AI Fact-Checked. Community Verified. Learn how AntMag verifies content