Learn how to defeat Beelzebub at Lv. 10 and Lv. 99 in Bravely Default. This guide covers strategies, weaknesses, and tips for both encounters.
Alright, let's talk about Beelzebub. This boss shows up twice, once at Lv. 10 and again at Lv. 99, and both fights have their own little quirks. Don't worry, we'll get you through it!
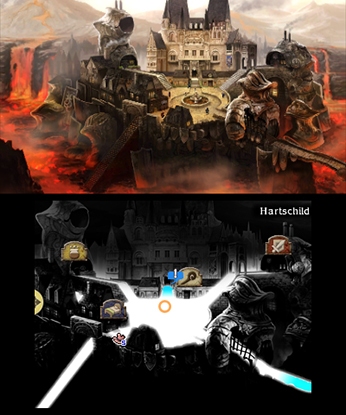
Beelzebub (Lv. 10)
For the Lv. 10 Beelzebub, you've got a couple of approaches. The first strategy is all about patience. When Beelzebub uses its 'Gluttony' ability, you should hold back on attacking and focus on Defending and healing your party. Then, when it unleashes 'Acid Breath,' you absolutely need to Default to survive the huge damage. After that, unleash all your strongest attacks with any saved-up Brave Points (BP) and repeat the cycle. This is your main game plan!
Now, if your party is a bit underleveled, 'Acid Breath' might just wipe you out in one hit. If that happens, don't sweat it – there's Plan B! From the very start of the fight, just keep Defending and healing. When Beelzebub uses 'Gluttony,' go all out and unleash everything you've got. Even though your attacks will heal the boss during this phase, if you deal enough damage, it'll trigger its 'Overflow' move and take massive damage, essentially defeating itself. It’s a bit of a gamble, but it works!
To give yourself the best shot, make sure you have a full party of four and the best gear you can find. It'll also help a ton if you've saved up some Special Moves and added an Lightning or Earth element to them. If you're new to the game, I'd honestly recommend skipping the recommended level for this fight and coming back when you're a bit stronger. It makes a huge difference!
Beelzebub (Lv. 99)
This souped-up version of Beelzebub is a whole different beast. Here's a quick rundown of its stats:
| Level | HP | Weak to | Absorbs |
| 99 | 300,000 | Lightning, Earth, Bug | Water |
At Lv. 99, Beelzebub can hit you with 'Firaja,' which is a super powerful fire spell that can devastate your party. On rare occasions, it might also use 'Demon Eye,' which can inflict Dread, Confuse, and Stop on your whole team. But the real killer is 'Acid Breath,' which now deals around 9999 damage – enough to one-shot most of your party if you're not prepared!
The good news is that by this point in the game, you've got way more options to deal with 'Acid Breath.' One solid method is to use a combination of Giant's Draft and Salve-maker. This should boost your characters' HP to over 9999, letting them survive the blast. Alternatively, since 'Acid Breath' is a physical attack, you can use abilities like Rampart or Utsusemi right before it hits to completely negate the damage. Pretty neat, huh?
If you're feeling really confident, you can try the 'Overflow' strategy again. Try to deal 100,000 damage during the 'Gluttony' phase before 'Acid Breath' comes out. If you pull it off, you'll trigger 'Overflow' and deal massive damage.
Once you've got a strategy for 'Acid Breath,' the rest of the fight is more manageable. Consider equipping the Iceflame Shield to block 'Firaja' or using the 'Abate Fire' ability to reduce its damage. Just be sure to watch out for 'Demon Eye.' Hopefully, your healer has a Ribbon equipped (you can get one from Dark Aurora) to protect against those nasty status effects.
100% Human-Written. AI Fact-Checked. Community Verified. Learn how AntMag verifies content