Complete walkthrough for Resident Evil Outbreak's 'Below Freezing Point' scenario, detailing paths via B7F, B6F, and their convergence for optimal completion.
Walkthrough
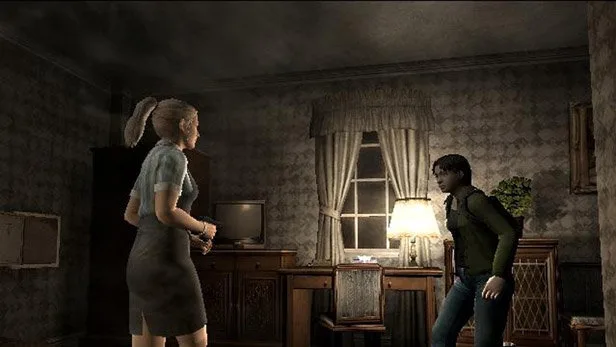
- 1The Beginning: Start the scenario and proceed through the initial areas.
- 2Via B7F: Choose the path that leads to the B7F level. Navigate through its challenges and objectives.
- 3Via B6F: Alternatively, choose the path that leads to the B6F level. Complete the objectives within this area.
- 4Path Convergence + Finish: Both the B7F and B6F paths will eventually merge. Continue through the combined route to reach the scenario's conclusion.
Tips
- Pay close attention to the scenario's objectives, as they may differ slightly based on the chosen path (B7F vs. B6F).
- Conserve ammunition and healing items, especially if playing on higher difficulties.
- Coordinate with your AI partners or human teammates to cover different areas and objectives efficiently.
- Be aware of the approximate time limits for each path to ensure successful completion.
100% Human-Written. AI Fact-Checked. Community Verified. Learn how AntMag verifies content