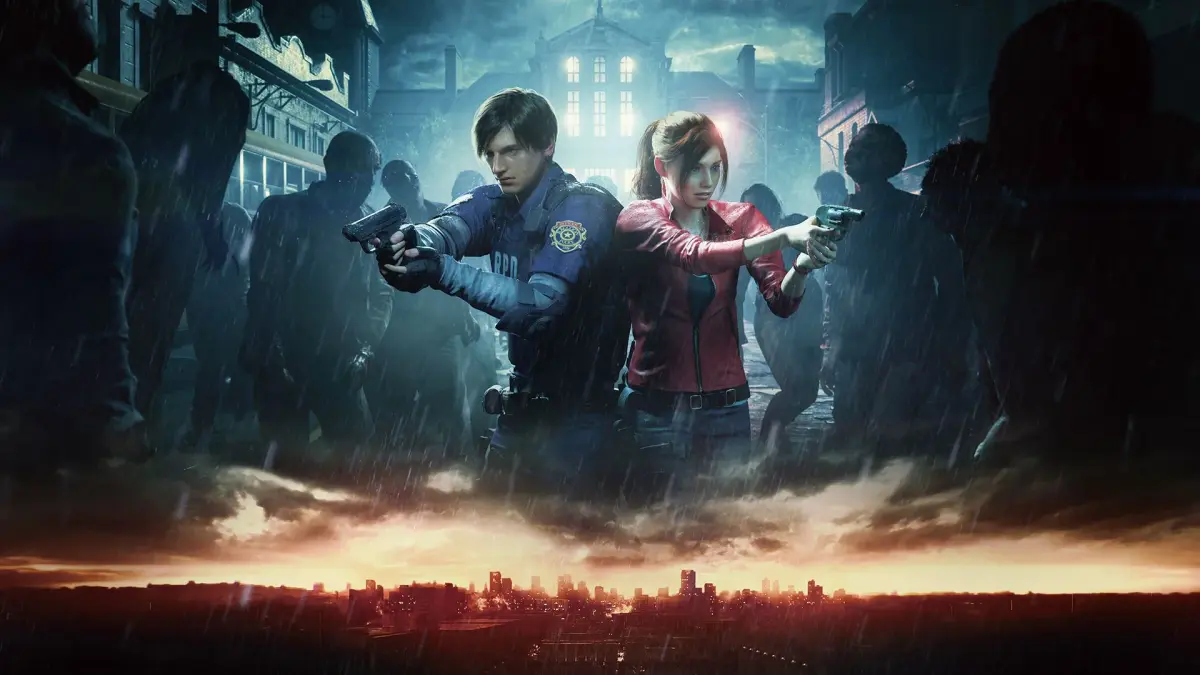
Welcome to Raccoon City. In Resident Evil 2 (Remake), you'll step into the shoes of rookie cop Leon S. Kennedy or college student Claire Redfield as they navigate a city overrun by a relentless zombie outbreak. This third-person shooter survival horror experience throws you into tense encounters, demanding careful resource management and strategic combat as you uncover the terrifying truth behind the disaster.
This guide is your essential companion to surviving Leon and Claire's nightmare. We'll help you master every corner of the city, from finding crucial item locations like the G-Virus sample to overcoming challenging boss fights. Whether you're aiming to unlock all the bonus weapons, costumes, or simply want to complete both campaigns with confidence, this guide covers the walkthroughs, survival tips, and essential strategies you need to see the credits roll.
Overview
Get the lowdown on Resident Evil 2 (Remake)! Learn about gameplay, difficulty, and ranking systems to survive the zombie-infested Raccoon City.
Resident Evil 2 Remake is a total reimagining of the classic, ditching the clunky controls and fixed cameras while keeping the series' signature quirks like item boxes and combinable healing herbs. The game boasts a gorgeous engine that really makes the detailed level design shine, creating a surprisingly beautiful experience despite its dark, horror-filled aesthetic.
At its core, RE2 Remake is an action-adventure game packed with environmental puzzles. A huge part of the challenge comes down to resource management – you'll rarely have enough ammo for every threat. You'll constantly be deciding what to carry, what to leave behind, and where to stash it. While the gunplay feels great, the real test is knowing when to fight and when to make a run for it. Trying to take down every single enemy will eventually leave you completely stuck.
The game offers two protagonists, each with two scenarios (A and B), creating four distinct playthroughs. The 'A' scenario for one character and the 'B' scenario for the other form a pair, with another pair representing an alternate timeline. This setup provides fantastic replayability for what is a relatively short game; your first run might take around eight hours, but subsequent playthroughs can be completed in as little as three.
Difficulty Levels
You've got three main difficulty settings to choose from:
- Assisted: Features weaker enemies and aim assist. Your health even regenerates from Danger to Caution after a minute if you're low. You can take a fair few hits before facing a game over.
- Standard: Offers a solid challenge. Resource management and avoiding damage are key, but it generally feels fair, not masochistic. You can usually take two hits and survive, though some attacks will instantly put you in the Danger zone.
- Hardcore: This is where things get serious. Enemies are much tougher and more aggressive. You'll have less inventory space (14 slots instead of 20), and most attacks will send you straight to Danger. Saving is also restricted to limited Ink Ribbons, making every save crucial. The 'B' scenarios are particularly stingy with ribbons, so be prepared to curse the inability to save at times. Hardcore also removes checkpoints, which can make repeating difficult sections feel like a chore.
On top of these selectable difficulties, the game has a hidden dynamic system. If you're struggling, the game might subtly increase your weapon damage and decrease enemy aggression. Conversely, if you're breezing through, the difficulty might ramp up slightly.
Ranking System
After finishing a scenario, your performance is ranked, with completion time being the main factor. 'A' scenarios have more generous time limits than the slightly shorter 'B' scenarios.
| Scenario | Time Limit for Ranking (H:MM) | |||
| S | A | B | ||
| A | 3:30 | 2:30 | 5:00 | 4:00 |
| B | 3:00 | 2:00 | 4:00 | 3:30 |
Scoring an S-Rank on Standard difficulty unlocks the Samurai Edge pistol with infinite ammo for future playthroughs. Achieving an S-rank on Hardcore difficulty rewards you with the LE 5 SMG, also with infinite ammo.
Your save count also matters for S+ ranks. If you meet the S-rank time requirement and save three times or less, you'll achieve S+. Earning S+ on Hardcore unlocks powerful bonus weapons: the Gatling Gun for Claire's scenarios and the ATM-4 rocket launcher for Leon's. Keep in mind that using infinite weapons like the Samurai Edge or LE 5 will disqualify you from achieving S+ rank, meaning you'll have already unlocked these bonuses by the time you could use them.
The Walkthroughs
Our walkthroughs cover all four scenarios in detail. We recommend starting with Leon's 'A' scenario. This walkthrough points out all collectibles and only provides puzzle solutions after you've found the relevant clues. If you were to start with Claire's 'A' scenario, the walkthrough would contain spoilers and wouldn't be as helpful in spotting the hidden Mr. Raccoon figures, as it assumes you've already found them and know the safe combinations.
After Leon 'A', you can choose either Claire 'A' or Claire 'B'. We guide you through Claire 'A' next because the 'B' scenarios are significantly tougher. Once you've completed both 'A' scenarios, you'll find the final Mr. Raccoon figure right at the start of your chosen 'B' scenario. Destroying this unlocks the Infinite Combat Knife, which is a huge help against the severe ammo shortages you'd otherwise face in the 'B' scenarios.
General Tips
Essential Resident Evil 2 (Remake) tips for health, resource, crafting, and time management. Learn how to conserve ammo, combine herbs, and optimize your playthrough for S-ranks.
Health Management
Your current health is colour-coded. If you are in the green, your health is above 67%. If you are in the red, it is 30% or below. Between 30% and 67%, your health meter is amber. So long as you are not in the red, you can only be killed by instant death attacks (such as from an Ivy). If your health is red, on the other hand, you are typically one hit from death and should do something about it.
A single Green Herb restores 33% of your health, but you should never use just one. Instead, you should generally combine herbs: G+R fully restores health while G+R+B fully restores health and halves incoming damage for a few minutes. A Blue Herb on its own will cure you of the poison status (inflicted by G-Adults) but will not restore health so you should generally use it in combination. If you're going for the Frugalist trophy, note that an R+B Herb gives you damage protection without invalidating the trophy.
You should generally carry a full health restore at all times to guard against things going awry. If you are going into an area where there's little danger and can pick up health restoratives along the way, I will tell you in the walkthrough and you can leave restorative items behind.
Resource Management
All ammo is precious but some ammo is more precious than other ammo. By and large, MAG Ammo and SMG Ammo should be reserved for boss encounters. Claire's Flame Rounds can only be found and not crafted and should be used against the tougher non-boss enemies like Lickers, G-Adults and Ivy Zombies. Leon's shotgun, on the other hand, is rather ineffective against these same enemies and can instead be used to conserve handgun ammo when fighting zombies. Flamethrower fuel, on the other hand, does work against the enemies that shotgun shells are ineffective against and should be conserved accordingly.
In the B scenarios, Large-Caliber Ammo is somewhat limited and you'll generally be running low. Use your Combat Knife against enemies on the ground and craft 9mm ammo to make up the shortfall.
Crafting
You will make up for the shortfall of found ammunition by crafting it using various grades of ammunition. Here is the crafting matrix for Leon:
| Type | Gunpowder | Large Gunpowder | High Grade Gunpowder |
|---|---|---|---|
| Gunpowder | Handgun Ammo x13 | Handgun Ammo x 25 | Shotgun Shells x 3 |
| Large Gunpowder | Handgun Ammo x 25 | Handgun Ammo x 50 | Shotgun Shells x 5 or 6 |
| High Grade Gunpowder | Shotgun Shells x 3 | Shotgun Shells x 5 or 6 | MAG Ammo x 5 or 6 |
Leon should use ordinary Gunpowder to craft Handgun Ammo rather than combining it with High Grade Gunpowder to make Shotgun Shells. Most High Grade Gunpowder should be used to make MAG Ammo. This means that two lots of High Grade Gunpowder and two lots of Gunpowder will make 5 or 6 magnum rounds and 26 bullets which is a _lot_ better than 6 shotgun rounds. When you start finding Large Gunpowder, you can use this to make Shotgun Shells since that allows you turn two lots of High Grade Gunpowder into 10 or 12 shotgun rounds which is better than 5 or 6 magnum rounds.
Here is the crafting matrix for Claire:
| Type | Gunpowder | Large Gunpowder | High Grade Gunpowder |
|---|---|---|---|
| Gunpowder | Handgun Ammo x 13 | Handgun Ammo x 25 | Acid Rounds x 3 |
| Large Gunpowder | Handgun Ammo x 25 | Handgun Ammo x 50 | Acid Rounds x 5 or 6 |
| High Grade Gunpowder | Acid Rounds x 3 | Acid Rounds x 5 or 6 | Submachine Gun Ammo x ~85 |
Claire should use a couple of lots of High Grade Gunpowder to make Acid Rounds at the start of her A scenario only. This allows her to use them against the first boss since they're quite effective against him. Otherwise she should use High Grade Gunpowder to make SMG Ammo which is a much more effective boss killer in my experience. In her B scenario, she doesn't need to make Acid Rounds at all.
Time Management
Since there are bonuses for completing scenarios in as short a time as possible, it is best to avoid wasting time. The most effective method is to run everywhere. If you die, quit to the title screen to load your most recent save. Otherwise, the timer doesn't get reset.
It is quite straightforward to S-rank all four scenarios on standard difficulty while picking up all goodies so long as you run everywhere and have a good idea of where to go next. You can use my in-depth S-rank guide to help. If you want to get the S-rank on Hardcore difficulty, you are going to have to leave a bunch of stuff unclaimed:
- Spare Parts for the Safety Deposit Room are absolutely optional. The ultimate reward (a Hip Pouch) is good, but you have to do a lot to get it. If you choose to skip this, you don't have to unlock the Linen Room or open Portable Safes. In the B scenarios, you can avoid the Observation Room / Interrogation Room and in Leon's scenarios, you don't have to pick up the Diamond Key either.
- The police cruiser in the Parking Garage contains a so-so accessory for Leon and an indifferent weapon for Claire. If you choose not to bother, you don't have to go into the Firing Range either.
- Developing the "Hiding Place" film and picking up the loot is very much optional.
- If you're really Hardcore, you can avoid using the Safety Deposit Room altogether since the Shotgun / Grenade Launcher will be found in the Umbrella Laboratory if you don't pick it up in the Police Station.
- In the A-scenarios, the Nap Room Hip Pouch requires significant backtracking. This is not such an issue in the B-scenarios.
- In the B-scenarios, you can create a more efficient path through the first part of the game by going to the S.T.A.R.S. Office earlier. The critical path would be something like Operations Room -> Spade Key -> S.T.A.R.S. Office -> Lounge -> Library -> West Storage Room -> Library -> Landing -> Goddess Statue. Since you'll be chased by Mr. X and ganged up on in the Library, this will require luck and in all likelihood a G+R+B Herb to survive. Using the
Equipment
Discover all weapons, their ammo capacities, upgrade locations, and effects in our comprehensive Resident Evil 2 (Remake) equipment guide. Master Raccoon City's arsenal!
This guide details all the weapons available to Leon and Claire in Resident Evil 2 (Remake), including their stats, upgrade locations, and effects.
Leon
Matilda
Leon's starting pistol, holds 12 rounds of 9mm ammo. Upgrades:
- High Capacity Magazine: Found in the West Office puzzle desk. Expands capacity to 24.
- Gun Stock: Found in the Parking Garage police cruiser boot. Enables 3-round burst fire. Consumes ammo quickly and takes up two inventory slots.
- Muzzle Brake: Found in the Waiting Room safe. Increases accuracy and reduces recoil.
W-870
High-powered shotgun found in the Weapons Locker (Safety Deposit room). Capacity: 4 shells. A point-blank headshot kills a zombie. Upgrades:
- Long Barrel: Found at Gun Shop Kendo. Expands capacity to 8, reduces spread, increases range. Takes up two inventory slots.
- Shotgun Stock: Found in the Water Treatment Room safe. Increases firing speed and reduces loading time.
Lightning Eagle
High-powered pistol found in the Armory (S.T.A.R.S. Office). Capacity: 7 rounds, uses rare .50 caliber ammo. Can kill a zombie with a single round from range. Upgrades:
- Long Barrel: Found in a box in the police station basement (requires S.T.A.R.S. Badge). Increases damage, takes up two inventory slots.
- Red Dot Sight: Found in Wesker's desk (S.T.A.R.S. Office) after developing the Hiding Place film.
Chemical Flamethrower
Found in the Sewer Storage Room. Takes up two inventory slots. Capacity: 400 units of fuel. Panics non-undead enemies and permanently kills Ivies. Upgrade:
- Regulator: Found in the Nap Room locker (NEST). Improves fuel efficiency.
Anti-Tank Rocket
Given during the Super Tyrant fight. Also usable in the G-5 fight in Leon's B scenario. Has 4 rockets.
M19
Leon's starting pistol in the B scenario (Guard Room). Holds 7 rounds of .45 ammo. Cannot be upgraded.
Claire
SLS 60
Claire's starting pistol, holds 5 rounds of 9mm ammo. Upgrades:
- Speed Loader: Found in the West Office puzzle desk. Improves reload speed.
- Reinforced Frame: Found in the Water Treatment Room safe. Allows loading .357 ammo (same damage as Lightning Hawk). Ammo is rare and cannot be crafted.
GM 79
Grenade launcher found in the Weapons Locker (Safety Deposit room). Holds a single grenade, lengthy reload. Flame Rounds are effective against Lickers, G-Adults, and Ivy Zombies. Acid Rounds can be crafted and stun Birkin. Upgrade:
- Shoulder Stock: Found in a locker behind a Diamond door (police station basement). Allows direct aiming but takes up two inventory slots.
JMB Hp3
Pistol found in the Parking Garage police cruiser boot. Holds 13 rounds of 9mm ammo with a red dot sight. Upgrade:
- High-Capacity Magazine: Found in the Waiting Room safe. Increases ammo capacity to 26.
MQ 11
Submachine gun found in the Armory (S.T.A.R.S. Office). Capacity: 24 rounds, rare ammo. High rate of fire. Upgrades:
- Suppressor: Found in a box in the police station basement (requires S.T.A.R.S. Badge). Reduces recoil, takes up two inventory slots.
- High-Capacity Magazine: Found in Wesker's desk (S.T.A.R.S. Office) after developing the Hiding Place film. Increases ammo capacity to 50 rounds.
Spark Shot
Stun gun found in the Sewer Storage Room. Takes up two inventory slots. Can be charged for powerful shots, one-shotting Lickers. Upgrade:
- Voltage Condenser: Found in the Nap Room locker (NEST). Increases damage.
Minigun
Found just before the G-4 boss fight. Has 400 rounds.
Quickdraw Army
Claire's starting pistol in the B scenario (Guard Room). Holds 6 rounds of .45 ammo. Cannot be upgraded. Fires quickly with an extreme reload time.
Secondary Weapons
Combat Knife
Wears out quickly when used to counterattack, slowly when slashing downed enemies.
Flash Grenade
Does not have a description in the source text.
Enemy Strategies
Learn the best strategies for defeating every enemy in Resident Evil 2 (Remake), from T-Virus Zombies and Lickers to G-Adults and Ivies. Master combat and survival.
This guide details strategies for dealing with the various enemies encountered in Resident Evil 2 (Remake).
T-Virus Zombie
These are the most common enemies. Critical headshots can kill them permanently, but it's often more efficient to stagger them with headshots and run past, or shoot them in the knees to make them crawl, allowing for easier avoidance or a finishing knife stab. Be wary, as downed zombies may play dead and grab you; slash them with a combat knife to ensure they are dead. For immediate kills, a point-blank shotgun blast or magnum round to the skull is effective, though generally not ammo-efficient.
Licker
A rare but dangerous enemy, Lickers can absorb significant damage and deal heavy damage with their long-distance tongue attack and pounce. They are blind and track by sound, allowing for stealthy passage if you move very slowly. Lickers are vulnerable to Flash Grenades, which deafen and blind them, and fire, which Claire can utilize earlier than Leon. They are often placed in challenging areas where stealth is difficult.
Zombie Dog
Encountered infrequently, these fast and agile enemies can be defeated with a few well-placed pistol shots. The optimal strategy is often to place a door between yourself and them.
G-Adult
These enemies repeatedly grab at close range, inflicting damage and poison if a secondary weapon isn't used. At range, they fire G-Embryos that also cause poison. When encountered in water, they can be shot and bypassed during their emergence animation. Otherwise, they may require a grenade to pass. They have high health and are resistant to conventional firepower but can be panicked by fire attacks. Tanking them with R+B Herbs is also an option.
Ivy
Found late in the game, Ivies can be temporarily disabled by shooting their sap sacs or by using fire damage. Permanent kills require fire damage after they are disabled. If they get close without a secondary weapon, they are lethal. Both Leon and Claire have access to fire attacks by the time Ivies are encountered.
Similar guides you might like


100% Human-Written. AI Fact-Checked. Community Verified. Learn how AntMag verifies content