Complete walkthrough for the Warden Grey's Final Repose quest in Dragon Age: The Veilguard. Learn how to find notes, defeat the Fury of Sharksmouth, and claim your rewards.
Walkthrough
- 1Start the Quest: After completing 'The Dragon Slayer' main quest, return to Rivain and go to the Clifftops Beacon on the west side. Head southwest into the ruins and examine the Grey Warden remains to begin 'Warden Grey's Final Repose'.
- 2Find All Notes: You will need to find several notes about Warden Grey. The first note is accessible early on:
- Castle Bailey: Upon entering, look right and use Taash’s ability to shoot a Gaatlock Barrel, dropping a ladder. Climb it, walk along the beams, and find an opening on the left for the first note.
- 3Lava Caves: Teleport to the Cave Floor Beacon. Go west, climb stairs, and continue until you can drop to a platform on your right. Follow this walkway north of the Cave Floor, then east and up to the area where you fought Cutter in Taash’s quest. Instead of continuing up, go south to find the next set of notes.
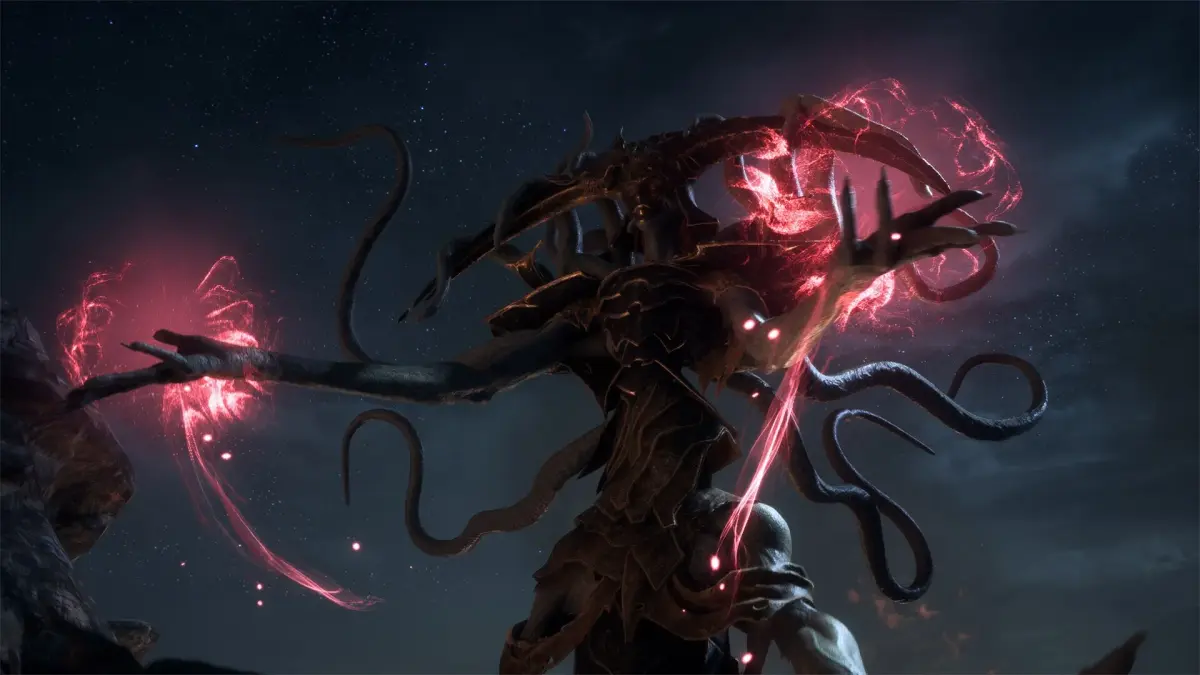
- 4Defeat the Fury of Sharksmouth: Once the necessary notes are found, your objective will update. The Fury of Sharksmouth is located in the castle area far north of the Lava Caves, just before the dragon fight in Taash’s Lair of the Dragon King. The Fury of Sharksmouth is a Level 42 Rage Demon. It is weak to Cold and resistant to Fire. Bring Neve and avoid Davrin and Taash if possible.
Tips
- The Fury of Sharksmouth uses rapid flame dashes, leaving burning areas. Watch for its blinking AoE marker indicating an imminent explosion.
- It can breathe fire with tracking properties and has a powerful melee combo.
- Its deadliest attack is the Fire Ring, where it shoots multiple rings of fire; dodge roll through them as they approach.
- Utilize Combos if your party can execute them easily.
- Stay on the move constantly.
- Prioritize fighting the Fury itself. If other demons spawn, deal with them quickly before returning focus to the Rage Demon.
Upon defeating the Fury of Sharksmouth and any other demons, you will receive +50 Grey Warden’s Strength, +100 Lords of Fortune Strength, and class-based loot dropped by the Fury.
100% Human-Written. AI Fact-Checked. Community Verified. Learn how AntMag verifies content