Find level specific strategies for Geometry Dash. Master intricate jumps and routes for challenging official levels like Stereo Madness and Back on Track.
Welcome, fellow Dashers! This section delves into the intricate mechanics and hidden pathways of specific Geometry Dash levels, offering detailed, actionable strategies to conquer even the most daunting challenges. We'll break down critical sections, highlight common pitfalls, and reveal optimal routes to help you achieve that elusive 100% completion.
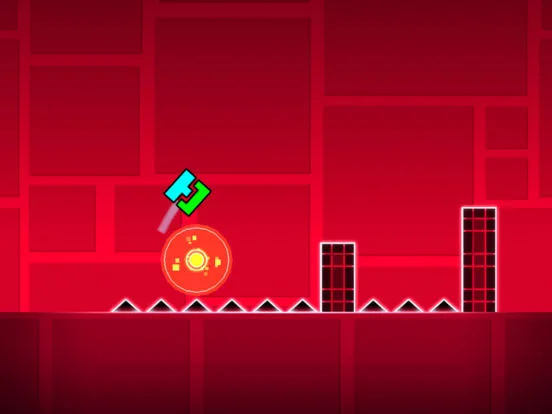
Stereo Madness (Easy)
The inaugural level, Stereo Madness, serves as an excellent introduction to Geometry Dash's core mechanics. While seemingly straightforward, mastering its rhythm and precise jumps is crucial for building foundational skills.
- 0-10% (Opening Cube Section): This initial segment introduces basic cube jumps. Focus on timing your taps to clear single blocks and small gaps. The key here is consistency; don't overthink it.
- 10-25% (First Ship Section): Your first encounter with the Ship vehicle. Maintain a steady tap to fly through the narrow passages. Remember, holding down will make you ascend, releasing will make you descend. Practice feathering your taps for fine control, especially when navigating between the two horizontal platforms.
- 25-40% (Second Cube Section & Yellow Orb): This part introduces the Yellow Jump Orb. Tap the screen precisely as your cube passes over the orb to execute a higher jump. There's a sequence of three yellow orbs leading into a triple spike; timing is paramount here. A slight delay in tapping the first orb can lead to an early demise.
- 40-55% (Second Ship Section & Gravity Portals): Here, you'll encounter your first Gravity Portal. Flying through a blue portal will invert your gravity, while a yellow portal will revert it. Pay close attention to the visual cues and adjust your flight accordingly. There's a tricky section with alternating gravity portals; anticipate the change and adjust your tap rhythm.
- 55-70% (Third Cube Section & Blue Orb): The Blue Jump Orb makes its debut. Unlike the yellow orb, you need to tap before hitting the blue orb to perform a lower, controlled jump. This is crucial for navigating under the low-hanging spikes. There's a sequence where you must hit a blue orb, then immediately a yellow orb to clear a gap.
- 70-85% (Final Ship Section & Spikes): This is arguably the most challenging part of Stereo Madness for new players. The ship section features a series of closely packed spikes and narrow corridors. Maintain a calm, controlled flight. Small, rapid taps are often more effective than long holds. Practice this section in practice mode to internalize the flight path.
- 85-100% (Concluding Cube Section): The level ends with a final cube segment involving a few well-timed jumps over triple spikes and a final jump onto the end platform. Don't get complacent here; many runs end just before the finish line due to a lapse in concentration.
Back on Track (Easy)
Back on Track builds upon the fundamentals of Stereo Madness, introducing slightly more complex jump sequences and tighter ship segments. Precision and rhythm are key to mastering this level.
- 0-15% (Opening Cube & Saw Blades): The level starts with a series of basic cube jumps, but quickly introduces the rotating Saw Blade obstacles. Time your jumps to pass between the blades. There's a section with two saw blades spinning in opposite directions; a quick, short jump is often safer than a full-height jump.
- 15-30% (First Ship Section & Narrow Gaps): This ship segment features narrower passages than Stereo Madness. Focus on maintaining a consistent flight path. There's a particularly tricky part where you need to fly through a very small gap between two blocks; small, precise taps are essential.
- 30-45% (Cube with Multiple Orbs): This section combines Yellow and Blue Orbs. You'll encounter sequences requiring a blue orb tap immediately followed by a yellow orb tap to clear a higher obstacle. Pay close attention to the visual cues and practice the timing. A common mistake is tapping the blue orb too late, causing you to hit the ceiling.
- 45-60% (Second Ship Section & Spike Walls): The ship segment here introduces moving spike walls. You'll need to adjust your flight path dynamically to avoid them. Anticipate their movement and plan your trajectory accordingly. Sometimes, a slight pause in tapping can allow a wall to pass, creating an opening.
- 60-75% (Cube with Triple Spikes & Platforms): This section features a series of triple spikes and platforms. The timing for clearing the triple spikes is crucial; a full-height jump is usually required. There's a part where you jump onto a small platform, then immediately jump again to clear another set of spikes.
- 75-90% (Final Ship Section & Gravity Changes): This concluding ship segment combines narrow passages with gravity changes. Be prepared to quickly adapt your flight style when passing through the gravity portals. The final gravity inversion before the end platform can catch players off guard; maintain focus until the very end.
- 90-100% (Concluding Cube Section): A relatively simple cube section to finish, but don't let your guard down. A few well-timed jumps over single and double spikes are all that stand between you and victory.
100% Human-Written. AI Fact-Checked. Community Verified. Learn how AntMag verifies content