Understand Geometry Dash level difficulties. Learn to recognize Easy, Normal, Hard, and Demon ratings based on obstacles, timing, and jump sequences.
Navigating the diverse landscape of Geometry Dash levels requires a keen understanding of their inherent difficulties. While the game provides a star rating system, truly mastering a level often hinges on recognizing the subtle cues and design principles that define each tier. This section will delve into the intricacies of difficulty, offering actionable strategies and insights to help you conquer even the most daunting challenges.
The Star Rating System: A General Overview
The star rating system in Geometry Dash serves as a fundamental indicator of a level's complexity. While not always perfectly precise, it provides a valuable initial assessment. Here’s a breakdown of what each star tier generally signifies:
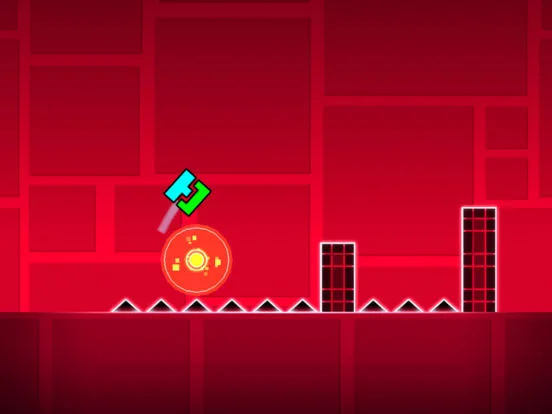
- Easy (1 Star): These levels typically feature slow-paced gameplay, minimal obstacles, and generous timing windows. They are ideal for new players to grasp basic mechanics like jumping and flying. Expect straightforward sequences without complex cube or ship segments.
- Normal (2 Stars): Introducing slightly faster sections and more frequent obstacles, Normal levels demand a bit more precision. You'll encounter basic orb and pad interactions, but the rhythm remains relatively forgiving.
- Hard (3 Stars): Hard levels significantly increase the pace and introduce more intricate obstacle patterns. Expect tighter jumps, more frequent gravity changes, and the introduction of simple portal sequences. Mastering these often requires a few practice runs.
- Harder (4-5 Stars): This tier marks a noticeable jump in difficulty. Levels here feature complex portal combinations (e.g., mini-ship to normal cube transitions), faster speeds, and more demanding timing. Expect to encounter spike walls and moving objects that require precise maneuvering.
- Insane (6-7 Stars): Insane levels are characterized by relentless speed, extremely tight timings, and often long, challenging sequences without breaks. Expect intricate wave and robot segments, demanding precise control and quick reflexes. These levels often require memorization of specific obstacle layouts.
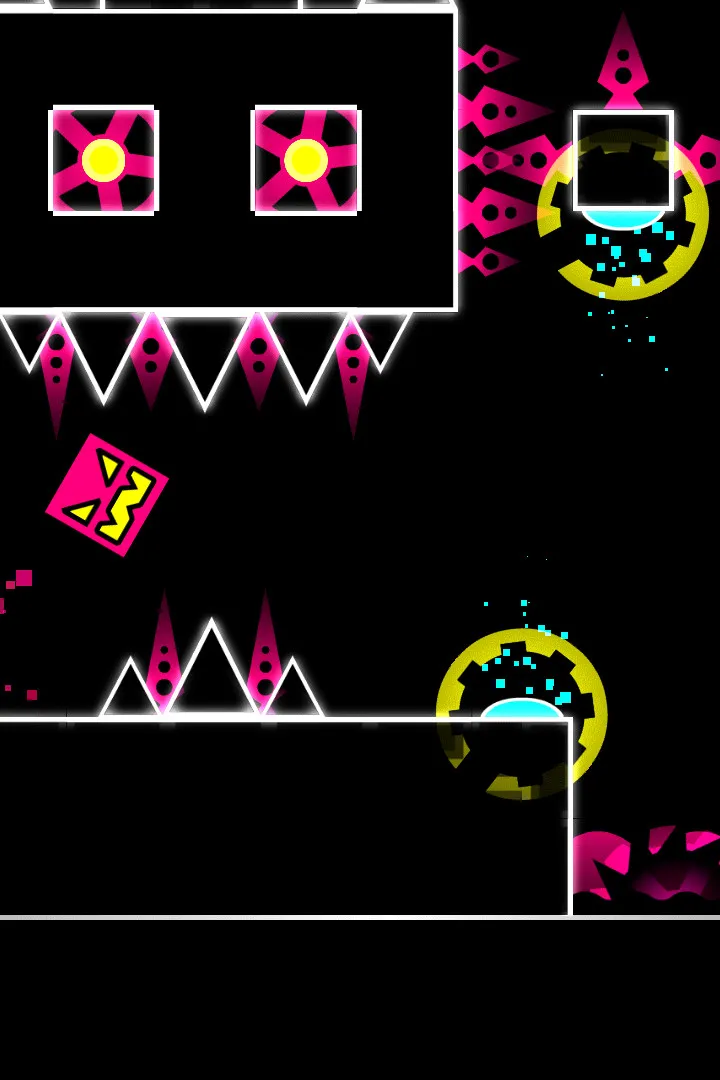
- Demon (10 Stars): The pinnacle of Geometry Dash difficulty, Demon levels are designed to push players to their absolute limits. They feature incredibly fast speeds, extremely tight gaps, complex portal spam, and often deceptive obstacle placements. Demons are further categorized into Easy Demon, Medium Demon, Hard Demon, Insane Demon, and Extreme Demon, each representing a significant increase in challenge.
Strategies for Tackling Different Difficulties
Approaching each difficulty tier with a tailored strategy is crucial for success. Here’s how to adapt your gameplay:
Easy and Normal Levels: Building Foundational Skills
- Focus on Rhythm: These levels are excellent for developing your internal rhythm. Pay attention to the music and try to synchronize your actions with the beat.
- Master Basic Jumps: Ensure you can consistently execute single, double, and triple jumps with precision. Practice holding down to extend jumps.
- Understand Orb Mechanics: Experiment with yellow and pink orbs to understand their jump height and timing.
Hard and Harder Levels: Precision and Pattern Recognition
- Practice Mode Utilization: For longer or particularly challenging sections, utilize practice mode extensively. Place checkpoints at the start of difficult sequences.
- Identify Choke Points: Pinpoint the specific sections where you consistently fail. Is it a tight ship corridor, a rapid cube sequence, or a tricky gravity portal?
- Break Down Complexities: If a section feels overwhelming, break it down into smaller, manageable sub-sections. Focus on mastering each part individually before attempting the whole. For instance, if you're struggling with a rapid gravity change followed by a triple spike, practice the gravity change in isolation first.
- Memorization (Limited): While not as critical as in higher difficulties, some memorization of specific obstacle layouts can be beneficial, especially for unexpected speed changes or hidden paths.
Insane and Demon Levels: Relentless Practice and Mental Fortitude
- Segmented Practice: This is paramount for Demon levels. Use practice mode to isolate and conquer individual segments, no matter how small. For example, if a wave section consistently trips you up, dedicate significant time to just that segment.
- Visual Cues and Audio Synchronization: Pay extreme attention to visual cues (e.g., flash timings, moving blocks) and how they synchronize with the music. Many Demon levels are designed with precise audio-visual timing.
- Muscle Memory Development: Repeated practice of difficult sections will build muscle memory, allowing you to execute complex maneuvers almost instinctively. This is crucial for sections requiring rapid, precise inputs.
- Patience and Persistence: Demon levels can take hundreds, if not thousands, of attempts. Frustration is inevitable, but maintaining a positive mindset and celebrating small victories (like clearing a new segment) is key.
- Community Resources: Don't hesitate to watch successful runs of the level on platforms like YouTube. Observing how other players navigate specific obstacles can provide invaluable insights and alternative strategies. Look for "no clip" or "showcase" videos to understand the full layout.
Recognizing Hidden Difficulty Factors
Beyond the star rating, several factors contribute to a level's true difficulty:
- Sync: Levels that are poorly synchronized with the music can feel much harder than their star rating suggests, as timing becomes less intuitive.
- Readability: A "blind" level with obscured obstacles, sudden transitions, or confusing visual effects will significantly increase the challenge, regardless of the actual obstacle density. Look for levels with clear pathways and well-defined hitboxes.
- Length: A longer level, even with relatively easy sections, can be more challenging due to the increased demand for sustained concentration and precision.
- Object Density: Levels with a high density of objects, even if individually simple, can create visual clutter and make timing more difficult.
- Creator Style: Different creators have distinct styles. Some are known for "chokepoint" levels with one or two extremely difficult sections, while others create levels with consistent, unrelenting difficulty throughout. Understanding a creator's tendencies can help you anticipate challenges.
By internalizing these principles and consistently applying these strategies, you'll not only improve your Geometry Dash skills but also gain a deeper appreciation for the intricate design that goes into each level.
100% Human-Written. AI Fact-Checked. Community Verified. Learn how AntMag verifies content