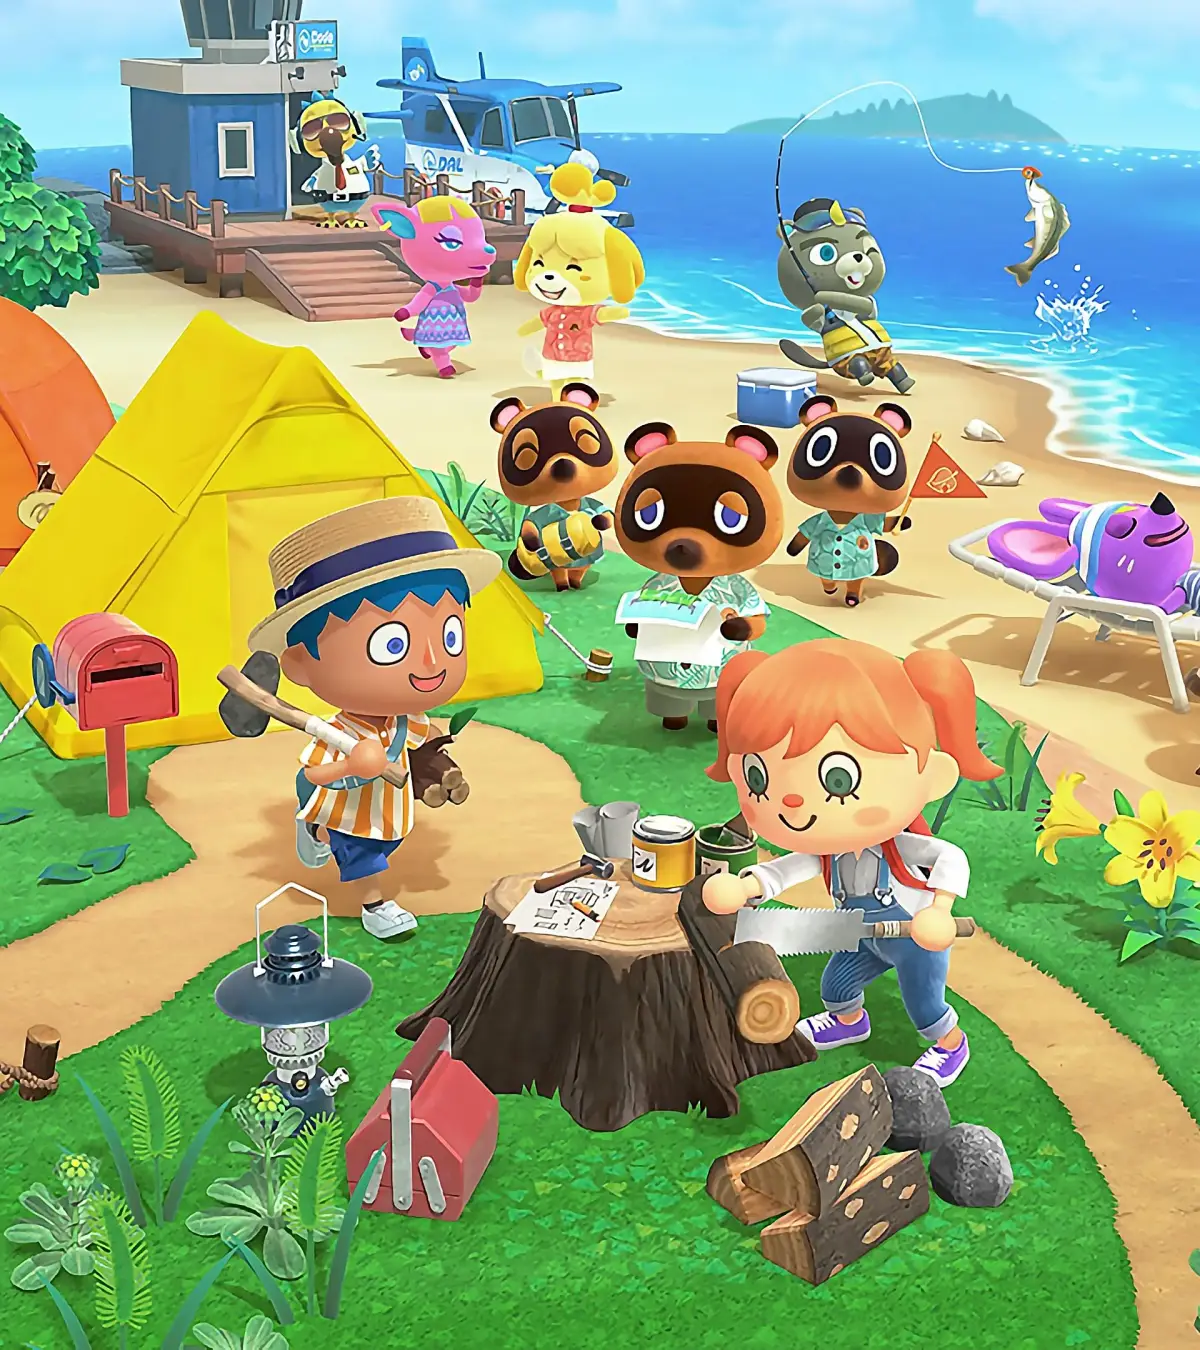
Learn how to build bridges and inclines in Animal Crossing: New Horizons to improve island appeal and access. Discover costs, placement tips, and construction details.
Hey there! So, you're looking to jazz up your island and make it easier for everyone to get around? Bridges and inclines are super important for that. They don't just make your island look better and boost its appeal rating, but they also help you and your villagers reach different parts of your island, especially those tricky higher spots or across rivers.
Building an Incline
Inclines are your best friend for accessing higher ground without constantly pulling out your ladder. To get started, chat with Tom Nook and select the option about bridges and inclines, then specify you want to talk about inclines. They can be pretty pricey – the cheapest one will set you back 98,000 Bells. The cool thing is, you don't have to pay it all upfront! You can chip away at the cost daily or just pay it all at once. Just remember, construction won't even start until the full amount is paid off.
Once you've picked out a style – the natural ramp is a great starting point – Nook will give you an incline marker kit. Now comes the fun part: finding the perfect spot. There are a few rules, like needing a mostly flat cliff face and keeping it a good distance from lakes and houses. When you've found the ideal location, Lloid will take over managing donations. While your villagers will chip in a little bit each day, it's really not much, so you'll probably want to contribute as much as you can yourself to speed things up. Once all the construction fees are paid, your new incline will be ready by the next day!
Building a Bridge
To start building a bridge, you'll again need to talk to Tom Nook and ask about bridges. You'll get to see a bunch of different styles, way more than the basic log bridge you might have made earlier. Be warned, though, these new options are generally more expensive. After you've chosen the bridge you like best, head over to a river and pick out a spot. For a really nice look, consider placing it diagonally across the river – it gives you a great view of both the front and the side of the bridge.
For example, the stone bridge costs a hefty 168,000 Bells. If your Bell savings are a bit low, you might need to take a few days to save up for it. Building both bridges and inclines is a really key step in making your island look its best and getting that coveted five-star rating!
Just like with inclines, the bridge won't be built until all the construction fees are fully paid.
100% Human-Written. AI Fact-Checked. Community Verified. Learn how AntMag verifies content