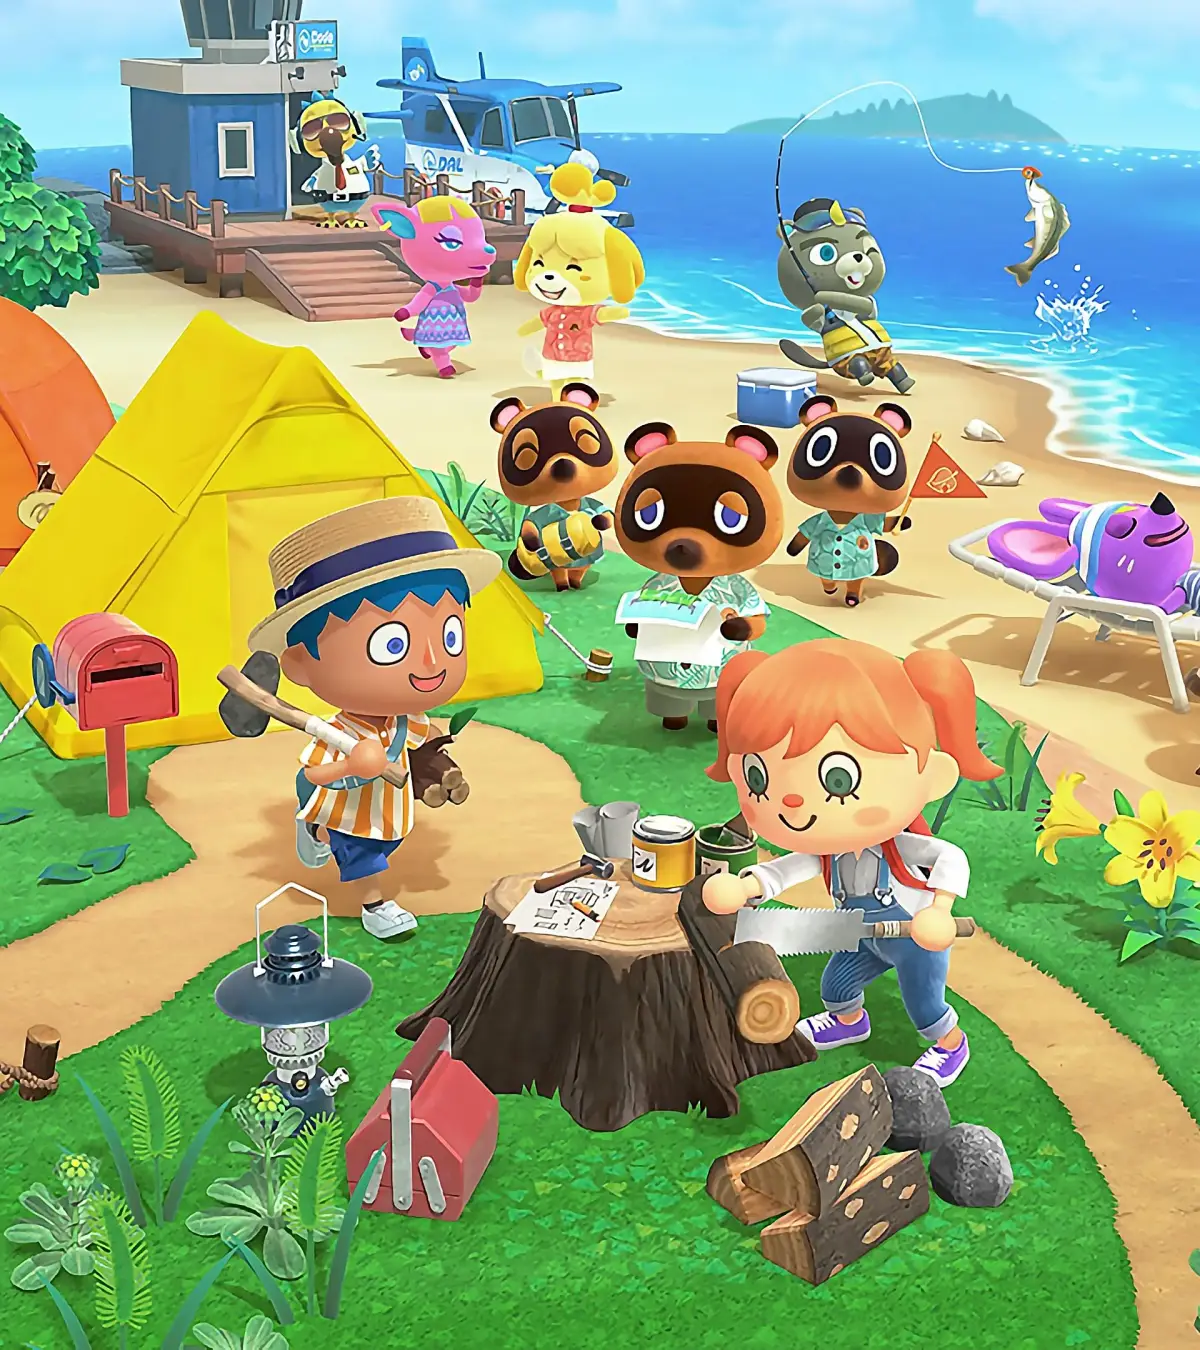
Start your animal crossing new horizons journey on day one. Learn about the NookPhone, Nook Miles, and crafting your first Fishing Rod.
You will be awoken by Tom Nook, who tells you that you’ve slept right through till the new day! He will then hand you your NookPhone; he will explain that it is similar to a Smartphone.
Next up, he will give you a bill for your island getaway package. It comes to a total of 49,800 Bells. If you don’t know what Bells are, you can ask Nook to explain. Basically, it is the currency used in all Animal Crossing games. You, however, have come to the island with no bells at all, so you cannot pay this bill.
Nook offers than you pay the bill in Nook Miles instead. Understandably, you may be confused as to what this program is, at first. Nook will explain that performing tasks and errands around the island will earn you Miles, which you will then be able to use to pay off your bill! You actually only need 5,000 Nook Miles to pay off the bill, instead of 49,800 Bells.
Nook Miles are earned by doing things around the island.
After Nook has explained the Nook Mileage Program, you will be directed to a cutscene (a non-interactive cinematic the game plays automatically) of an island-wide broadcast by Tom Nook. These announcements will happen everyday when you load up your game. From this point onwards, you’ll also be able to use the airport to play local and online multiplayer! He also mentions that the airport and the Resident Services are open 24 hours a day, which means you can interact with friends at all hours of the day.
During these broadcasts, Nook will announce any island updates. They happen everyday.
To access your Nookphone, use the ZL button, located on the back of the controller. The Nookphone is quite simple to use, but here’s a rundown of all the apps you’ll have available at first:
- Camera: the Camera app functions as a screen capturing device. With this, you can take photos that can then be found in your Switch Gallery.
- Nook Miles: the Nook Miles app is where you can find out how to earn Nook Miles. Completing the achievements in the Nook Miles app will allow you to claim Nook Miles to spend as you please.
- Custom Designs: this app allows you to create custom designs and custom clothes! You can choose just to make an ordinary design, or one that is tailored specifically for an item of clothing.
- Map: the map will be very handy when you’re out exploring for the first time. It shows you the location of the airport, Resident Services, as well as the island homes (including your own).
- Passport: Your passport will be visible to other players that you interact with during multiplayer modes. You can change your photo, title and comment whenever you like. You can unlock new titles by completing Nook Miles achievements.
- Rescue Service: The rescue service can be called if you ever find yourself stuck or lost on your island. They will fly you back to your house in an emergency.
The Nookphone will gain more and more apps as you progress.
After talking to Nook, you should also open up your letterbox, which is located just outside of your tent. Inside will be at least two letters. If you have downloaded the game during a special season or update, then you may also have an extra letter containing another gift. The two letters that everyone are guaranteed to have though are the two following:
- A letter from Mom: Your Mom will send you a letter congratulating you on your big move, and attached to the letter will be three pieces of fruit. The fruit she gives you will always be different from your native fruit, this is so you can start growing new fruit trees on your island!
- A letter from Nintendo: Your letter from Nintendo will also congratulate you on your move to the island. Attached to the letter will be a DIY recipe for a simple DIY Workbench, which will certainly be handy when you want to begin crafting.
After you’ve had some time to explore the island and work out how to use your Nookphone, you’ll want to head over to the Resident Services and talk to Nook. He will tell you that Timmy will buy items from you in exchange bells, which means you can start earning some money!
Nook will next offer you a DIY workshop, which will teach you the basics of DIY. Head over to the DIY Bench in the top right corner of the Resident Services and press A to interact with it. This will trigger the DIY workshop tutorial.
The DIY workbench is where you’ll be able to craft furniture, clothing, equipment, and other items using materials you’ve collected. You’ll only be able to craft things that you know the recipe for. You can collect a few new recipes everyday, and these are important for learning how to craft new and fun (and sometimes rare!) items.
Firstly, Tom Nook will ask you to collect five Tree Branches, which can be found near the base of trees. It shouldn’t take you long at all to collect some, but if you’re struggling, don’t forget that they can also fall out of trees if you shake them.
Return to Nook with the branches and he will teach you how to make a Fishing Rod. Head over to the workbench and you’ll be able to select the Flimsy Fishing Rod as an available item to craft. When you select a DIY to craft, it will give you a breakdown of the materials required to make it. If you have all the required materials, then you’ll be able to select the option to Craft it!.
The Flimsy Fishing Rod only requires five tree branches.
After you have crafted the fishing rod, Tom Nook will give you a few extra DIY recipes to get you started. This will then unlock the DIY app on your Nookphone. When you access this app,
100% Human-Written. AI Fact-Checked. Community Verified. Learn how AntMag verifies content