Learn the Total Annihilation battle screen! Understand the map, radar, sonar, metal, energy, and unit construction choices to dominate the battlefield. Your ultimate guide.
Alright, so you've just booted up Total Annihilation and you're staring at a screen that looks like a complex control panel. Don't sweat it! This section is all about breaking down what all those numbers and icons mean so you can start commanding your forces like a pro. Think of it as getting to know your dashboard before you hit the gas.
Let's dive into what you're seeing on your battle screen. It might seem like a lot at first, but once you know what each part does, it all clicks into place. We'll cover the map and how to read it, your vital metal and energy resources, and how to actually build your army.
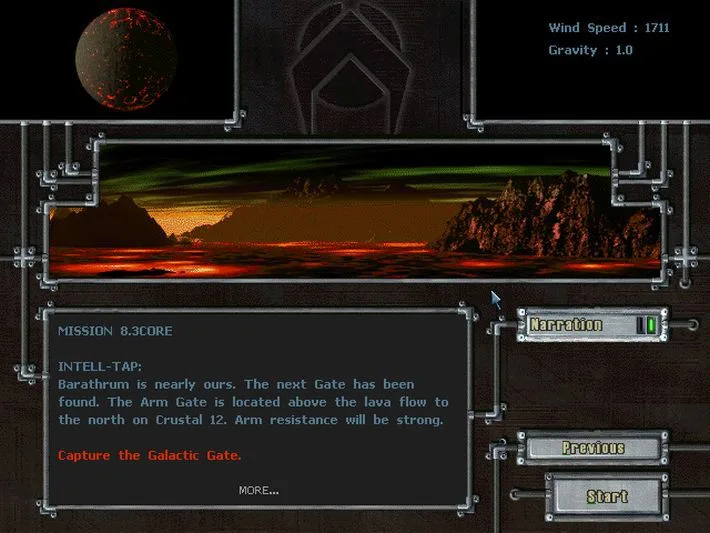
- 1The Map and Radar/Sonar (1): This is your eyes and ears on the battlefield. You can set it to 'Mapped' mode, which shows you the terrain in black and white, or 'Unmapped' where you start with a black map and explore as you go. 'Permanent line of sight' lets you see everything in color, even enemy units, making radar/sonar less crucial. Radar and sonar, shown in your team color (blue for you, red for the enemy), are vital for spotting units you can't directly see. Radar Towers and Sonar Stations, along with some units like the Commander and Advanced Aircraft Plant, provide this crucial intel. Remember, campaign missions are typically 'Unmapped' with 'True' line of sight, meaning elevation affects what you can see.
- 2Metal Gauge (2): This is your primary resource. The bar shows how much metal you have relative to your maximum. The green number with a plus sign indicates your metal income (how much you're producing), and the red number with a negative sign shows your metal expenditure (how much you're spending). To avoid shortages, you always want your income to be higher than your spending.
- 3Energy Gauge (3): Just as important as metal, energy powers your structures and units. Similar to the metal gauge, the bar shows your current energy level. The green number with a plus sign is your energy production rate, and the red number with a negative sign is your energy consumption rate. Keep your production higher than your consumption to maintain a stable power supply.
- 4Unit Construction Choice/Commands (4): This is where you'll actually build your army. You'll select the units you want to produce here. We'll get into the specifics of what you can build in later sections, but for now, know that this is your primary interface for creating your forces.
- Always keep an eye on your metal and energy income/expenditure. Running out of either can cripple your production and leave you vulnerable.
- Experiment with the map settings in skirmish mode to find what works best for your playstyle. 'Permanent line of sight' can be very powerful if you can manage it.
- Don't neglect radar and sonar; they are essential for early warning and strategic positioning, especially in 'Unmapped' modes.
100% Human-Written. AI Fact-Checked. Community Verified. Learn how AntMag verifies content