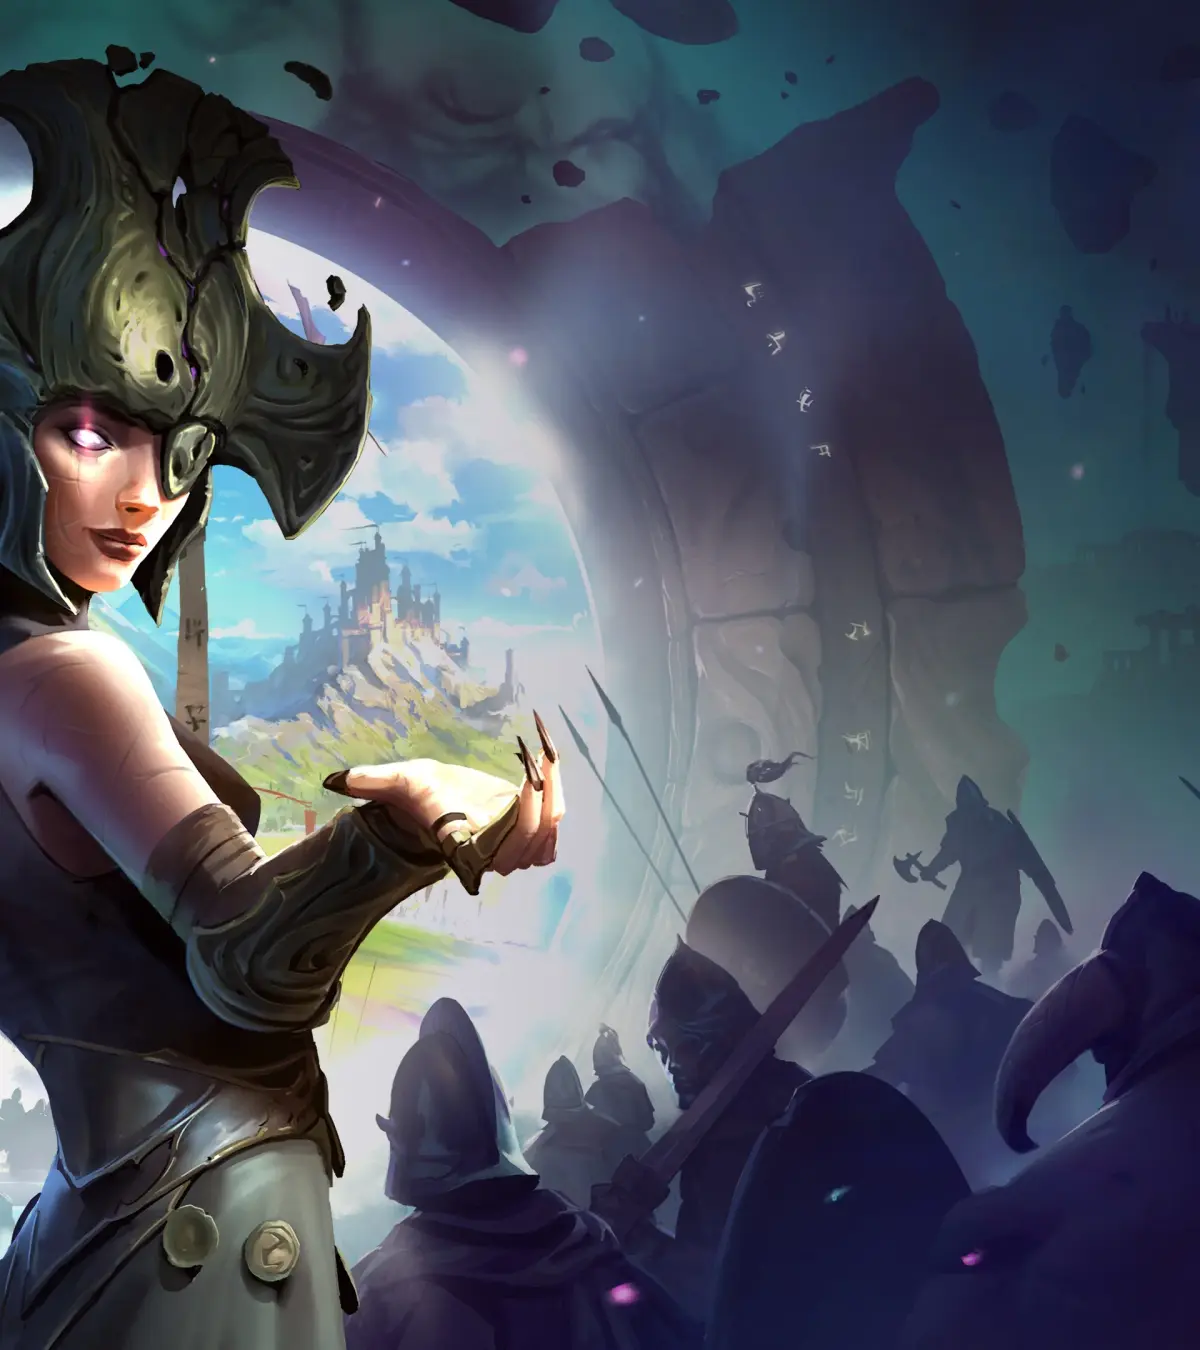
Welcome to Age of Wonders 4, a 4X fantasy strategy game where you forge your own magical empire. You'll create a custom ruler, choose your faction's race and culture, and then dive into a world filled with magic, diplomacy, and war. From building up your cities and researching powerful spells to leading your armies against rivals and confronting godlike adversaries, every decision shapes your destiny.
This guide is here to help you master the intricacies of Age of Wonders 4. We'll cover everything from the initial character and empire creation, through the complexities of city management and magic systems, to navigating diplomatic challenges and conquering new territories. Whether you're aiming for a specific ending or just want to understand the deep systems at play, this guide provides the knowledge to forge your ultimate empire.
Part 2
Navigate the critical decisions and challenging paths in Age of Wonders 4's Part 2. Choose between the Northern Trade Route or Subterranean Path, conquer cities, and forge alliances.
- 1Decisions: After freeing Halflings and saving Flowshire, choose between the subterranean path (harder) or the Trade Route to reach a designated city within 20 days. Prioritize units with high movement points.
- 2Northern Trade Route: Races include Orcs, Halflings, Goblins, Dwarves. Objectives are to reach Lunaris in 20 days or kill the Orc leader. Follow the road to Lunaris, or find and defeat the Orc leader. A hero will join you; recruit them.
- 3Subterranean Path: Races include Orcs, Dwarves, Goblins, Halflings. Objectives are to reach Lunaris in 20 days or kill the Orc leader. Head east to find the exit and watch for Orcs. Defeat the Orc leader if found.
- 4Between Game: Take your hero and strong units to save the United Cities.
- 5United Cities: Races include Halflings, Frostling, Elves, Orcs. Objectives are to reach the United Cities and then conquer the map. Head north, avoiding Orcs. Allied with the United Cities and an Elven leader, you can conquer the map.
- 6More Decisions: Choose between Dwarves (perfect fighters) or Lizards (walk over water) as allies. You also pick two more magic spheres. If you chose Dwarves, pick up the remains of the Dwarven Empire. If Lizards, prove their worth to the Keepers.
- 7Earthquake: Races include Orcs, Dwarves, Humans, Goblins. Objective is to conquer Location Delatar on the surface. This map is long and underground; beware of Orcs and Goblins.
- 8Southern Marsh: Races include Frostlings, Lizards, Orcs, Dwarves, Undead. Objective is to conquer the map. Ally with both good and bad races to convert them rather than fight.
- 9In Between Game (Dwarves/Lizards): If with Dwarves, head to a Mining Outpost to help them against Frostlings. If with Lizards, head to the Peninsula of Sobek.
- 10Mining Out Post: Races include Dwarves, Frostlings, Goblins. . Start without a city; Frostlings control half the map. Reach a level 4 city, build quick units, and conquer territory before focusing on Frostlings. Dwarves are on the eastern side.
- 11Peninsula of Sobek: Races include Humans, Lizards, Dwarves, Orcs, Undead, Halflings, Elves, Goblins. . Humans, Dwarves, and Orcs have strong holds. Make peace with some races before attacking.
- 12In Between Game / AWWWWW MAN: Bring your strongest units for a map filled with Goblins & Frostlings. Your efforts with the Lizards have caused you to leave the Keepers, but Lizards will prove good allies.
- 13Hall of Heroes: Races include Dwarves, Dark Elves, Goblins, Frostlings, Orcs. Objective is to find the Hall of Heroes. This map is very hard with outnumbered forces and filled neutral cities. Tunneling and exploring are key; Karag attacks indicate proximity.
- 14Serpent River: Races include Lizards, Undead, Orcs, Azracs, Halflings, Elves, Dwarves. (Objective not fully specified in source).
- Prioritize units with the most movement points for timed objectives.
- In the Hall of Heroes, consider using powerful, hasted units like Green Drakes to quickly target leaders and clear the map efficiently.
- When facing strong opponents, consider using defensive structures like towers and Bombardiers to control areas while exploring.
- In maps like Southern Marsh, allying with neutral races can be more beneficial than immediate combat.
- For maps like Mining Out Post, focus on rapid expansion and securing a city early.
Part 4
Follow the Cult of Storms walkthrough in Age of Wonders 4, including objectives like assassinating Queen Elywn and conquering the map.
Overall Objectives:
- Rid the world of both Humans and Keeper
- Rebuild the Elven Court in the Valley of Storms
- Resurrect the greatest Elven Lord, Inoich
- Restore order under their own law and power
Walkthrough:
Playing as the antagonist in Age of Wonders 4 involves suppressing revolts and confronting traitors and opposing forces. It is recommended to customize your leader and assign abilities during the campaign. Prioritize acquiring the Unholy Champion ability as soon as possible.
Prelude to War
Races: Elves, Goblins
Objectives: Assassinate Queen Elywn
Tips: Attempt to locate Queen Elywn before she gains more power for an easier victory. A 4-hex city is available in the northeastern part of the map if you require additional support.
Between Game
Ensure you bring your assassins or the Goblin Beetle to the subsequent mission. Utilizing the Northern Trade Route is recommended for its simplicity.
Northern Trade Route
Races: Halflings, Goblins
Objectives: Conquer Lunaris or defeat the Halfling leader
Tips: Reaching Lunaris within 20 days is achievable; the challenge lies in conquering it. Follow the road to reach your destination. Locate the hero on this map to assist you. Defeating the Halfling leader will save time. He is situated in the northeastern section of the map.
Subterranean Path
Races: Orc, Goblins, Dwarves
Objectives: Conquer the Map or defeat the Dwarven leader
Tips: Negotiate peace with the Orcs and incite them to wage war against the Dwarves. Subsequently, either locate and defeat the Dwarven leader or proceed to Lunaris.
In Between Game
Bring your most powerful units to the next map.
United Cities
Races: Goblins, Orcs, Elves, Halflings, Frostlings
Objectives: Conquer the Map
Tips: Leverage your alliance with the Orcs, as you are preparing for a prolonged conflict in the United Cities. Attempt to establish peace with the Frostlings, and once you have dealt with the Elves and Halflings, you can engage them effectively.
In Between Game
You will receive two additional spheres. You have the choice to join the Lizards or continue with Meandor and ally with the Orcs. Remember that Orcs are formidable warriors known for their brute strength, while Lizards possess an advantage in aquatic environments.
Uniting the Clans
Races: Orcs, Halflings, Dwarves, Azracs
Objectives: Conquer the Map
Tips: Numerous Goblin/Orc cities are available to join your cause; locate them quickly. Prioritize eliminating the Halfling leader first, as he is the closest and weakest. Ensure you migrate level 4 cities to Orcs, which will be beneficial for this and the subsequent map.
Southern Marsh
Races: Frostlings, Lizards
Objectives: Conquer the Map
Tips: The advantage of being a neutral race is the ability to ally with two factions instead of one. It is advisable to ally with neutral and hostile races, as converting them to your side is more advantageous than engaging in combat.
In Between Game
For the upcoming mission, bring your strongest Orc units.
Goblin Revolt
Races: Orcs, Goblins, Dwarves, Halflings
Objectives: Conquer the Map
Tips: You will be confronting the Goblins, but upon defeating their leader, the Goblin cities will join you. The Goblin leader is located in the center of the map. After dealing with him, focus your attention on the Halflings and Dwarves.
Peninsula of Sobek
Races: Humans, Lizards, Dwarves, Orcs
Objective: Conquer the Map
Tips: This map presents a moderate challenge due to the strong human presence. The Dwarves and Orcs also maintain a significant hold on the territory. Ensure you establish peace with the Orcs until you are prepared to eliminate them. You will acquire a hero at the start of round 1 if you do not already possess one.
In Between Game
By this point, you should have acquired several Orc Warlords or a Red Dragon, which will be advantageous in the next map. Ensure you bring a substantial number of strong Lizard units with you to the next map.
Ashen Steppe
Races: Humans, Orcs, Azracs
Objectives: Conquer the Map
Tips: This map is relatively small, with most cities clustered together, making their capture straightforward. Defeating the humans will not be difficult, but the Azracs may pose a slight challenge.
Serpent River
Races: Lizards, Undead, Orcs, Azracs, Halflings, Elves, Dwarves, Humans
Objectives: Conquer the Map
Tips: This map is ideally suited for Lizards, with numerous rivers in close proximity, allowing for rapid domination. The Flood spell is highly effective in such terrain.
Facing A Legend
In the subsequent map, you will confront Bromac, a formidable dwarven legend. Your leader should be approximately level 10-13, and you should possess some level 3/4 units with gold experience.
Facing a Legend
Races: Lizards, Humans, Orcs, Dwarves
Objectives: Conquer the Map
Tips: You will need to cross a river to reach Bromac, or you can utilize the faster underground route. Exercise caution with the Lizards if you choose the river path. Initially, capture the Human cities to the north, and when prepared, cross the river to find and conquer a city.
Blackwater Lake
Races: Lizards, Dwarves, Orcs, Humans
Objectives: Conquer the Map
Tips: Utilize the water to your advantage and attempt to...
Part 5
Age of Wonders 4 scenario walkthroughs and strategies for conquering maps like 'From the Depths of Earth' and 'Inioch Touch'.
Immortality / Decisions
After defeating Bromac, you will face two decisions: Join the Undead or join the Dark Elves. Keep in mind the Undead have many immunities and regenerate every turn. The Dark Elves have a variety of units and high resistances. You will also get to pick two more spheres to worship.
After freeing all of the Lizards land, you will have to make two choices: Join the Undead or the Highmen and pick two new spheres.
From the Depths of Earth
Races: Dark Elves, Undead, Elves
Objectives: Conquer the Map
Tips: As you move up on the map, you will face different enemies. When you reach the caverns level you will face the Undead. When you reach the surface you will face the Elves. When you get to the caverns, don't leave until you've beaten the Undead. It will be easier to deal with one leader at a time. Be sure to produce the Dark Elves strongest units.
The Skull
Races: Dark Elves, Undead
Objectives: Conquer the Map
Tips: Skull Mountain really looks like a skull. This map isn't hard. You should be able to beat this map easily.
Gabriel's Last Stand
Races: Undead, High Men
Objectives: Conquer the Map
Tips: If you picked any life spheres, Turn Undead and Holy Champion will help you allot. Plus the High Men have the natural ability to fight Undead so this map shouldn't be too hard.
In Between Game
You will need the Dark Elves strongest units for this map.
Now that you have experienced the Undead/High Men units, bring the strongest ones to the next map.
Noble Treachery
Races: Azracs, Dark Elves, Frostlings, Lizards
Objectives: Conquer the Map
Tips: You will have to move fast to defeat your opponents. You will be fighting a battle against three opponents on three sides. Move quick to take out at least one leader and you will be fine.
Old Schools
Races: Humans, Azracs, High Men, Undead, Frostlings, Dark Elves, and Lizards
Objectives: Conquer the Map
Tips: There are many races to react with but it will be worth it when you get to the wizard towers in the middle of the map. This is a well-constructed map.
Unicorn Valley
Races: High Men, Elves
Objectives: Conquer the Map
Tips: Watch out for the Altars of Life and the Altars of Lightning that the Elves control. Also beware of the many, many unicorns wandering around. They will attack you as soon as they see you.
In Between Game
The maps only get harder as you get closer to the end of the campaign.
Inioch Touch
Races: Undead, High Men, Dark Elves
Objectives: Conquer the Map
Tips: This map will be hard since you will have no city to start off from. You can try to make peace with the Undead until your empire is big enough. Toward the north, there are some Dark Elf settlements. Try to get to them before the Undead or Highmen get them.
Opposition
Races: Human, Dark Elves, High Men, Elves, Undead
Objectives: Conquer the Map
Tips: There are many Undead cities underground so start looking. You will be facing many hostile races in this map. Just take them on one at a time and you will be fine.
Garrison Supply
Races: Frostlings, Undead, Dark Elves, High Men, Orcs, Goblins
Objectives: Conquer the Map
Tips: Try to defeat the Frostling leader before he has time to get stronger. He is directly east of the starting location. The Dark Elves & the Undead will be another story. The Dark Elves have a very strong hold over the map so it might take a while to beat this map.
In Between Game
Bring your strongest units to the next map.
The Storm
Races: Dwarves, Elves, Dark Elves, Highmen, Halflings
Objectives: Conquer the Map
Tips: You are outnumbered and cannot offer peace until you are strong enough. Stay above ground and you will find a few friendly races. Take over the Dwarves empire first because they are the weakest. They are located toward the east. Be sure to protect your cities because your opponents will swarm you quick.
Pass of Grief - Undead
Races: High Men, Undead
Objectives: Conquer the Map
Tips: There are many human cities to get so build quick units so you can get to them before the High Men do.
Pass of Grief - High Men
Races: High Men, Undead
Objectives: Conquer the Map
Tips: There are many razed human cities and many wandering human units so convert them and don't forget to bring some builders. Just follow the wasteland to find the leader.
In Between Game
The final battle is here so bring only the strongest units.
Valley of Wonders - Dark Elf
Races: Dark Elves, High Men, Elves, Undead, Humans
Objectives: Conquer the Map
Tips: This will be a hard map but nothing harder than you already played. The humans have a strangle hold on the map. Try to take them out last but don't let them get too strong.
Valley of Wonders - Undead
Races: Dark Elves, High Men, Elves, Undead, Humans
Objectives: Conquer the Map
Tips: This map is huge and filled with hostile races. You will have a slight advantage in battles if you have any Reapers. Just be wary about the High Men since they are built to fight Undead. They are located to the north.
Valley of Opportunity - High Men
Races: Dark Elves, High Men, Elves, Undead, Humans
Objectives: Conquer the Map
Tips: You will have a clear advantage when coming into this fight because of the humans. Try to take out the Undead first since High Men can beat them easily.
6. Scenario Walkthroughs
This is the scenario section. The scenarios are the major events that lead up to the campaign section of the game. For each scenario, opinions and strategies are provided.
After the Fall
Size/Number of Cities/Number of Players: XL / 80 / 12
Races: All of them
Strategies: This map is pretty evened throughout all of the races but a few races have advantages. The Lizards have the advantage.
Part 7
Explore all structures in Age of Wonders 4, from Wizard Towers to income-producing buildings like Mines and Farms, and learn about their effects and strategic uses.
This section describes all of the structures in Age of Wonders including types of cities to Wizard Towers. Most of them are in some type of category but the ones that don't are listed first.
Wizard Towers
- Can give you new spells that you can't research at a price
- They can also give you spells that you can't cast or don't want
Monster Lair
- You have no control over these but when you enter them only 8 units can come. The reason for entering one of these is to get the items inside and most of the time it's worth it.
- Other variations of these are Castle ruins and Ziggurats
Dungeons
- These are the same as Monster Lairs but instead of gaining items you get units.
Teleporter
- These teleport units from one teleporter to another.
- Sometimes a teleporter will take you to places at random so be careful.
Reflecting Pool
- Allow you to see the area around other reflecting pools.
Tower
- These allow you to see more of the surrounding area than your normal units can.
- Very good if you want to see enemies from far away.
Income Producing
These structures give you gold or mana every turn. They are very valuable so keep a close eye on these structures.
Mine
- Gives you 10 gold every turn
- Try to have as many of these as possible
Farms
- Produces 10 gold every turn
- If they are located in a wasteland they will produce nothing
Builder Guilds
- Produces 12 gold
- Constructs special very useful machines
Power Nodes
- Try to have as many of these as possible to give you lots and lots of mana without any requirements.
- Gives you 10 mana every turn
- Are very useful in casting spells
Unit Effecting
These structures effect your units when passed over. Each structure has some kind of benefit but the only lasts so long. The Spring of Life and Blood Shrine are good examples of these. The Arena can train your units but it will cost allot to do so.
Blood Shrine
- Gives units attack and damage bonuses
- This only lasts three days.
Arena
- Trains any unit up to a gold badge for a price.
Magic Sanctuary
- Protects units from overland spells
Spring of Life
- Heals all units that pass through and gives them ability bonuses. This only lasts three days.
Altars
These structures are very powerful and very useful to anyone who controls it. Each of them cause damage on a global scale. The Altar of Life, the Altar of Ice, and the Altar of Death are the most powerful because of their wider range for damage. They also change the type of land after they are fired. The Altar of Pestilence makes a cloud of poison, which is only so effective. The Altar of Fire and the Altar of Ice have don't cover many hexes but they are still very effective. You should always get control of any of these Altars. If worse comes to worse, raze them so enemies won't get control of them. All Altars have the same firing time usually 10 or so turns. After you fire it once, you'll have to wait for it to recharge. Here are the types of Altars.
Altar of Life
- Shoots a blast of holy energy at a certain area.
Altar of Death
- Shoots a blast of death energy at a certain area.
Altar of Pestilence
- Creates a cloud of poison at a certain area.
Altar of Fire
- Shoots a blast of fire energy at a certain area.
Altar of Lightning
- Shoots lightning at a certain area.
Altar of Ice
- Shoots a blast of ice energy at a certain area.
Special Nodes
These nodes are very different from the regular node. These node only produce mana if you have control the certain sphere. On special occasions these nodes will produce a unit for whoever controls the nodes. These events are when a Mast
Similar guides you might like


100% Human-Written. AI Fact-Checked. Community Verified. Learn how AntMag verifies content