Navigate Total Annihilation's Battle Breakdown, understand unit construction, and explore essential game mechanics in this comprehensive guide.
Alright, let's dive into the nitty-gritty of Total Annihilation that doesn't fit neatly into other categories. This section covers some crucial interface elements and how you'll actually build your army. Think of it as getting a handle on the game's dashboard and your factory floor.
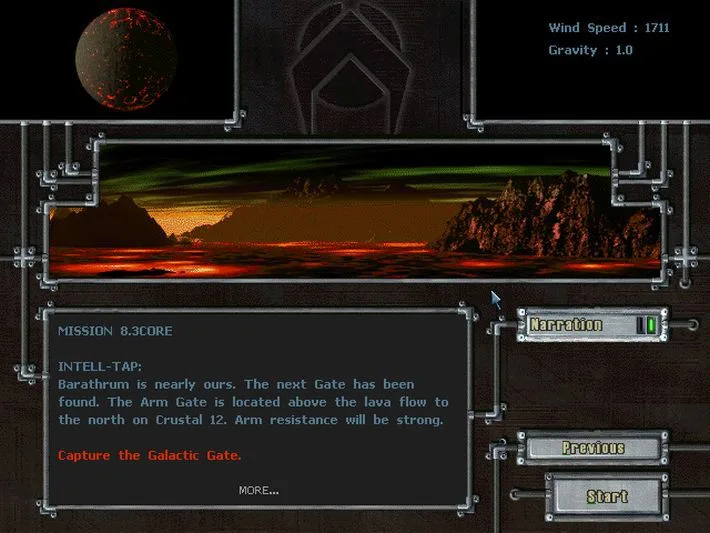
First up, let's break down that battle screen you're looking at. It can seem a bit overwhelming at first, but once you know what each part does, it all clicks.
Battle Breakdown
If you're ever staring at your screen and wondering what all those numbers and bars mean, this is for you. It's essentially your game's heads-up display explained.
Map and Radar/Sonar
This is your window to the world. It shows the overall map, and depending on your settings, your radar and sonar feeds. You've got a couple of ways to view this:
- Mapped Status: This shows you the terrain in black and white. It's great for seeing the lay of the land, but you won't see enemy units unless they're in your direct line of sight. If you combine this with Permanent Line of Sight, you get a full-color map where you can see everything, everywhere, all the time. This basically makes radar and sonar redundant.
- Unmapped Status: This is how most campaign missions start – a black map that fills in as you explore. Once you leave an area, it stays visible, but you won't have a permanent line of sight into it.
Radar and sonar pings show up in your team color (usually blue) and enemy pings in red. You'll need Radar Towers and Sonar Stations (or their advanced versions) to detect enemies via these systems. Some units, like your Commander and the Advanced Aircraft Plant, also have built-in radar capabilities.
Quick Note: Campaign missions almost always use Unmapped status with 'True' line of sight. 'True' line of sight means elevation affects what you can see. Remember, blue is you, red is the enemy, and radar/sonar matches the unit's team color.
Metal Gauge
This is your economic lifeline. The bar shows how much metal you have relative to your maximum. To the right, you'll see two numbers: a green one with a plus sign indicating your current metal production rate, and a red one with a minus sign showing your current metal consumption rate. To avoid running out of metal, you'll generally want that green production number to be higher than the red consumption number.
Energy Gauge
Just as crucial as metal, this gauge shows your energy reserves. Like the metal gauge, it has a bar for your current energy level and two numbers on the right: a green plus for energy production and a red minus for energy consumption. Keep that green production number higher than the red consumption number to ensure you have enough power for your structures and units.
Unit Construction Choice/Commands
This is where you actually tell your Commander or Construction Units what to build. You'll select a unit from the available list, and then direct your builder to construct it. We'll get into the specifics of building your army in the Units section, but this is where you initiate those commands.
100% Human-Written. AI Fact-Checked. Community Verified. Learn how AntMag verifies content