Your friend's guide to Nioh Part 15. Navigate treacherous caverns, defeat tough enemies like the One-Eyed Oni, and prepare for the speedy Hino-Enma boss fight.
Alright, let's dive into Part 15. We're going to be navigating some tricky caverns and dealing with some nasty foes, so stick close!
First off, you'll find yourself in a tunnel. Keep moving down it until you reach a small alcove. Inside, you'll find a Dweller and a corpse. Grab what you can, but don't linger too long. Keep heading down the tunnel, and you'll eventually connect to the bottom floor of the area. There's a Yokai patrolling down here, but we can ignore him for now. Let's head up the sloped path to a ledge area.
Carefully drop off this ledge to a small pathway below. You'll see mist up ahead, and that means an Ax Yokai is waiting. We absolutely need to take him down, so don't hesitate to use your Living Weapon if you need to. Once he's down, you'll find a Shrine right behind him. This is a great spot to pray and level up, so do that. Right next to the shrine is a ladder; kick it down to surprise a Skeleton Warrior at the bottom. After that, grab the nearby corpse before continuing down to the main floor of the cavern.
This lower section is crawling with powerful enemies, so thankfully we have that shrine nearby. You'll find a Skeleton Warrior on either side of a big rock. Head to the RIGHT from where you dropped down to find another Skeleton Warrior and a corpse to loot. Now, you'll undoubtedly see the big guy back here – this is the 'One-Eyed Oni,' or as I like to call him, the cyclops. He's got a nasty belly flop, a three-swing combo, and a jumping attack. He can also fling rocks if you're too far away. He's a bit like the Onryoki, but honestly, less of a threat. The key here is to hit him in the eye – it does massive damage. Wait for him to finish an attack, then go in, hit his eye, and claim the corpse he's guarding.
Now, let's head back to the main cavern area and follow the LEFT wall. Past a big rock, the wall will turn into a passage. Down here, you'll encounter a new enemy: the 'Kappa.' Be quick and attack him, but watch out for his jump and slam. He's kind of like a Treasure Goblin from Diablo – he drops a ton of loot when you kill him. Make sure to search the back of this area too, because you'll find a Hunter Kodama hidden among the blue crystals.
Head back out and take out the Dweller straight ahead by that corpse. You'll also see that wandering Yokai we ignored earlier; now's a good time to put him down. Head to the right, back towards the sloped path, and keep sticking to the right wall. You'll draw out a Yokai in the distance – kill him. Then, get a sniper shot on the Dweller further ahead, as he'll throw bombs at you otherwise. Keep following the right wall, and it'll lead you up to a big chest. BUT WAIT! Before you open it, kill the sneaky Dweller hiding behind it. Inside that chest, you'll likely find a 'Paralysis Charm.' It's a really good idea to equip this for the upcoming boss. Now, do a 180 from the chest and look in the corner – you'll find a Swordsman Kodama. Rescue him, and that's your final Kodama for this mission!
Head back down to the big room and deal with the Yokai and Oni in the distance. Take them out one by one, using an arrow to draw them to you if needed. Loot the corpse they were guarding. Now, go to the LEFT wall, but hug the left side of the mist to find a small cubby with another corpse. After that, head into the mist – this will spawn an Oni. Take him out; he won't respawn. Up ahead is the path to the boss, but there are three rooms with bats that will attack you along the way. The left room has a corpse in it. Before you head into the boss room, it's a smart move to go back to the Shrine and level up. There's also one more corpse to find. Remember at the start of this tougher area, where you could go left for the ladder or right on the cliff path? Go back to where that Yokai was inspecting the corpse. If you look BELOW it, you'll see another corpse you can drop onto. It's a bit of a scary drop, so only do it if you're sure. You can land on it, loot it, and drop again, only taking minor damage from the second drop. It's best to do this after clearing out the bottom floor to avoid aggro.
Okay, you ready for the boss? To get there, go down the two ladders, stick to the left wall (you'll encounter a Skeleton Warrior, a wandering Yokai, and a Dweller on the way, but you can actually run past the Oni blocking the path since he's dead for good now), and go past the mist. Block the bats and enter the room beyond...
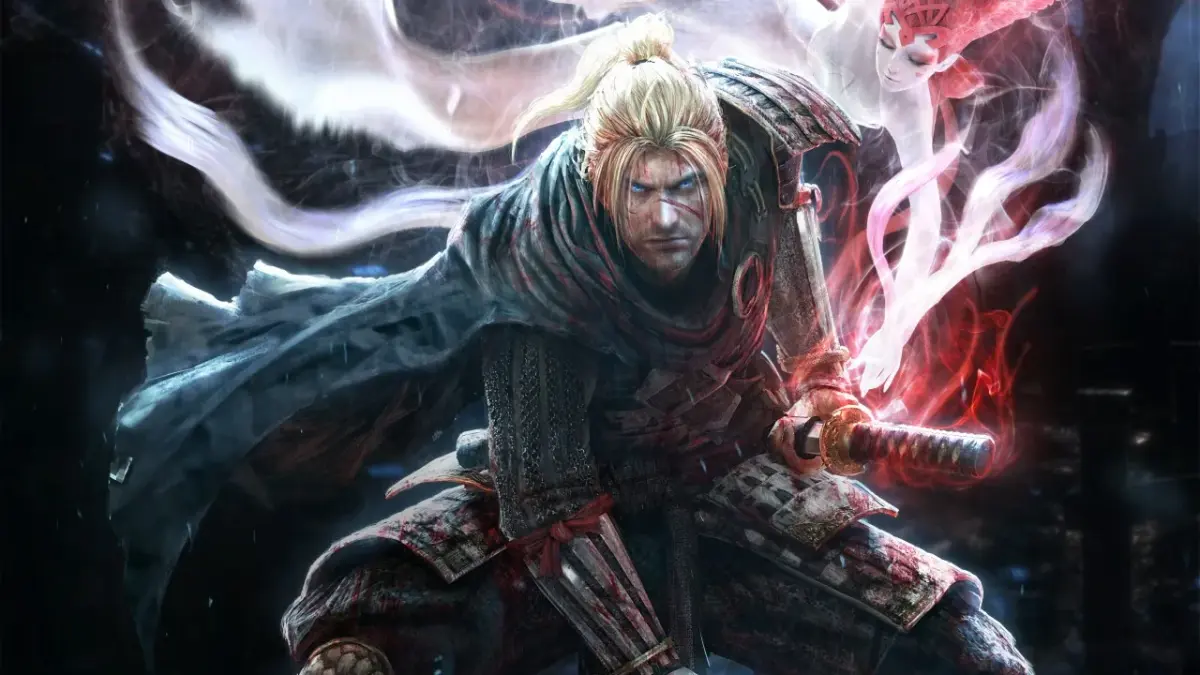
~ BOSS ENCOUNTER: HINO-ENMA ~
Time for our third boss. Hino Enma can be a real pain, especially if you're not prepared. Unlike previous bosses, Hino is incredibly QUICK. She hits hard, of course, but her agility is the first thing you'll notice. Watch out for her 'Dash Attack' and 'Paralysis Wave' – both are fast and will need to be blocked or dodged (press [X/A] twice and quickly dodge left or right). She also has a lot of quick combo attacks up close, so definitely read up on her moves. And be sure to equip that 'Paralysis Charm' we found, or use any Paralysis items you might have.
One of the biggest advantages you can have in this fight is plenty of ranged ammo. While Hino doesn't have distinct forms, she does change up her attacks and adds more ranged options as her health gets lower. Being able to target her head and hit her when she's in the air will absolutely devastate her and knock her back into melee range. Keep your distance when needed and pepper her with arrows!
100% Human-Written. AI Fact-Checked. Community Verified. Learn how AntMag verifies content