Solve the Knight and Picture puzzles to get the Jewelry Box and other items using the Armor Key in Resident Evil.
Walkthrough
- 1Exit the room with the Armor Key.
- 2Run back to the LEFT STAIRS via the door you unlocked.
- 3A zombie will run through the door from the STAIN GLASS BALCONY. Kill it.
- 4Run to the STORAGE.
- 5Refill the FUEL CANTEEN.
- 6Grab the BROKEN SHOTGUN.
- 7Exit STORAGE.
- 8Take the door right of the STORAGE door. Unlock it with the ARMOR KEY.
- 9Go through into F HALL.
- 10Grab the FLASH GRENADE in front of Chris.
- 11Turn right all the way to the closest door to the right, which is the BEDROOM.
- 12Grab the HANDGUN MAGAZINE on the bed.
- 13Use the FUEL CANTEEN and the LIGHTER on the body below.
- 14Run over to the desk and read the KEEPER'S DIARY.
- 15Examine the closet doors behind the desk and kill the zombie.
- 16Grab the OLD KEY (you probably will not be able to grab it now, you will come back for it later).
- 17Exit the BEDROOM.
- 18Take the door right of the BEDROOM door. Unlock it.
- 19Go through into KENNETH HALL.
- 20Run to the DINING ROOM.
- 21Run to the MAIN HALL.
- 22Run over to U HALL.
- 23Unlock the single and double doors in this hallway.
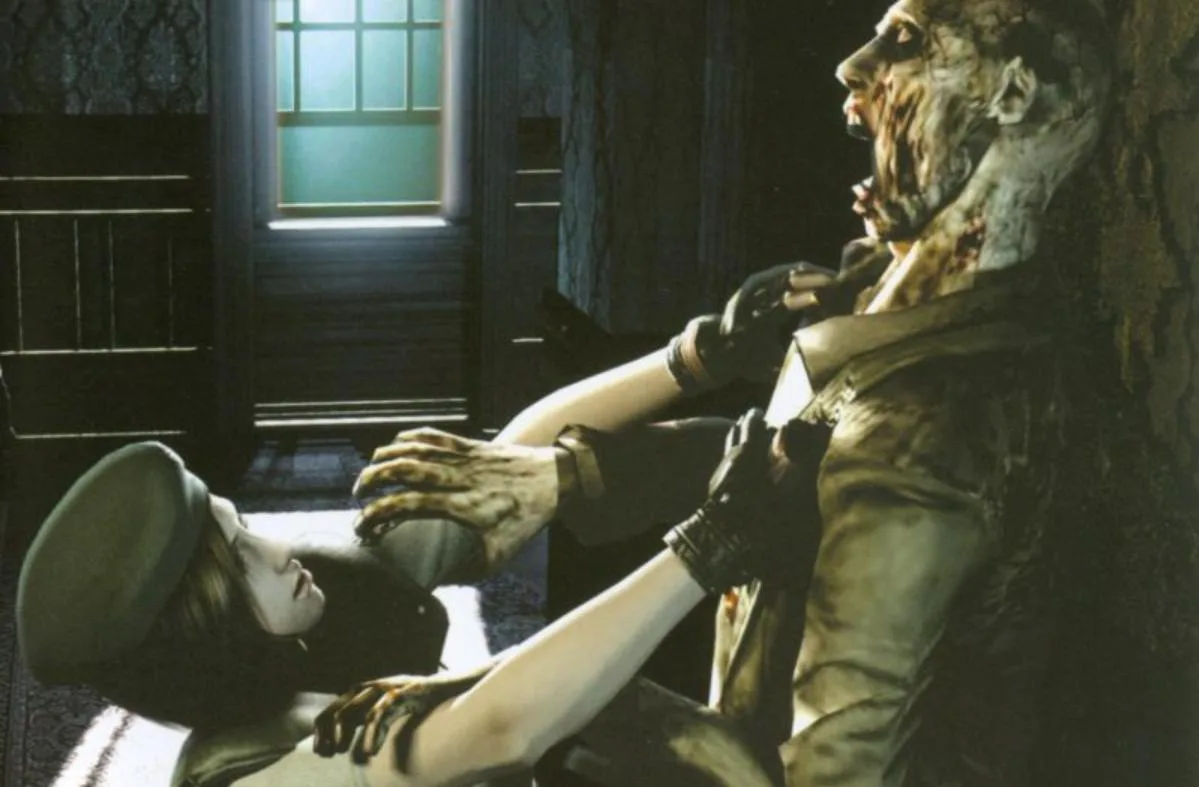
- 24Go through the single door into RICHARD ROOM.
- 25Run forward. You'll see a cut-scene (an animated sequence) with Rebecca Chambers and Richard Aiken.
- 26Exit RICHARD ROOM.
- 27Take the double doors you unlocked earlier in U HALL.
- 28Enter KNIGHT ROOM.
Knight Puzzle:
- Have Chris push the FAR LEFT statue first.
- Have Chris push the CLOSER RIGHT STATUE next.
- Have Chris push the FAR RIGHT STATUE next.
- Have Chris push the FAR LEFT STATUE again.
- Have Chris push the CLOSER LEFT STATUE.
- Have Chris push the FAR RIGHT statue again.
- .
- Have Chris push the CLOSER LEFT STATUE again.
- .
- Examine the center podium and press the button.
- A painting slides.
- Grab the JEWELRY BOX.
Walkthrough Continued:
- If you cannot grab the JEWELRY BOX, leave it for now and exit KNIGHT ROOM.
- Run to the RIGHT STAIRS.
- Since you burned the dead zombies, there should be no Crimson Heads here. But if you didn't, it is more than likely that a Crimson Head or 2 will be in this room.
- Run to the door left of the stairs and unlock them. Do not enter them.
- At the bottom of the stairs might be a note from Wesker.
- Run to the RIGHT STAIRS SAVE ROOM.
- Grab the HANDGUN MAGAZINE, FIRST AID SPRAY, and SHOTGUN SHELLS. Manage them with the item box (a storage system for items).
- Refill your FUEL CANTEEN here, but deposit it.
- Run to the RIGHT STAIRS.
- Go to the DOOR HALL.
- Head to the door at a diagonal direction from the door you just came through.
- Unlock it with the ARMOR KEY.
- Enter CROW HALL.
Picture Puzzle:
- The painting with the sword must be colored orange/red on both sides (because the paintings appear on both sides).
- The middle painting must be colored purple.
- The last painting must be colored GREEN.
- Adjust the painting from both sides to make the above colors appear.
Tips
- If you cannot grab the JEWELRY BOX after the Knight Puzzle, leave it for now and return later.
- Be aware of potential Crimson Heads in the RIGHT STAIRS area if you did not burn the zombies earlier.
100% Human-Written. AI Fact-Checked. Community Verified. Learn how AntMag verifies content