Follow this Resident Evil walkthrough to obtain the Armor Key, navigate through various halls and rooms, and progress deeper into the mansion to find crucial items like the Battery Pack and Herbicide.
Walkthrough
- 1Take the ARMOR KEY. Leave for the Z HALL.
- 2Z HALL: Run toward the UPPER DINING HALL.
- 3UPPER DINING HALL: Take the door next to the one you just came through, into the LEFT STAIRS.
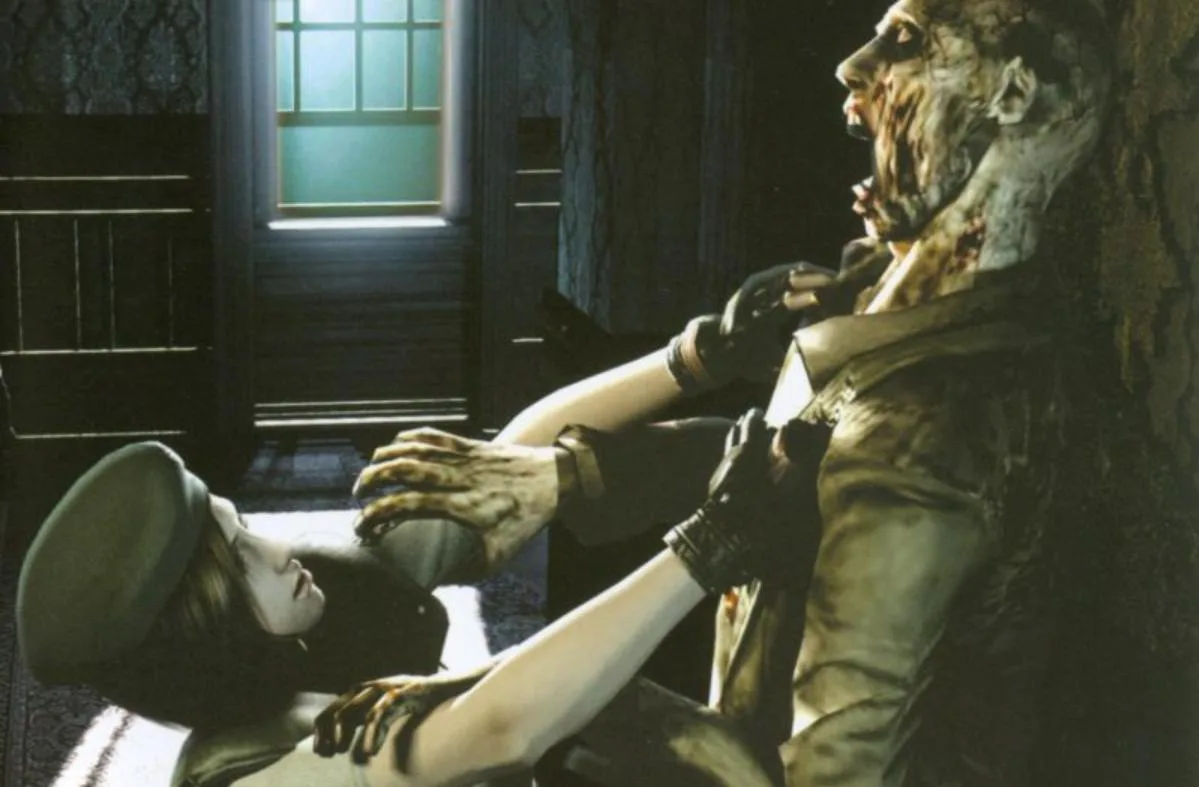
- 4LEFT STAIRS: Head down the stairs after dispatching zombies. A super-zombie might appear. At the bottom, enter the nearest door.
- 5LEFT STAIRS SAVE ROOM: Prepare items if necessary, then leave.
- 6LEFT STAIRS HALLWAY: Run across the hallway, head back up the staircase, and return to the UPPER DINING HALL.
- 7UPPER DINING HALL: Head over to the MAIN HALL.
- 8MAIN HALL: Head down the stairs and to the DINING HALL.
- 9DINING HALL: Head to the KENNETH ROOM.
- 10KENNETH ROOM: From this hall, head all the way right, turn left at the corner, head down the stairs, and unlock the door. Head back up the staircase and to the door you just passed. Unlock it with the ARMOR KEY, but do not go through yet. Head to the DINING ROOM.
- 11DINING ROOM: Head to the MAIN HALL.
- 12MAIN HALL: Head upstairs to the UPPER DINING HALL.
- 13UPPER DINING HALL: Go to the LEFT STAIRS.
- 14LEFT STAIRS: Take the stairs down, run past the LEFT STAIRS SAVE ROOM. Head to the nearby door using the SWORD KEY. When prompted YES/NO, select YES to discard the SWORD KEY. Head inside.
- 15STORAGE ROOM: Do not grab the BROKEN SHOTGUN. Grab the BATTERY PACK. Leave.
- 16LEFT STAIRS HALLWAY: Head to the door to the right of Jill, unlocking it with the ARMOR KEY.
- 17F HALL: Run down a bit and grab the BATTERY PACK. Head further down, turn the corner, and enter the VINE ROOM.
- 18VINE ROOM: Run to the machine pumping water and use the HERBICIDE. Examine the machine again and select YES, then the first option. Grab the MASK W/OUT ALL on the wall.
- 19Head back to the F HALL.
- 20F HALL: Run back to the door used to get here, turn left. Run down, zombies will enter from windows; ignore them and run. Turn the next left, head through the nearest door. Grab the DAGGER KNIFE, and head to the TIGER STATUE ROOM.
- 21TIGER STATUE ROOM: Head to the TIGER STATUE and use the BLUE GEMSTONE. You will get SHOTGUN SHELLS. Head back to the F HALL.
- 22F HALL: Use the DAGGER KNIFE or BATTERY PACK against zombies to save ammo. Head into the nearby door.
- 23BEDROOM: Head to the desk. On the bed is a HANDGUN MAGAZINE. On the desk is a diary. After reading it, a zombie attacks; kill it. Exit.
- 24F HALL: Head to the door on the right, kill any remaining zombies. Head through the door on the right. It leads to the KENNETH ROOM.
- 25KENNETH ROOM: Head to the DINING HALL.
- 26DINING HALL: Head to the MAIN HALL.
- 27MAIN HALL: Head upstairs. Head to the door to the right of the one leading to the U HALL. Unlock it with the ARMOR KEY, but do not go through yet. Head to the U HALL.
- 28U HALL: Unlock the single door nearby using the ARMOR KEY. Before entering it, unlock the double doors nearby with the ARMOR KEY. Head to the RIGHT STAIRS.
- 29RIGHT STAIRS: Go to the door past the staircase leading down and unlock it. Do not enter yet. Head down into the DOOR HALL.
- 30DOOR HALL: Unlock the door down the hall, near the open space, using the ARMOR KEY. When prompted YES/NO, select YES to discard the ARMOR KEY. Do not go through, yet.
Tips
- Be very careful of the super-zombie in the LEFT STAIRS.
- There are many GREEN HERBS in the VINE ROOM area. It is suggested to only take them when you run out of healing supplies, as they will still be there when you return.
- When zombies bust in from the windows in the F HALL, ignore them and run.
- Use the DAGGER KNIFE or BATTERY PACK against zombies in the F HALL to save ammo.
- In the BEDROOM, a zombie attacks after reading the diary; you will probably need a DAGGER KNIFE to kill it.
100% Human-Written. AI Fact-Checked. Community Verified. Learn how AntMag verifies content