Master Helldivers 2 offensive stratagems. Learn about Eagle strikes, Orbital barrages, sentries, and mines to obliterate enemies and secure victory.
Unleash Hell: A Comprehensive Guide to Offensive Stratagems in Helldivers 2
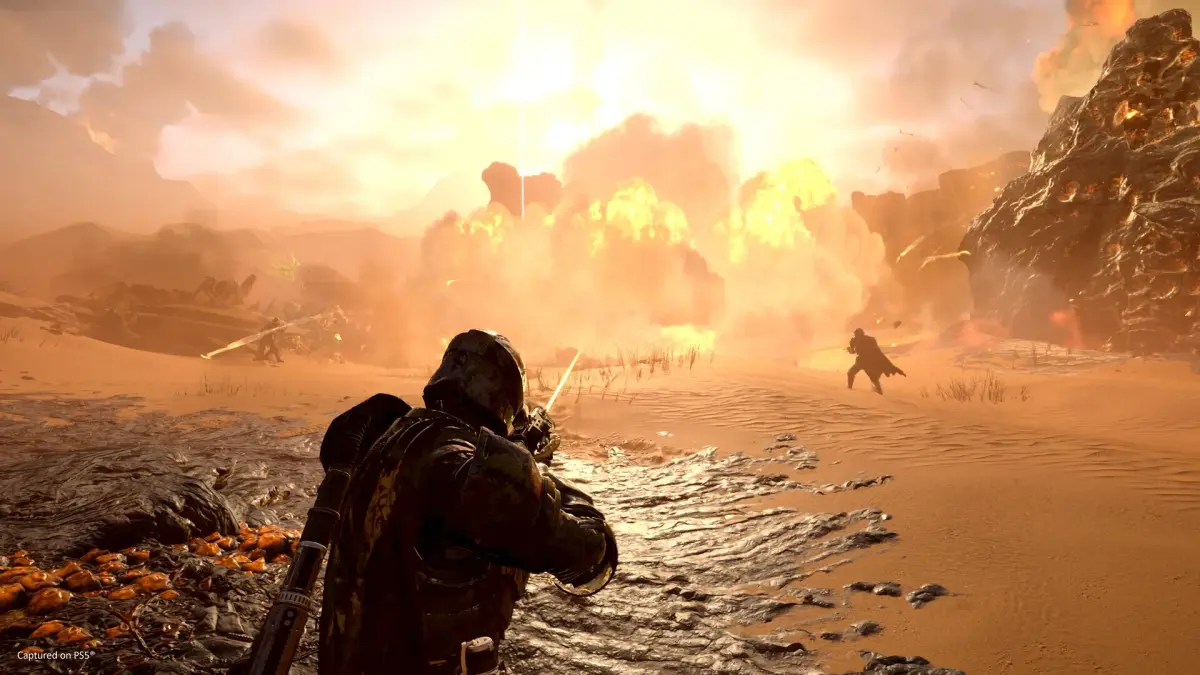
When diplomacy fails and democracy needs a forceful reminder, Helldivers call upon the might of Super Earth's arsenal. Offensive Stratagems are your direct line to orbital bombardment, aerial support, and devastating weaponry, designed to obliterate enemy forces and secure objectives. Mastering their deployment is key to turning the tide of any engagement and ensuring the swift eradication of threats to managed democracy.
Offensive Stratagems are categorized by their delivery method and effect. They range from precision strikes that can eliminate high-value targets to wide-area bombardments that can clear entire swarms. Understanding the cooldowns, call-in times, and effective ranges of each stratagem is crucial for optimal use. Remember, calling in a stratagem requires a brief input sequence, and there's a short delay before it deploys, leaving you vulnerable if not used strategically.
Key Offensive Stratagems and Their Uses:
- Eagle Airstrike (480s cooldown): A classic. Calls in a devastating bombing run from an Eagle fighter. Excellent for clearing out medium-sized groups of enemies or destroying light structures. Can be directed to a specific area.
- Eagle Cluster Bomb (480s cooldown): Similar to the Airstrike but releases multiple smaller bombs, creating a wider area of effect. Great for saturating an area with explosives and dealing with dispersed enemy groups.
- Eagle Napalm Airstrike (480s cooldown): Immolates an area with napalm, dealing damage over time and creating a hazardous zone. Effective against swarms and for area denial.
- Eagle 500kg Bomb (480s cooldown): The big one. A single, massive bomb that can obliterate almost anything in its blast radius. Ideal for taking down heavily armored targets like Chargers or Bile Titans, or destroying fortified positions. Requires precise aiming.
- Orbital Gatling Barrage (120s cooldown): A sustained stream of heavy machine gun fire from orbit. Good for suppressing enemy advances and dealing with medium threats.
- Orbital Precision Strike (120s cooldown): A highly accurate, single-shot strike from orbit. Perfect for taking out specific, high-priority targets like Bile Titans or Fabricators from a safe distance.
- Orbital Barrage (120s cooldown): A series of explosive shells impacting a designated area. Effective for clearing out groups of enemies and dealing moderate damage to structures.
- Orbital Rocket Salvo (120s cooldown): Launches a volley of rockets that impact a target area. Good for concentrated damage against groups or structures.
- Orbital 330mm HE Barrage (120s cooldown): A devastating barrage of high-explosive shells. One of the most powerful AoE stratagems, capable of wiping out large concentrations of enemies and destroying heavy fortifications.
- Machine Gun Sentry (300s cooldown): Deploys an automated turret that fires at enemies within its range. Provides continuous suppressive fire and can help defend objectives.
- Mortar Sentry (300s cooldown): Deploys a mortar that fires explosive shells at enemies. Useful for indirect fire support and dealing with enemies behind cover.
- Autocannon Turret (300s cooldown): A heavier automated turret with higher damage and armor penetration. Effective against medium and heavy armored targets.
- Anti-Personnel Minefield (300s cooldown): Deploys a field of mines that detonate when enemies approach. Excellent for area denial and ambushing patrols.
- Reinforce (180s cooldown): While not directly offensive, it allows for rapid respawns, enabling your squad to maintain offensive pressure.
Strategic Deployment Tips:
- Communicate: Always announce your intention to call in a stratagem to avoid friendly fire and coordinate with your team.
- Target Prioritization: Use your most powerful stratagems, like the 500kg bomb, on the biggest threats.
- Area Denial: Use stratagems like Napalm or Minefields to control enemy movement and funnel them into kill zones.
- Objective Support: Deploy offensive stratagems to clear paths to objectives or to defend them from incoming assaults.
By understanding and effectively utilizing these offensive stratagems, you become a true instrument of Super Earth's will, capable of bringing overwhelming firepower to bear against any foe.
100% Human-Written. AI Fact-Checked. Community Verified. Learn how AntMag verifies content