A guide to primary and secondary weapons in Helldivers 2, helping you choose the best firearms for combat.
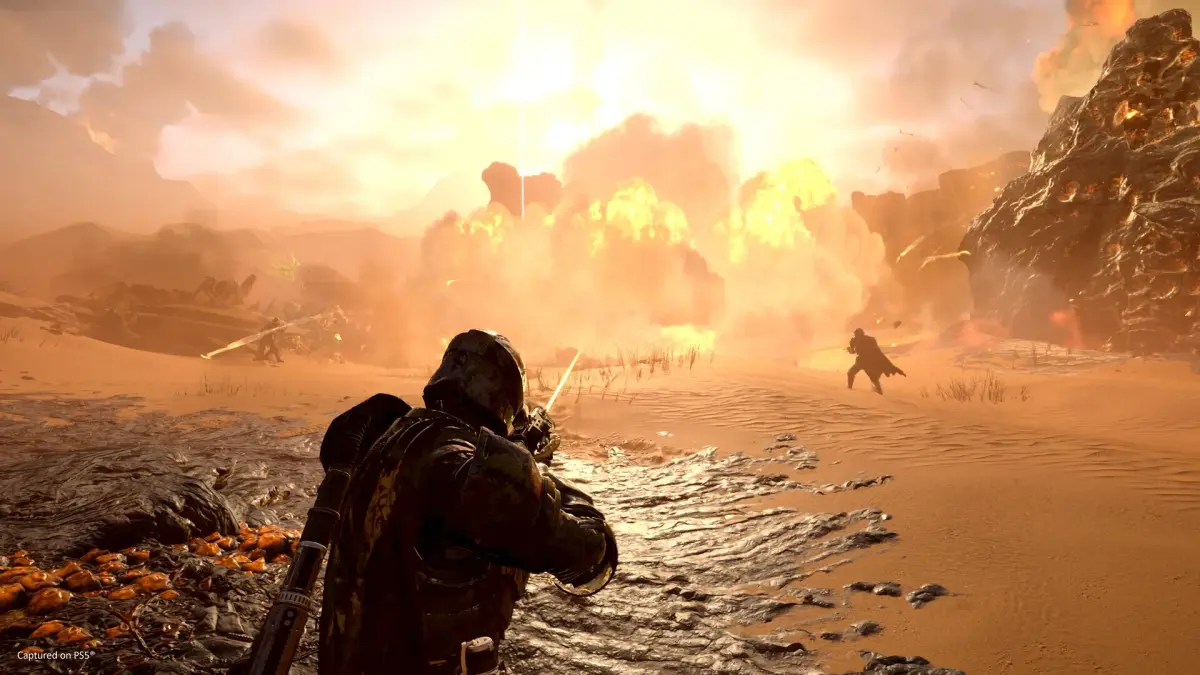
Welcome, Helldiver! Your chosen armament is the most crucial tool in your arsenal for spreading managed democracy across the galaxy. From the reliable standard-issue rifle to devastating orbital-grade weaponry, understanding your options is paramount to survival and success. This guide will break down the primary weapons, secondary weapons, and grenades available to you, offering insights into their strengths, weaknesses, and optimal usage strategies.
Primary Weapons: Your Main Arsenal
Your primary weapon is the backbone of your combat effectiveness in Helldivers 2. It dictates your engagement range, damage output, and overall combat style. Choosing the right primary weapon for the mission and your preferred playstyle is crucial for spreading managed democracy effectively. This guide will break down the different categories of primary weapons, their strengths, weaknesses, and provide actionable advice for their use.
Weapon Categories and Their Roles
Helldivers have access to a diverse range of primary weapons, each designed for specific combat scenarios:
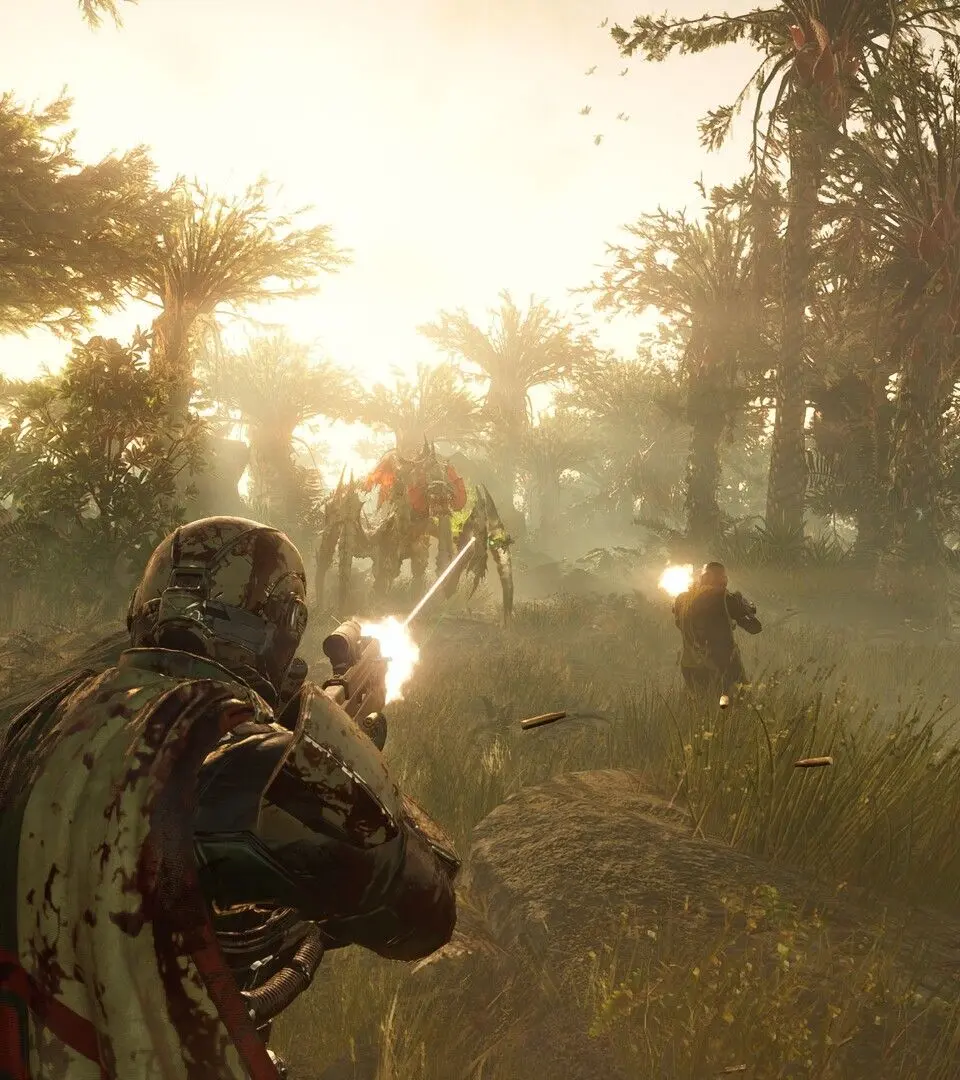
- Assault Rifles: The jack-of-all-trades. Balanced in damage, fire rate, and range, making them versatile for most situations. Excellent for general infantry combat against both Terminids and Automatons.
- Shotguns: Masters of close-quarters combat. Deliver devastating burst damage at short range, ideal for clearing swarms of smaller enemies or staggering larger threats up close.
- Submachine Guns (SMGs): High fire rate and excellent mobility. While their individual bullets may be weaker, their rapid firing can quickly shred enemies, especially when on the move. Best suited for agile playstyles and close-to-medium range engagements.
- Marksman Rifles: Precision instruments for medium to long-range engagements. Designed for accurate shots, allowing you to target weak points on tougher enemies or eliminate threats before they get too close.
- Heavy Weapons: These encompass several powerful tools like LMGs, Autocannons, and Flamethrowers, offering significant firepower but often at the cost of mobility or ammo capacity.
- Energy Weapons: A newer class of weaponry that uses unique mechanics, often involving sustained fire, charge-up times, or elemental effects. These can be highly effective against specific enemy types but require a different tactical approach.
Key Weapon Stats to Consider
When evaluating a primary weapon, pay attention to the following stats:
- Damage: The raw power of each bullet or projectile.
- Fire Rate: How quickly the weapon can fire.
- Recoil: The weapon's tendency to kick upwards or sideways when firing. Lower recoil means easier sustained accuracy.
- Magazine Size: The number of rounds before needing to reload.
- Reload Speed: How quickly the weapon can be reloaded.
- Armor Penetration: The weapon's ability to deal damage to armored targets.
- Range: The effective distance at which the weapon maintains accuracy and damage.
Featured Primary Weapons and Strategies
While the armory is constantly expanding, here are some standout primary weapons and how to best use them:
Assault Rifles
- AR-23 Liberator: The standard issue. Reliable and well-rounded, it's a solid choice for new Helldivers. Good for engaging both Terminid swarms and Automaton patrols at moderate distances.
- Strategy: Aim for headshots on Automatons to maximize damage. For Terminids, focus on body shots to thin out their numbers. Its balanced stats make it a dependable choice for almost any situation.
- AR-23E Liberator Explosive: A variant of the Liberator that fires explosive rounds. Excellent for dealing with lightly armored groups and creating small explosions to stagger enemies.
- Strategy: Use against clusters of Stalkers or Bile Spewers to disrupt their attacks. Be mindful of friendly fire with the splash damage. It's less effective against heavily armored targets due to lower direct damage per shot.
- AR-61 Tenderizer: A high-damage assault rifle with a slower fire rate. It excels at medium range, capable of taking down tougher enemies with well-placed shots.
- Strategy: Prioritize hitting weak points. Its stopping power makes it effective against Devastators and Hunters. Manage its slower fire rate by picking your shots carefully.
Shotguns
- SG-225 Breaker: A fan favorite for a reason. Devastating at close range, capable of shredding through Terminid Chargers and Bile Titans' armor with focused fire.
- Strategy: Get up close and personal. Aim for the weak points (head for Terminids, glowing areas for Automatons) to maximize damage. Be prepared to retreat if overwhelmed. Its effectiveness drops dramatically at range.
- SG-225IE Breaker Incendiary: Applies a burning effect to enemies, excellent for sustained damage over time and clearing out swarms of smaller, faster Terminids.
- Strategy: Fire into groups of Hunters or Scavengers to set them ablaze. The burning effect can also deter enemies from advancing. It's less effective against heavily armored targets that can shrug off the burn damage.
- SG-8P Punisher Plasma: Fires explosive plasma pellets. While its direct damage is lower than other shotguns, the splash damage is excellent for clearing groups.
- Strategy: Ideal for dealing with swarms of smaller Terminids or groups of weaker Automatons. Aiming at the ground near enemies can maximize the area of effect.
Submachine Guns (SMGs)
- MP-100 Rumbler: Fires explosive rounds in a burst, offering good crowd control at close to medium range.
- Strategy: Effective against groups of Devastators or Bile Spewers. The burst fire requires careful aiming to land all shots. Its limited range means you'll need to close the distance.
- MP-98 Knight: A high fire rate SMG with good accuracy. It's excellent for mobile engagements and shredding through unarmored targets quickly.
- Strategy: Stay on the move and unleash a torrent of bullets. Best used against swarms of smaller Terminids or to quickly dispatch Automaton Troopers. It struggles against heavily armored foes.
Marksman Rifles
- R-36 Eruptor: A high-damage rifle that fires explosive projectiles. Excellent for taking down heavily armored targets from a distance.
- Strategy: Prioritize targeting Charger heads or Bile Titan weak spots. Its explosive nature makes it effective against Automaton Hulks. Be mindful of its slower fire rate and potential for self-damage if too close.
- R-19 Refiner: A semi-automatic marksman rifle with good accuracy and moderate damage. It's a solid choice for engaging targets at medium to long range.
- Strategy: Aim for weak points on larger enemies or pick off individual threats from a safe distance. Its versatility makes it a good all-around choice for players who prefer precision.
Heavy Weapons
- MG-105 Stalwart: A rapid-fire LMG with a large magazine. Great for suppressing enemy advances and dealing sustained damage to larger threats.
- Strategy: Find cover and lay down suppressing fire. Aim for weak points on Chargers and Bile Titans. Watch your ammo count; it depletes quickly.
- FLAM-40 Flamethrower: Excellent for clearing out swarms of smaller Terminids and creating a zone of denial.
- Strategy: Use it to control choke points or clear out nests. Be cautious of its limited range and the risk of friendly fire. It's highly effective against unarmored enemies but struggles against armored ones.
- PLAS-30 Energy Revolver: A secondary weapon that fires explosive plasma projectiles. While technically a secondary, its power often makes it feel like a primary.
- Strategy: Excellent for quickly dispatching heavily armored targets like Chargers or Hulks with a well-placed shot. Its limited ammo means every shot counts.
- AG-16 Gatling: A heavy machine gun with a high rate of fire and good armor penetration.
- Strategy: Ideal for sustained fire against armored targets. Find a stable position and unleash hell on Chargers, Bile Titans, and Hulks. Its mobility is limited, so positioning is key.
Energy Weapons
Energy weapons represent a distinct tactical approach, often trading raw stopping power for unique effects or sustained utility. As of current knowledge, there are no primary energy weapons available in the Helldivers 2 armory. However, the existence of secondary energy weapons suggests the potential for their introduction in the future. Should primary energy weapons be added, You can expect them to feature mechanics such as:
- Beam Weapons: Continuous damage output as long as the trigger is held, often with a charge-up time. These excel at sustained damage against single targets or cutting through groups.
- Plasma Weapons: Projectiles that explode on impact, dealing area-of-effect damage.
- Arc Weapons: Weapons that chain lightning damage to multiple nearby enemies.
remain vigilant for any new additions to the primary weapon roster that fall into this category, as they will likely offer novel ways to engage the alien threats.
General Primary Weapon Usage Tips
- Know Your Enemy: Different weapons excel against different enemy types. A shotgun is less useful against a long-range Automaton sniper than a marksman rifle.
- Ammo Management: Always be aware of your ammo count. Reloading in the open is a death sentence. Use cover effectively.
- Weak Point Targeting: Most enemies have specific weak points that take significantly more damage. Aiming for these drastically increases your effectiveness.
- Movement is Key: Especially with SMGs and shotguns, staying mobile will help you avoid damage and reposition effectively.
- Experimentation: Don't be afraid to try out new weapons. What works for one player might not work for another.
Secondary Weapons: Your Backup and Specialization
Secondary weapons are your trusty sidearms, designed to finish off weakened enemies, deal with threats your primary might struggle with, or provide utility. They are crucial for quick transitions and managing your overall combat effectiveness.
Secondary Weapon Categories and Roles
- Pistols: The most basic secondary. Offer reliable, albeit lower, damage for finishing off enemies or when your primary is out of ammo.
- Revolvers: High-damage, slow-firing pistols. Excellent for taking down tougher enemies or staggering larger threats with a well-placed shot.
- SMGs (Secondary): Compact versions of submachine guns, offering a higher rate of fire than pistols for quick bursts of damage.
- Shotguns (Secondary): Smaller, more portable shotguns for close-quarters emergencies.
- Specialized Secondaries: Weapons with unique functions, such as the Flamethrower or Grenade Launcher, offering tactical advantages.
Featured Secondary Weapons and Strategies
Pistols
- P-19 Redeemer: A fully automatic pistol with a high fire rate. Excellent for quickly dispatching weakened enemies or dealing with close-range threats when your primary is unavailable.
- Strategy: Use it to finish off enemies that are about to overwhelm you or to clear out small swarms in a pinch. Its high fire rate can chew through ammo quickly.
Revolvers
- P-4 Senator: A powerful revolver with high damage and good armor penetration. It's your go-to for quickly taking down armored targets that your primary might struggle with, or for staggering large enemies.
- Strategy: Aim for weak points on Chargers, Bile Titans, or Hulks. Each shot counts, so make them count. It's also effective for finishing off enemies with a single, decisive shot.
Specialized Secondaries
- P-113 Verdict: A high-powered energy pistol that fires a concentrated beam. Excellent for precise damage against tough targets.
- Strategy: Use it to target weak points on heavily armored enemies like Chargers or Shriekers. Its beam can also be used to cut through smaller enemies if aimed carefully.
- SG-36 Shotgun: A compact shotgun that offers significant close-range stopping power.
- Strategy: Ideal for emergency situations where you're being swarmed. A quick blast can clear space and give you time to reload or reposition.
Grenades: Tactical Area Denial and Crowd Control
Grenades are consumable explosives that offer several tactical applications, from clearing out entrenched enemies to creating choke points and dealing with specific threats.
Grenade Types and Their Uses
- High Explosive Grenade: The standard grenade. Deals significant explosive damage in a radius, effective against most unarmored and lightly armored enemies.
- Strategy: Toss into groups of Terminids or Automaton patrols. Effective for destroying Bug Holes and Fabricator entrances.
- Incendiary Grenade: Creates a pool of fire that deals damage over time and can ignite enemies. Excellent for area denial and clearing out swarms.
- Strategy: Use to block off pathways, flush enemies out of cover, or burn down groups of smaller Terminids.
- Stun Grenade: Temporarily stuns enemies caught in its blast radius, making them vulnerable to follow-up attacks.
- Strategy: Use on dangerous, fast-moving enemies like Hunters or Shriekers to incapacitate them, or on larger threats like Chargers to create an opening for an attack.
- Gas Grenade: Releases a cloud of toxic gas that deals damage over time to enemies within its area.
- Strategy: Similar to the Incendiary Grenade, it's great for area denial and flushing enemies out of cover, especially effective against groups of weaker foes.
Grenade Deployment Tips
- Know Your Target: Different grenades excel against different enemy types and situations.
- Area of Effect: Be mindful of the blast radius to avoid friendly fire or damaging objectives.
- Choke Points: Grenades are most effective when used in narrow passages or against enemies clustered together.
- Objective Defense: Use grenades to defend objectives from incoming waves of enemies.
100% Human-Written. AI Fact-Checked. Community Verified. Learn how AntMag verifies content