Follow our walkthrough to forge the legendary Sword of Light in Dragon Quest XI S: Echoes of an Elusive Age. Discover items, monsters, and strategies for The Battleground.
Walkthrough
- 1Upon arriving at the Havens Above, head west to find a Sparkly Spot with a Colourful Cocoon.
- 2Enter the Temple of Dawn and speak with the Watcher.
- 3Examine the globe of light to obtain the Guiding Light.
- 4Interact with the three Seedlings to learn about Erdrea's past.
- 5Leave the Temple of Dawn; your goal is now to find the legendary ore, obtain the forging hammer, and create the Sword of Light. Zoom destinations for Gallopolis and Hotto are unlocked.
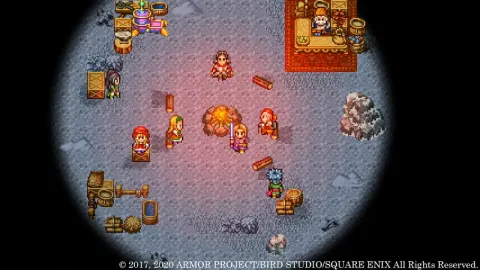
- 6Return to Cetacea and travel to the floating island southwest of Erdrea, known as The Battleground.
- 7At The Battleground, use the Guiding Light on the object at the entrance to dispel the darkness.
- 8Head around back from the entrance to find a Sparkly Spot with a Dracolyte.
- 9Take the slope down, ignore the first cave on the right, and enter the next cave on the right. Follow it to the end and drop down the hole to reach Level B2.
- 10On Level B2, head west to find a chest with a Mini Medal in the southern corner.
- 11Continue west on Level B2 to find a Sparkly Spot with Densinium.
- 12Proceed to the central shaft and head down the slope to Level B3.
- 13Enter the first cave to the north on Level B3 to find a chest containing the Recipe Book, An Encyclopaedia of Expert Equipment.
- 14Continue down the slope and enter the next cave. At the intersection, go west to find a Sparkly Spot with Mythril Ore.
- 15Descend to Level B4. Take the first path east to find an Ore gathering point with two Brighten Rocks and a Red Eye.
- 16In the northwest corner of Level B4, find a chest containing a Pandora’s Box. Defeat it to obtain a Seed of Skill.
- 17Return to the central shaft on Level B4. Find two Sparkly Spots on the ground containing a Yellow Eye and Sunny Citrine.
- 18Defeat a nearby Dragooner, mount it, and fly up to Level B2. Enter the northwest cave to find another chest with a Pandora’s Box; defeat it for a second Seed of Skill.
- 19Fly up to Level B1 from the central shaft and access the Sparkly Spot in the northeast cave for Mythril Ore.
- 20Fly down to the bottom of the shaft on Level B4, dismount, and head west to the Camp. Rest, save, and use the forge. Consider crafting the Ogre Shield for Hendrick and Titan Belts.
- 21Head north from the Camp and loot the Sparkly Spot for Molten Globules. Take the vine down to Level B8.
- 22On Level B8, go north along the edge and follow the path to Level B9. Find an Ore gathering point with a Mirrorstone, Purple Eye, and Green Eye.
- 23Take the eastern path on Level B9 to find a chest with the Recipe Book, Sacred Styles for Saintly Ladies.
- 24Take the southwest path on Level B9 to find a Bunny Girl. Agree to have a Puff-Puff.
- 25Follow the Bunny Girl north to receive a Puff-Puff.
Tips
- The Battleground is a large dungeon with many monsters and items.
- Use the Dragooner mount to access higher levels and areas requiring flight.
- Be prepared to fight Pandora's Boxes, which can use Kathwack.
- The Camp on Level B4 is a good place to rest, save, and craft equipment.
Items Found:
- Colourful Cocoon (Sparkly Spot)
- Guiding Light (Item)
- Dracolyte (Sparkly Spot)
- Mini Medal (Chest)
- Densinium (Sparkly Spot)
- An Encyclopaedia of Expert Equipment (Recipe Book, Chest)
- Mythril Ore (Sparkly Spot)
- Brighten Rock x2 (Ore Gathering Point)
- Red Eye (Ore Gathering Point)
- Seed of Skill (Pandora’s Box)
- Yellow Eye (Sparkly Spot)
- Sunny Citrine (Sparkly Spot)
- Seed of Skill (Pandora’s Box)
- Mythril Ore (Sparkly Spot)
- Molten Globules (Sparkly Spot)
- Mirrorstone (Ore Gathering Point)
- Purple Eye (Ore Gathering Point)
- Green Eye (Ore Gathering Point)
- Sacred Styles for Saintly Ladies (Recipe Book, Chest)
- Agate of Evolution (Chest)
- Chronocrystal (Chest)
- Brain Drainer (Chest)
- Bad Axe (Chest)
- Brace Yourself (Chest)
100% Human-Written. AI Fact-Checked. Community Verified. Learn how AntMag verifies content