
Follow our detailed walkthrough for Routine's Chapter 6: Legacy. Learn how to realign PRONGS, use the Echography, and navigate to the end of the game.
Walkthrough
- 1After returning to the Ward, save at the Wireless Access Point behind the Archives.
- 2Head to the reception area and go through the tree area.
- 3Go back to the Wireless Access Point behind the Archives to save.
- 4Find the first PRONG: Go to Breaker and power the door. Scan the security monitor to the left of the reception office with your Interface Module.
- 5Behind the door, use the terminal to realign the PRONG by setting Clarity and Proximity to 100%.
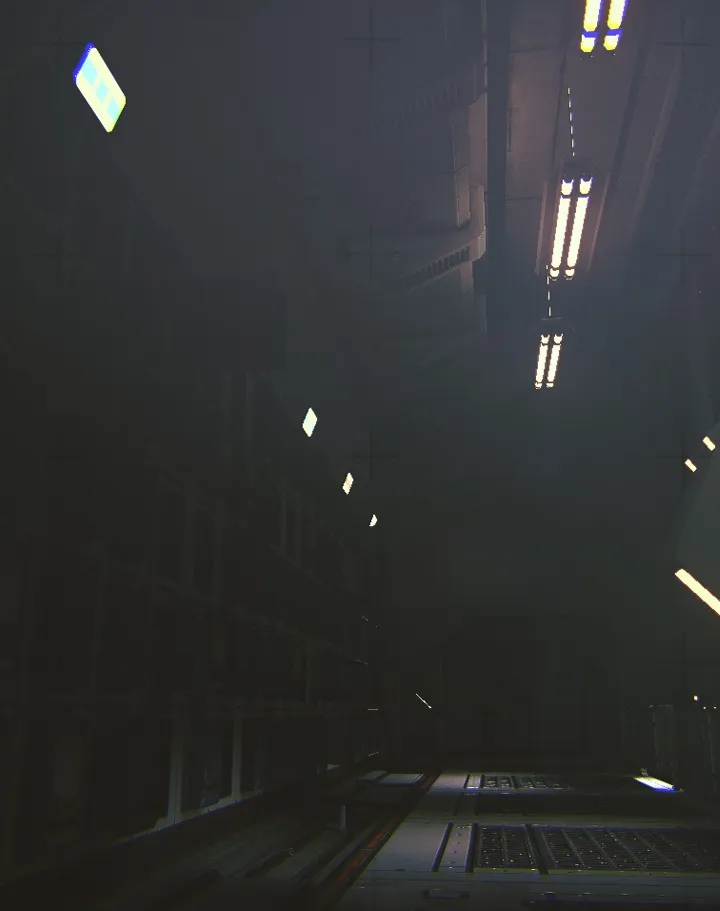
- 6Find the second PRONG: Go through the “Servers” door from the tree area (ensure it's powered from the Breaker at reception).
- 7Go straight until you hit a wall, then take a left. Power the PRONG 2 door from the Breaker down the narrow hall.
- 8Enter the PRONG 2 door and repeat the realignment process on the console until Clarity and Proximity are 100%.
- 9Head to IMAGING: Go back to the Breaker across from PRONG 2 and power the Imaging 02 door.
- 10From the Breaker, go around the corner to the right, take a left at the sprouting body, then another left down the dark hallway.
- 11Continue straight through another hallway until you see the sign for IMAGING 02.
- 12In the red hallway, take a left, then two rights to find the Breaker. Power up Echography and the other Imaging door.
- 13Go back through the red hallway and straight ahead to find the Echography office on your left. Use the Interface Module to open the door.
- 14Walk around the wall to the left to find the terminal screen. Press CONTINUE and let it run.
- 15Go to Ripening and Induction: Exit Imaging, go back through the red hallway towards the Breaker. Across from the Breaker, take a left and go through the open door.
- 16Walk to the end of the corridor and press “YES” on the screen.
- 17Head back to Imaging and go through the Imaging 01 door to return to the tree area. Save at the Access Point.
- 18Go to “The Path” behind the Archives screen. Click the button on the MEDIA screen to play the video.
- 19In the blue-lit area, take a left and go straight to an airlock area. Press the button on the screen and scan the security monitor with your Interface Module.
- 20Grab a new battery for your C.A.T. in the recycled battery spot in the airlock room.
- 21Continue into the cave area, walking into the darkness until you see another lit path. Follow the slope down into the darkness.
- 22Walk forward until you reach the giant sphere in the center and look up at the figure.
Tips
- The entity will roam outside the reception area; move quickly and listen for its footsteps.
- When realigning PRONGS, press the “-” until it says 100% before moving the arrows.
- After being thrown by the entity at the end, your C.A.T. battery will be drained; a new battery can be found in the airlock room.
Beginning Chapter 6: Legacy grants the “Reach Chapter 06” achievement. Reaching the end of the game in Chapter 6: Legacy grants the “Reach Chapter 00” achievement.
100% Human-Written. AI Fact-Checked. Community Verified. Learn how AntMag verifies content