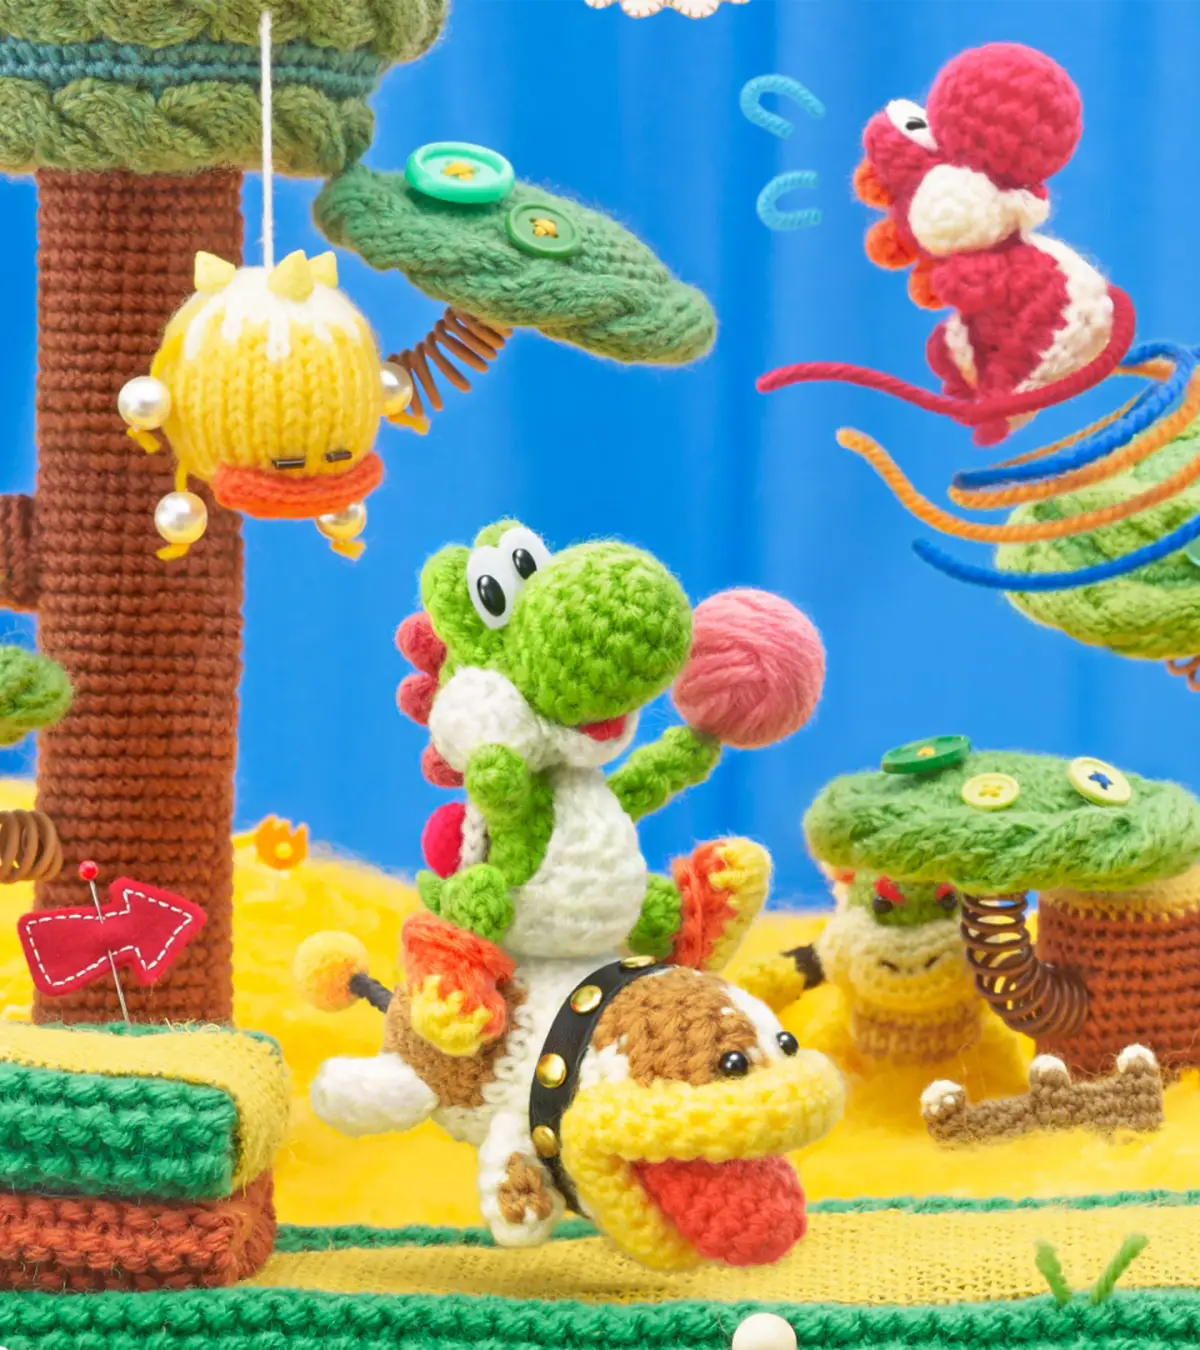
Welcome to Yoshi's Woolly World, a charming 2015 Wii U platformer from Good-Feel and Nintendo! In this cozy adventure, you'll explore vibrant, yarn-crafted worlds as Yoshi, using his flutter jump and tongue-whip abilities to navigate colorful levels, uncover secrets, and collect bundles of yarn. It’s a delightful experience perfect for players who love to explore, solve light puzzles, and find hidden treasures.
This guide is your go-to resource for unraveling every secret Yoshi's Woolly World has to offer. We'll help you master every level, defeat tricky bosses, and find all the hidden collectibles scattered throughout the game. Plus, we'll show you how to unlock all the adorable playable Yoshis and achieve those coveted Gold Medals.
Power Badges
Learn about all 14 Power Badges in Yoshi's Woolly World, including their bead costs, unlock conditions, and how they affect gameplay. Find the best badges for any situation!
There are a total of 14 Power Badges you unlock as you progress through the game. For a certain amount of beads, you can equip a Power Badge before entering a course to help you throughout that course. You can also go to the pause menu and swap out badges even in the middle of a course--but note that you can't equip two badges at the same time, so whichever badge you switch to will replace the previous badge. The following list will give you the names of each Power Badge, how many beads each costs per use, and after which course you unlock the badge for use. I'll also give a brief description of what the various Power Badges do and tell you how useful (or not) each is for completing the game.
Clear the course!
- Beads: 2000
- Clear: World 1-1
This is the only Power Badge that is exclusive to Mellow Mode. When you activate it, the course you're at on the world map will clear itself without you even playing it, and a path will open to the next course. The purpose of this guide is full completion, so suffice it to say, I don't recommend using this badge ever. This game is easy enough to finish as it is, so there's no real reason you should need this.
Play alongside Poochy!
- Beads: 500
- Clear: World 2-5
Poochy can be pretty helpful in this game. Yoshi's canine pal can give you a ride as he will move in whichever direction you're facing while riding him. He destroys all enemies in his path and can give you a boost when he jumps after running into a wall. This Power Badge is heavily limited, however, by the fact that many courses won't be Poochy friendly--courses with vertical segments or doors, for instance. You probably won't be using this one to gather up collectibles, but it might be amusing to try it out just for fun.
Make all yarn balls big!
- Beads: 1000
- Clear: World 1-2
This is the earliest Power Badge of any usefulness you'll obtain. With it equipped, every possible yarn ball that you collect--whether from eating an enemy, Yarn Baskets, or Yarn-Plants--will be the large variety. What's the difference between a big yarn ball and the regular yarn ball? In addition to increasing your likelihood of striking a target, big yarn balls will go through an object or enemy up to three times before dissipating, unlike a regular yarn ball, which is spent after one hit. One minor drawback is it does make it harder to throw yarn balls through particularly narrow passages.
Higher defense!
- Beads: 3000
- Clear: World 2-8
This Power Badge will reduce the number of hearts lost while taking damage, from 5 down to 2. Yoshi will still start each course with 10 hearts and will still need the requisite additional 10 hearts to reach full health. If you're going for completion and trying to complete each course with 20 hearts, this badge will prove rather useless. If you're struggling to complete a course at full health, Mellow Mode would be a better option--Yoshi will have all 20 hearts to start a course and will even have 20 if you lose a life and have to restart from a checkpoint. Give this badge a pass meanwhile.
Grab items with Yoshi's tongue!
- Beads: 3000
- Clear: World 3-8
Just like it says, this Power Badge will allow Yoshi to collect any item--beads, Stamp Patches, Smiley Flowers, and even Wonder Wools--simply by flicking his tongue at them. While Yoshi's tongue does have a fair bit of range, it has nothing on yarn balls, and since you can collect all of the above except for Wonder Wools by throwing yarn, that limits the usefulness of this badge. That being said, it can be situationally useful in certain instances where an item like a Wonder Wool lies just beyond reach.
Improve your speed!
- Beads: 3000
- Clear: World 4-4
This Power Badge will make Yoshi run, jump, and climb faster than normal. This is a great badge to use when returning to a course just to pick up collectibles you've missed and already know where they are--you can simply speed your way through a stage to get what you need and then move on to the Goal Ring. It can also come in handy if you're struggling to keep up in auto-scrolling courses.
All-you-can-eat watermelon!
- Beads: 5000
- Clear: World 1-8
Eating a watermelon normally will enable Yoshi to shoot up to fifty seeds from his mouth before running out. With this Power Badge equipped, as soon as Yoshi runs out, a new watermelon will spawn immediately nearby. This will be useful for clearing out enemies and shooting your way through courses with a lot of spongy earth. However it's not as useful as it may seem since the watermelon will greatly hamper Yoshi's ability to eat enemies (and thus make yarn balls). It's pretty inefficient having to spit out dozens of seeds to just free up Yoshi's mouth to eat something else, especially if you're on a time crunch. I would only advise using this badge in specific situations where you need to break through a lot of spongy material.
All-you-can-eat fire watermelon!
- Beads: 5000
- Clear: World 5-4
A fire watermelon will allow Yoshi to breathe fire up to three times, but this Power Badge will cause a new fire watermelon to spawn as soon as Yoshi is out. This is ideal in World 5 where you encounter a lot of ice that you can melt. But it suffers the same drawback as the other watermelon badge in that Yoshi's mouth is better suited to eating enemies rather than breathing fire at them. The best place to equip this badge would be World 5-7, for its section of ice blocks holding beads and Stamp Patches.
All-you-can-eat ice watermelon!
- Beads: 5000
- Clear: World 5-8
The counterpart to the fire watermelon is the ice watermelon, giving Yoshi three bursts of icy breath that he can use to freeze enemies, then push them to their doom. Unlike the previous two watermelon-themed Power Badges, this one won't be
World 1
Embark on your Yoshi's Woolly World adventure! This guide covers your first steps on Craft Island and diving into World 1, helping you choose your Yoshi and navigate the initial hub.
Alright, let's get this Yoshi's Woolly World adventure rolling! When you first boot up the game, you'll get to pick one of three save files. Each file determines the color of your starting Yoshi. This guide's gonna assume you're playing in Classic Mode, which is the standard way to play, rather than the super-easy Mellow Mode. After that, you'll set up your controller settings. Just pick whatever feels best for you. I'd recommend setting the Throw Style to "Patient" instead of "Hasty" because it gives you a bit more breathing room to throw yarn balls accurately while you're in the air. Once you're happy with your choices, hit "OK"!
You'll then see some cool cutscenes that set up the game's story. When you finally get to control Yoshi, you'll be on Craft Island, which is like your main hub area. Depending on which save file you chose, you'll start as either a Green Yoshi (File 1), Pink Yoshi (File 2), or Light-Blue Yoshi (File 3). You can even switch to a Red Yoshi if you fancy! Take a moment to look around the island. Right now, there aren't many options. You'll see two tents: the amiibo Hut, where you can scan an amiibo to get a special Yarn Yoshi partner, and the Scrapbook Theater, which is pretty empty at the start. Craft Island connects to all the different worlds, but for now, the only place you can go is World Bobbin, which leads you to World 1. So, let's head there! Once you arrive, there's just one course available to start with, so let's jump in!
World 1-1 — Yarn Yoshi Takes Shape!
Master World 1-1, 'Yarn Yoshi Takes Shape!' in Yoshi's Woolly World. Find all Smiley Flowers, Wonder Wools, Stamp Patches, and collectibles with our detailed guide.
- 1Start by eating the Shy Guy and turning it into a yarn ball. Collect the two rows of beads, noting the second row contains Smiley Flower #1.
- 2Defeat the Shy Guys and Piranha Plant ahead by throwing yarn balls. This adds No. 1 Shy Guy and No. 13 Piranha Plant to your Scrapbook Theater. Throwing yarn stuns Piranha Plants, allowing you to jump on them.
- 3Collect Stamp Patch #1 from a row of beads above the Piranha Plant.
- 4On a raised green platform, unravel the Gift Box bow to reveal Smiley Flower #2.
- 5Jump through the beads to collect Stamp Patch #2. You can also lick the blue spire for more beads.
- 6Enter the first green pipe to find an underground room with beads and Stamp Patches #3 & #4.
- 7After returning above ground, find Wonder Wool #1.
- 8Run straight ahead to find a hidden alcove with beads and Stamp Patch #5.
- 9Go to higher ground and hit the Winged Cloud with a yarn ball to make five hearts appear (Hearts: 5/20).
- 10Use the Yarn Basket to stock up on yarn balls (Yoshi can carry six).
- 11Walk straight ahead and push the wall segment to reveal beads, including Stamp Patch #6.
- 12Throw yarn balls at the platform outlines above to create platforms and reveal beads, including Stamp Patch #7.
- 13From the second platform, push the right wall to access Wonder Wool #2.
- 14On the third platform, unravel the bow on the left wall to open a passage with beads and Stamp Patches #8 & #9. The three beads leading down to flippers contain Stamp Patch #10.
- 15Instead of dropping through the flippers, backtrack to the fourth platform. Unravel another bow to reveal a passage to Smiley Flower #3.
- 16Continue right to hit the first checkpoint (Hearts: 10/20). Checkpoints grant five hearts and transform nearby enemies into hearts.
- 17Collect the three yellow beads after the checkpoint; the middle one is Stamp Patch #11.
- 18Go down the pipe and unravel the bows on the left wall to access a Winged Cloud with Wonder Wool #3.
- 19Find three more Winged Clouds above. The leftmost has five hearts (Hearts: 15/20). The rightmost has a Gift Box with Smiley Flower #4. The middle cloud contains a sphere to jump to beads, including Stamp Patches #12 & #13.
- 20Return to the main area and refill your yarn balls at the Yarn Basket.
- 21Collect three yellow beads over the next green pipe, concealing Stamp Patch #14.
- 22Deal with Shy Guys on cloud platforms above a pit. Throw a yarn ball right through beads to a Winged Cloud, sprouting a flower to cross the pit.
- 23At the top of the flower, toss a ball at the Winged Cloud above to get a Gift Box with Wonder Wool #4.
- 24On the next cloud platform, throw a ball at the circle of beads right to reveal an invisible Winged Cloud. This spawns another flower and Shy Guys.
- 25Descend to the bottom leaf and hit the invisible Winged Cloud at the center to spawn beads, with Stamp Patch #15 being the top center bead.
- 26At the next cloud platforms, hit the first Winged Cloud for the last five hearts (Hearts: 20/20). Hit the second Winged Cloud to create beads, with Stamp Patch #16 at the left end.
- 27Jump on the middle cloud to reveal an invisible Winged Cloud, sprouting a flower to climb back up.
- 28Go to the far right cloud, defeat the Shy Guy, and unravel the bow to find Wonder Wool #5 and beads containing Stamp Patch #17.
- 29Climb the flower. At the top, jump to reveal an invisible Winged Cloud with Smiley Flower #5.
- 30Jump through the beads to your right to find Stamp Patches #18, #19, & #20.
- Throwing yarn at enemies adds their entry to the Scrapbook Theater.
- Throwing yarn at Piranha Plants stuns them, allowing you to jump on them.
- Use the Yarn Baskets to replenish your yarn ball supply.
- Invisible Winged Clouds are revealed by hitting them with yarn balls, often after finding a clue or hitting a specific bead pattern.
- Checkpoints grant five hearts and make enemies temporarily harmless.
World 1-2 — Bounceabout Woods
Collect all 5 Smiley Flowers, 4 Wonder Wools, and 17 Stamp Patches in Yoshi's Woolly World World 1-2 — Bounceabout Woods.
- 1Jump on the leafy spring near the starting Shy Guys to reach Stamp Patch #1.
- 2Hit an invisible Winged Cloud (glossed: a cloud that appears when hit) where the Shy Guys were to find five hearts (Hearts: 5/25).
- 3Use the next leafy spring to collect beads and find Stamp Patch #2.
- 4Find another invisible Winged Cloud in the bottom right to reveal a bead trail leading to Stamp Patch #3.
- 5Drop down and go past the Shy Guy into a hidden alcove; collect beads to find Smiley Flower #1.
- 6Use the leafy springs to go up, then bounce left to a cloud platform to find Wonder Wool #1 and beads.
- 7Follow the red arrow and jump off a leafy spring to the right to reach a new area.
- 8Jump through the arc of beads to find Stamp Patch #4.
- 9Defeat the bouncing Shy Guy below to reveal Wonder Wool #2.
- 10Go right past two more Shy Guys to find Stamp Patch #5 inside a tree.
- 11Bounce up and left into a tree nook to find an invisible Winged Cloud with five hearts (Hearts: 10/25).
- 12Hit the red outline of a leafy spring with a yarn ball to reveal it and beads, including Stamp Patch #6.
- 13Use this to bounce up and left, defeat the Shy Guy, and jump on the yellow leafy spring.
- 14Bounce four times on the yellow leafy spring to get beads and a Gift Box containing Smiley Flower #2.
- 15Go right and follow the line of beads down.
- 16Pop balloons to collect beads, with the last one being Stamp Patch #7.
- 17Deal with the Shy Guys hanging from balloons.
- 18Collect the Wonder Wool #3 from a Gift Box in the middle of the balloon area.
- 19Go to the Yarn Basket and bounce off the big central leaf to trigger an invisible Winged Cloud, creating a stairway up and left.
- 20Enter the doorway at the top and use the leafy spring to collect beads, finding Stamp Patches #8 & #9 and Smiley Flower #3.
- 21Exit the area and go to the bottom corner to find an invisible Winged Cloud that creates a bead trail to Stamp Patch #10.
- 22Collect the last balloon bead for Stamp Patch #11.
- 23Hit the checkpoint (an auto-save point you restart from on death) for five extra hearts (Hearts: 15/25).
- 24Enter the Transformation Door.
- 25As Umbrella Yoshi (glossed: Yoshi transformed into an umbrella), steer with the wind and press A for a speed boost, collecting items before time runs out.
- 26Float upward to grab beads, finding Stamp Patch #12 at the top of the third column.
- 27Go right out of the tree to spawn a downward bead trail; find Stamp Patch #13 at the end of the second segment.
- 28Grab the + Clock at the end of the third segment to reset the timer to 20 seconds.
- 29Collect beads in the horizontal section, finding Wonder Wool #4 in a cluster of green beads.
- 30Grab another + Clock, then descend inside a tree to find Stamp Patch #14 at the bottom of a bead column.
- 31Proceed right to a large series of beads rotating in circles; find Stamp Patches #15 & #16 in the middle.
- 32Go right, then up and to the exit of the bonus area.
- 33Hit the checkpoint for five extra hearts (Hearts: 20/25).
- 34Hit the jar of beads with Yoshi's head until it's empty to get Stamp Patch #17.
- 35Go up, cross platforms to the left, and then up again to find a square of four breakable blocks in a tree.
- 36Destroy the blocks with yarn balls to reveal a door.
- 37Inside, collect beads suspended by balloons, finding Stamp Patches #18 & #19.
- 38Jump on the yellow leaf at the end; the last bounce will yield a Gift Box containing Smiley Flower #4.
- 39Leave the room.
- 40Continue right across platforms and remove the Shy Guy on a small branch to find an invisible Winged Cloud that creates a bead trail to Smiley Flower #5.
- 41Go up to find a Winged Cloud with the last five hearts (Hearts: 25/25).
- 42Interact with the bow protruding from the tree wall.
- Use the leafy springs to reach higher areas.
- Invisible Winged Clouds often hide valuable items or collectibles.
- In the Umbrella Yoshi section, use the speed boost frequently to maximize collectible gathering and reach the end before time runs out.
- Collect + Clocks in the Umbrella Yoshi section to extend your timer.
- Use yarn balls to break blocks and reveal hidden areas.
- 1 Smiley Flower, 1 Wonder Wool, 3 Stamp Patches (at the start of the course)
- 3 Smiley Flowers, 3 Wonder Wools, 11 Stamp Patches (after the first transformation door)
- 3 Smiley Flowers, 4 Wonder Wools, 16 Stamp Patches (at the end of the transformation sequence)
- 5 Smiley Flowers, 4 Wonder Wools, 17 Stamp Patches (total at the end of the course)
- 25 Hearts (total)
Similar guides you might like


100% Human-Written. AI Fact-Checked. Community Verified. Learn how AntMag verifies content