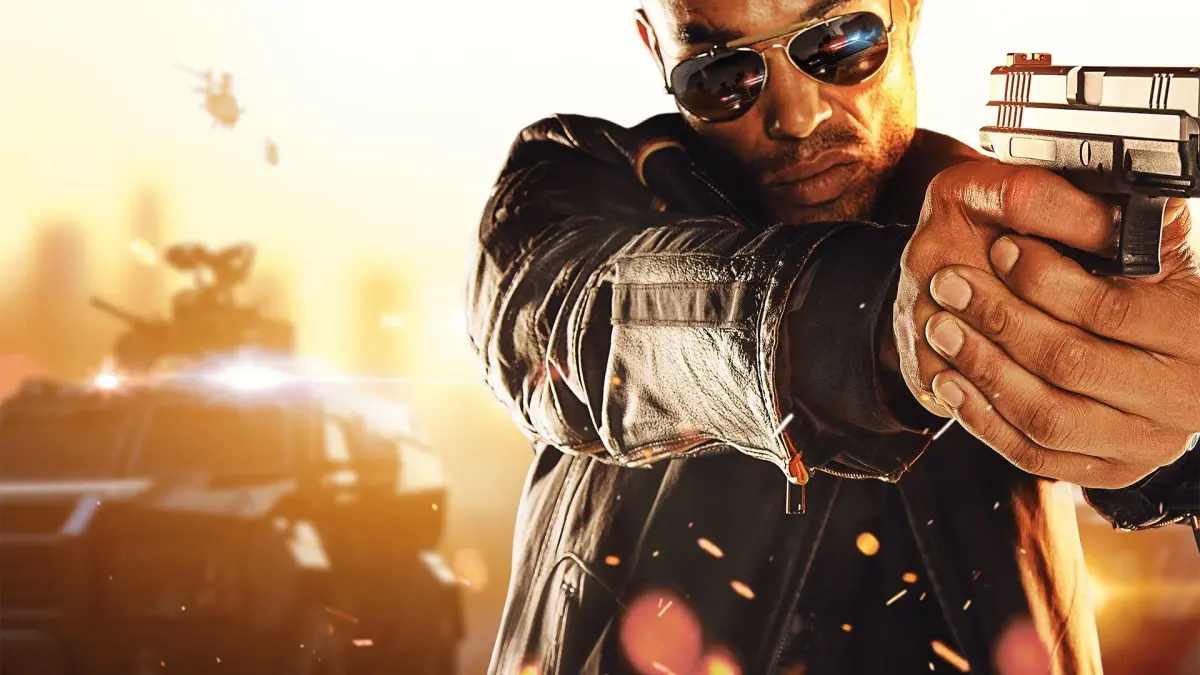
Welcome to Battlefield Hardline, a 2015 first-person shooter that swaps military combat for a cops-and-robbers narrative. You'll play as Nick Mendoza, a detective navigating a sprawling criminal underworld across Los Angeles and Miami. Expect intense shootouts, car chases, and tactical gameplay as you tackle crime cases, from the opening mission 'Back to School' to the climactic 'Stoddard Confrontation.'
This guide is your go-to resource for conquering Hardline's single-player campaign. We'll walk you through every mission, offer strategies for taking down tough bosses, and help you find all the collectibles to earn those coveted Steam Achievements. Master weapon loadouts and class roles to become the ultimate street cop.
Part 1
Part 1 of the Battlefield Hardline weapon guide covers an introduction to the game's firearms, mechanics, and how to interpret weapon statistics from Symthic.com.
This is a guide to all the multiplayer guns in Battlefield Hardline.
Although this document is written from the perspective of a PS4 player, pretty much all the info within it should apply equally to the other platforms. However when specific controls are mentioned, these will be the default PS4 joypad controls, with the trigger buttons L2 to ADS (aim down sights) and R2 to fire, etc.
The aims of this guide are to explain the firearm mechanics in the game (and how to interpret the Symthic weapon charts), to discuss/compare all of the guns and attachments, to keep a record of stat changes from patches and to give a little background on each gun. Hopefully at least some of this will be informative or interesting.
All gun stats in this guide are taken from Symthic.com who apply data-mining techniques to extract all the exact stats for each weapon from the code of the PC version of the game. Previously the same stats were also used by the console versions but on 1 March 2016 Visceral introduced a new damage model for PC only. It is believed that most of the stats quoted throughout this guide still apply to all platforms but the DAMAGE stats are now for CONSOLES only - for PC stats please refer to the charts on Symthic.com. Symthic.com was taken down in January 2019 but eventually reborn as Sym.gg.
The author is a veteran of Battlefield 4 (hereafter "BF4"), Battlefield 3 ("BF3") and the superb Battlefield: Bad Company 2 ("BFBC2") and has written over fifty guides for GameFAQs. Trophies and firearms guides for BF3 and BF4 and trophies guides for Hardline and BF1 are also available on GameFAQs.
If you found this guide useful you can show your support by using the recommend function. If you have any feedback (especially suggestions for additions or improvements) then please feel free to contact the author via email or GameFAQs message.
This guide is designed to be viewed using a monospaced (non-proportional or fixed-width) font, preferably Courier New. Some sections of the document will display incorrectly if you're using a proportional font like Times New Roman.
The lead developer for Hardline is Visceral. They are best known for making the Dead Space series but they also previously made the End Game expansion for BF3.
Part 2
Explore Battlefield Hardline's stats and mechanics, including bullet drop, zeroing, and weapon data. Learn how gravity affects projectiles and how to compensate for long-range shots.
This section of the guide details the various stats and physical rules governing firearms in Battlefield Hardline, largely mirroring mechanics from BF3 and BF4. While the game displays basic weapon stats, a comprehensive breakdown is available from the online resource Symthic. Note that a March 1, 2016 patch introduced a PC-only damage model, so Symthic data reflects the PC version.
Symthic also provides data for BF3, BF4, BF1, and BFV. The most crucial feature for Hardline is the Weapon Charts, which list all gun stats. This guide explains each stat as presented on Symthic, covering all firearm mechanics.
The site also offers a useful Weapon Comparison page to compare two different guns, with or without accessories that affect stats. You can compare firearms from different categories or the same gun with/without attachments. Other available pages include accuracy plots (spread and recoil) and weapon attachment information.
The author credits the Symthic data contributors for their essential work on this guide.
Section 02a: Bullet-Drop & Zeroing
Although negligible at short ranges, your bullets are affected by gravity. Downwards acceleration due to gravity is applied to projectiles in flight, shown on Symthic's damage graph. Every bullet acts as a true projectile, gradually falling to earth. This "bullet-drop" is most noticeable with sniper rifles at long range, requiring players to aim above their targets.
In reality, projectiles accelerate downwards at 9.81 m/s², but for game balance, different gravity rates are used. Most guns have an artificially high gravity acceleration of 15.0 m/s², while most sniper rifles use a realistic 9.81 m/s², though some use 15.0 m/s². The RO933 .300 BLK carbine and Mammoth Gun share a 20.0 m/s² gravity, and the Nail Gun pickup has 80 m/s².
Theoretical examples of bullet-drop on sniper shots at 200 meters using launch bolt-action rifles:
- Scout Elite (muzzle velocity 640 m/s, gravity 15.0 m/s²): Takes 0.31 seconds to cover 200m horizontally. Drops 0.72 meters vertically. Over 400m, it takes 0.63 seconds and drops 2.9 meters (drop increases quadratically with range).
- AWM (muzzle velocity 550 m/s, gravity 9.81 m/s²): Takes 0.36 seconds to cover 200m. Drops 0.65 meters.
- R700 LTR (muzzle velocity 480 m/s, gravity 9.81 m/s²): Takes 0.42 seconds to cover 200m. Drops 0.85 meters. This rifle has more drop than the AWM but less recoil, better accuracy, and a higher rate of fire.
- .300 Knockout (muzzle velocity 300 m/s, gravity 15.0 m/s²): Its speed and gravity balance its one-hit kill potential. It has a nominal muzzle velocity of 480 m/s but is fitted with... (text cuts off)
Part 3
Learn Battlefield Hardline zeroing settings (0m to 1,000m) and fire rate modes (auto, burst, single) to improve your accuracy.
- 1Understanding Bullet Drop: Bullets in Battlefield Hardline experience drop over distance. For example, a bullet might travel 200 meters in 0.67 seconds and drop 3.3 meters. To compensate, you can fire a test shot at a wall at the same distance and observe the impact point. If it lands 1.5cm below your crosshairs, aim 1.5cm higher for your next shot. With practice, you can estimate distances by how large enemies appear in your scope and compare them to your scope reticle. Unlike some other games, Battlefield Hardline does not have a range-finder attachment or Portable Laser Designator (PLD) gadget. However, you can use the distance to nearby objective markers as an approximate range.
- 2Using Zeroing: Sniper rifles in Battlefield Hardline allow you to adjust the zeroing setting to compensate for bullet drop at specific distances. Press the down D-pad (or V by default on PC) to cycle through available zeroing settings: 0m, 200m, 300m, 400m, 500m, and 1,000m. These settings are displayed on the prompt at the bottom of your screen. Zeroing ensures that your bullet impact point matches your aim point at the selected distance. At ranges longer than your zeroing setting, you will still experience bullet drop. At shorter ranges, your rounds will hit above your crosshairs. If your target is between zeroing settings, such as 250m, you can either zero for 200m and aim high, or zero for 300m and aim low.
- 3Understanding Fire Rate: The fire rate of a weapon is given in rounds per minute (RPM) and indicates how quickly a weapon can fire successive rounds. Each firearm has up to three fire modes: single, burst, and auto. These are indicated by bullet icons next to your ammo counters in the bottom-right corner of the screen and on the D-pad prompt. Tap the down D-pad (or V on PC) to switch between fire modes. Single fire mode fires one round per trigger pull. Burst fire mode fires two or three rounds per trigger pull. Auto fire mode fires continuously when the trigger is held. When you respawn (reappear after dying) after dying, your weapon's fire mode remains unchanged. For automatic weapons, the fire rate shown is for full auto. For semi-auto, pump-action, or bolt-action weapons, it's the maximum achievable rate for successive single shots. Battlefield Hardline does not have primary weapons with burst mode instead of full auto, but some weapons like the G36C, UMP45, MP5K, and HK51 have a burst option. In automatic mode, you can use "tapfire" (tapping R2) to simulate a burst effect if your weapon lacks a burst mode or if you prefer not to change the fire mode. Firing consecutive short bursts is more accurate than sustained fire because it allows your spread and recoil to reset. The fire rate is crucial in close-quarters combat, but at medium and longer ranges, a slower weapon with less recoil might be more effective.
- 4Understanding Muzzle Velocity: Muzzle velocity is the speed at which bullets leave the barrel, measured in meters per second (m/s). For example, at 600 m/s, it takes a quarter of a second for bullets to travel 150 meters. To hit a moving target, you need to "lead" them, aiming in front of their path so they move into your bullet's trajectory.
- Practice estimating distances by observing enemy size in your scope and comparing it to your reticle.
- Use objective markers to estimate range if enemies are near objectives.
- When engaging targets between zeroing settings, choose the closest setting and adjust your aim accordingly (aiming high or low).
- For automatic weapons, tap-firing can provide better accuracy than sustained fire by allowing recoil and spread to reset.
- Experiment with different fire modes to find what works best for various combat situations.
Part 4
Explore Battlefield Hardline's bullet velocity mechanics, including muzzle speed, range calculations, and damage drop-off. Understand how attachments and server settings affect combat.
This section details the mechanics of bullet velocity and damage in Battlefield Hardline. It covers muzzle velocities for various weapon classes, the impact of sound suppressors, and how bullet velocity influences maximum weapon range. Additionally, it explains the damage drop-off system, differentiating between Normal and Hardcore server settings and illustrating how weapon damage decreases over distance.
Muzzle Velocity:
Muzzle velocities in Battlefield Hardline range from approximately 500-700 m/s for most rifles, with PDWs and pistols around 400 m/s. Following the Blackout update on November 3, 2015, standard velocities were standardized: 500 m/s for 5.56mm and 5.45mm carbines/assault rifles, 450 m/s for 7.62mm assault rifles, and 700 m/s for battle rifles.
Equipping a sound suppressor attachment reduces muzzle velocity to around 300 m/s, even for weapons like the SA-58. Calibers like .45 ACP, already subsonic, see further reductions to 180-160 m/s when suppressed.
Maximum Range:
The maximum range for most guns is determined by the distance a bullet travels in 1.5 seconds. For example, the M416 with a 500 m/s velocity has a max range of 750 meters (500 m/s * 1.5 s = 750 m).
Rifles and carbines generally have longer ranges (800-950m) than PDWs and handguns. Sniper rifles, the Saiga .308, M82, certain 7.62mm Soviet assault rifles (RPK, AKM, MDC), and the RO933 .300 BLK carbine have extended maximum ranges based on 5.0 seconds of travel time. Other semi-auto snipers use a 3.0-second calculation. For instance, the Scout Elite sniper with a 640 m/s velocity has a max range of 3,200 meters (640 m/s * 5.0 s = 3,200 m).
Damage and Health:
On Normal servers, players have 100 health. On Hardcore servers, this is reduced to 60 health, making it easier to be killed. This health reduction was corrected in the Criminal Activity patch on June 16, 2015, after an initial error.
Damage Drop-Off:
Bullet damage decreases over distance. A weapon deals its Maximum Damage at short ranges, then damage begins to decrease linearly from the Drop-Off Start distance until the Drop-Off End distance, after which Minimum Damage applies. The damage profile is graphically represented as a plot of damage versus distance.
For example, the SG553 carbine has a maximum damage of 25, minimum damage of 18, a drop-off start at 30 meters, and a drop-off end at 50 meters. Out to 30 meters, it takes four bullets to kill (4 * 25 = 100). Between 30 and 50 meters, it becomes a five-hit kill, and beyond 50 meters, it's a six-hit kill.
Similar guides you might like


100% Human-Written. AI Fact-Checked. Community Verified. Learn how AntMag verifies content