Navigate the Moth Room (3) in Resident Evil Code: Veronica X with our expert guide. Learn enemy placements, optimal strategies for each character, and how to progress.
Alright, we're heading into what's essentially a sterile replica of the Spencer Mansion's Foyer. It might look familiar, but don't get too comfortable – it's crawling with enemies!
- 1
Where You Are: You'll spawn right in front of the double doors leading into the Foyer Replica.
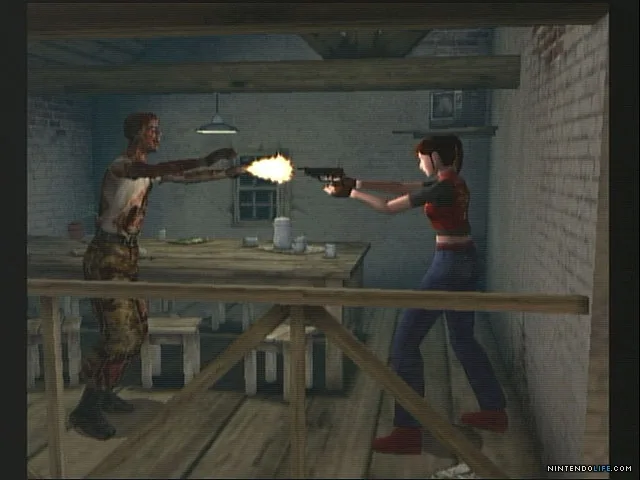
What You See: Directly ahead is a suicide bomber zombie with an explosive pack. There's another regular zombie in the same room. The electronic door to the frozen corridor is busted. In an alcove to your left, you'll find a zombie wearing night vision goggles. Around the corner, two more zombies are waiting.
What You Do (Claire Redfield):
- Immediately equip your Bow Gun and fire an explosive arrow at the suicide bomber. One shot should do it and detonate his pack.
- 2Once the explosion clears, target and kill the second zombie in the room.
- 3Next, aim into the alcove and take out the zombie commando with night vision goggles.
- 4With those three down, head down the hallway in the alcove and stop at the corner.
- 5Slowly turn the corner and aim at the two zombies there. Fire two quick arrows to take them out.
- 6Finally, you can head through the sliding elevator doors to the next room.
- 7Immediately pull out your Magnum and fire a single shot at the suicide bomber. Wait for the explosion to finish before moving.
- 8L-target the second zombie and shoot him dead.
- 9Run to the alcove and fire a single Magnum shot at the zombie commando with infrared goggles.
- 10With him dead, run forward to the corner. Aim left and shoot the two zombies there. If you're lucky, one Magnum bullet might even take them both out.
- 11Once they're dealt with, enter the elevator to proceed.
- 12Start by shooting the suicide bomber zombie with explosives.
- 13After he's down, L-target the second zombie and unload some ammo, or go for a headshot with the Gold Lugers.
- 14Head into the alcove and deal with the zombie commando – either a headshot or just spray him down.
- 15Run down the hallway to the corner where two more zombies are waiting. If you have the Gold Lugers, try to line up a double headshot when they're close together; one bullet from each Luger can take them both down.
- 16With all zombies eliminated, enter the elevator.
- 17Fire a single Grenade Round at the suicide bomber zombie.
- 18After the explosion, get close to the second zombie and finish him off.
- 19Move into the alcove and take out the commando zombie marching towards you.
- 20Run down the hallway to the corner and aim left at the two zombies. If they're close enough, a single Grenade Round might take them both out, saving time.
- 21Once all threats are gone, enter the elevator.
- 22You can't set off the suicide bomber's explosives with the Combat Knife, but you also can't hit him from behind effectively. Wait for him to turn and walk towards you, then slash his legs.
- 23Take down the second zombie with your knife.
- 24For the zombie commando in the alcove, it's best to lure him out into the open area before attacking, as the knife might hit the wall otherwise.
- 25Lure the two zombies around the corner out into the open as well before engaging them. If you're confident, you might be able to fight them from the corner's edge.
- 26Once all zombies are defeated, enter the elevator.
- Pay attention to the specific weapon recommendations for each character, as they can make a big difference in efficiency.
- Wesker's section highlights a unique mechanic where slashing legs from the front is more effective than from behind.
- The placement of enemies, especially the suicide bomber and the ones around the corner, requires careful positioning and timing.
100% Human-Written. AI Fact-Checked. Community Verified. Learn how AntMag verifies content