Navigate Sublevel 90, also known as 'The Smile Trials,' in Pathways into Darkness. This guide covers all 21 mini-sublevels, music changes, and unique mechanics.
Sublevel 90: The Smile Trials
Alright, so you've made it to Sublevel 90, which the game calls "The Smile Trials." Think of this place as a greatest hits album of the first 20 sublevels from the original PM 6:06, but all crammed into a smaller, more manageable space. When you first spawn, you'll be in a simplified version of Sublevel 1, which acts as your main hub. From here, you can access the other sublevels. You'll also see a few other exits labeled for PM 6:06's Sublevel 6, Sublevel 11, and Sublevel 16. There's also an exit for Sublevel 21, which is unique to this game and feels a lot like its own Sublevel 21.
It's pretty neat how they've used older versions of the sublevels, even reusing old exits. Since they're stacked directly on top of each other, you can actually see the whole exit and the ladder going down. Some of these recreated sublevels have some twists: Sublevel 7 is more of a maze now, and the boss sublevels have been turned into regular areas but still throw in boss mechanics. This is the last sublevel in Cluster 9, and it's the longest one, so efficiency is key. The good news? This sublevel has a rare feature: you can respawn! That makes it way less punishing. Oh, and the music changes as you descend, sort of like the distortion effects in the original PM 6:06.
Music
The music shifts as you move through the sublevels. Here's the rundown:
- Sublevels 1 - 6: Pokemon Red/Blue - Pokemon Tower (The speed slows down as you go deeper.)
- Sublevels 5 - 9: Monster Mash Dance Potion (0.05 Playback speed) (This overlaps with the previous track.)
- Sublevel 10: Persona 3 OST - Basement
- Sublevel 11: Pikmin 2 - Rest Area
- Sublevels 12 - 14: Monster Mash Dance Potion (0.05 Playback speed)
- Sublevels 15 - 19: Persona 3 - Tartarus (The speed and intensity ramp up as you progress.)
- Sublevel 20: CRYSEHD - Gold (EP III)
- Sublevel 21: Pikmin 2 - Rest Area (Slowed)
- Sublevel 21 (Ending): Towers - Hard Tower (Reversed)
Guide
The 'mini' sublevels here are pretty much identical to the original PM 6:06, so you shouldn't need too much hand-holding.
Sublevel 1
This one's a breeze. Just find a grey wall and walk towards it; the exit is right there. You can also find the sublevel select by heading down the hallway next to where you spawn.
Sublevel 2
This is where you'll start seeing the first wall corruptions. You'll see a glass wall near where you spawn. You need to go around the sublevel to get to the other side of that glass wall, and you'll find the exit. Still pretty straightforward.
Sublevel 3
This sublevel is super easy, mainly because of the lighting. The light from the chair at the start can be seen through the wall. To get here, go forward and take a left. It's that simple. Once you pass the chair, you'll find the exit.
Sublevel 4
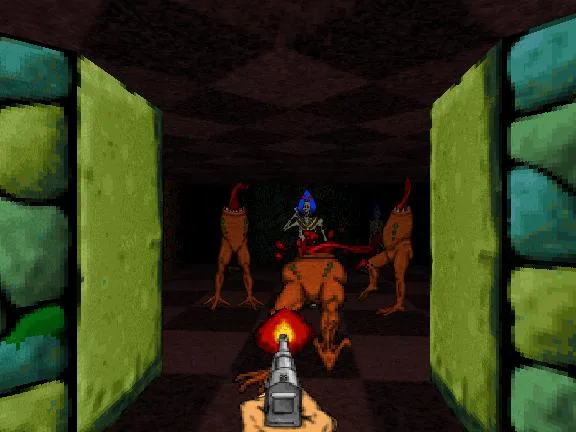
This sublevel introduces a new mechanic: switching doors. They don't change very often, so your best bet is to just find one that's already open rather than waiting. Look for the purple doors; the exit is hidden behind them. You'll also encounter the Smiler here, but don't worry too much – it's slow and doesn't hit hard, so it's easy to avoid.
Sublevel 5
This sublevel "intro"
100% Human-Written. AI Fact-Checked. Community Verified. Learn how AntMag verifies content