Instructions for installing and setting up Pathways into Darkness on modern systems using emulators like Mini vMac or Basilisk II.
Embarking on your journey into the dark depths of Pathways into Darkness on a modern machine requires a bit of technical finesse. As a classic Macintosh title, direct installation on contemporary operating systems is not possible. Fortunately, the vibrant retro gaming community has provided excellent emulation solutions. This section will guide you through setting up your environment to experience the eerie atmosphere and challenging gameplay of Pathways into Darkness.
Choosing and Setting Up Your Emulator
The primary tools for running classic Mac OS software are emulators. For Pathways into Darkness, two stand out:
- Mini vMac: A highly accurate and lightweight emulator focused on emulating older Macintosh hardware. It's excellent for games that don't require advanced features.
- Basilisk II: A more powerful emulator capable of running a wider range of Mac OS versions, including later ones like Mac OS 8 and 9. It offers more advanced features and potentially better performance for some titles.
Important Considerations for Modern Systems:
- Emulator Versions: While specific versions aren't strictly mandated, it's generally recommended to use the latest stable releases of Mini vMac or Basilisk II available from their official websites or reputable retro gaming archives. Newer versions often include bug fixes and improved compatibility with modern operating systems (Windows, macOS, Linux).
- Host OS Compatibility: Ensure the emulator version you choose is compatible with your current operating system. Check the emulator's documentation or download page for specific OS requirements.
- Mac OS ROM File: A crucial component for any Mac emulator is a Mac OS ROM file. This is a copyrighted file that contains the core operating system firmware. You will need to legally obtain a ROM file from a compatible Macintosh computer or a source that provides legally permissible ROM images. System 7.5.5 is a widely compatible and recommended version for many classic Mac games.
Step-by-Step Emulator Setup (General Guide)
The exact steps may vary slightly between Mini vMac and Basilisk II, but the general process is as follows:
- Download the Emulator: Obtain the latest stable version of your chosen emulator (Mini vMac or Basilisk II) from its official source.
- Obtain a Mac OS ROM: Legally acquire a compatible Mac OS ROM file (e.g., a ROM for a Macintosh IIci or Quadra 700, often associated with System 7.x).
- Obtain the Game Files: You'll need the Pathways into Darkness game files, typically in the form of a disk image (e.g., a .dsk or .iso file).
- Configure the Emulator:
- Launch the emulator.
- You will likely be prompted to select your Mac OS ROM file. Point the emulator to the location where you saved it.
- Configure the emulated hardware. For Pathways into Darkness, a relatively standard configuration should suffice. You might need to allocate RAM (e.g., 8-16 MB) and set the emulated Macintosh model.
- Set up a virtual hard drive or floppy disk image. This is where your Mac OS will be installed.
- Install Mac OS:
- Mount your Mac OS installer disk image within the emulator.
- Boot the emulator from the installer.
- Follow the on-screen prompts to install Mac OS onto your virtual hard drive.
- Mount the Game Disk Image: Once Mac OS is installed and running, you can mount the Pathways into Darkness disk image. This is usually done by dragging the game's .dsk file onto the emulator window or through a menu option (e.g., "Insert Disk" or "Mount Image").
- Launch the Game: Navigate to the mounted game disk within the emulated Mac OS Finder. Locate the Pathways application icon (often named "Pathways" or similar) and double-click it to start the game.
Helpful Resources:
- Mini vMac: Search for "Mini vMac official website" for downloads and documentation.
- Basilisk II: Search for "Basilisk II official website" or "Emaculation Basilisk II" for download links and guides.
- Mac OS ROMs: Information on obtaining Mac OS ROMs can often be found on emulation forums and dedicated retro computing sites. adhere to copyright laws.
In-Game Saving and the Importance of Emulator Save States
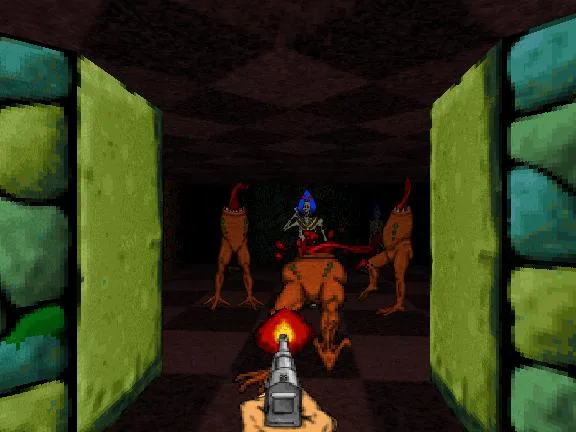
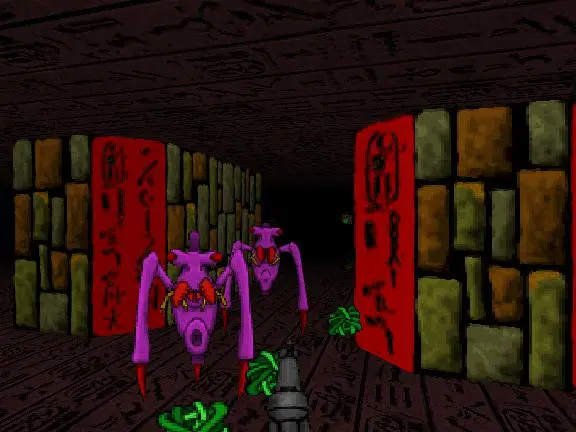
Pathways into Darkness features a unique in-game saving system that can be described as "sparse." This means that saving your progress is not as frequent or as granular as in many modern games. You can only save at specific points, and the process itself can be somewhat unforgiving if interrupted.
This sparsity makes the emulator's save state feature absolutely critical for a smooth and enjoyable experience.
- Emulator Save States: Most emulators allow you to create "save states." This is essentially a snapshot of the entire emulated system's memory at a given moment. You can save and load these states instantly, bypassing the in-game save system entirely.
- Frequent Use Recommended: Due to the limited in-game saving, it is highly recommended to use emulator save states frequently. Save before entering new areas, before engaging in difficult combat, or after achieving a significant objective.
- Recovery from Mistakes: If you make a critical error, die unexpectedly, or get stuck, you can simply load your most recent save state to return to that exact moment, saving you from replaying large sections of the game.
- How to Use Save States: Familiarize yourself with your emulator's save state controls. Typically, there are hotkeys for saving a state (e.g., F5) and loading a state (e.g., F7). Consult your emulator's documentation for specific keybindings.
By leveraging emulator save states, you can mitigate the frustration of the game's sparse saving mechanism and focus on the exploration, combat, and puzzle-solving that Pathways into Darkness offers.
100% Human-Written. AI Fact-Checked. Community Verified. Learn how AntMag verifies content