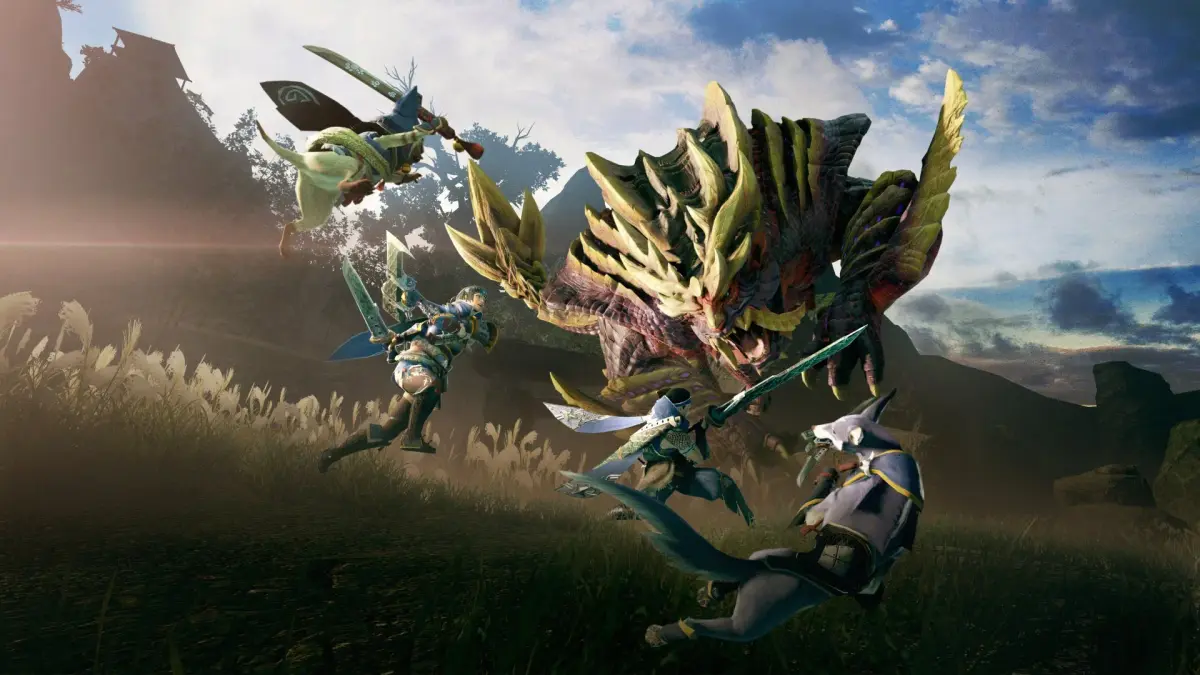
Welcome to Monster Hunter Rise, Capcom's latest action RPG where you'll hunt down massive monsters and craft powerful gear from their remains. It's a deep, rewarding experience perfect for solo players and co-op groups alike, offering satisfying combat and a constant loop of preparation and execution.
This guide is here to help you master the hunt. We'll cover everything from weapon tutorials and armor set recommendations to monster weaknesses and strategies for tackling the toughest challenges, including those found in the Sunbreak expansion. Get ready to craft the ultimate gear and take down every beast in Kamura Village.
How To Play
Learn the intricacies of the Charge Blade in Monster Hunter Rise. This guide covers motion values, phial types (Impact vs. Elemental), and basic sword mode moves to get you started.
How To Play
Learn the intricacies of the Charge Blade in Monster Hunter Rise. This guide covers motion values, phial types (Impact vs. Elemental), and basic sword mode moves to get you started.

Gameplay
Dive into Monster Hunter Rise's Charge Blade! Learn about Impact vs. Elemental phials, essential moves, and how to master this complex weapon.
Gameplay
Dive into Monster Hunter Rise's Charge Blade! Learn about Impact vs. Elemental phials, essential moves, and how to master this complex weapon.
Talismans
Learn how to unlock and use the Melding Pot in Monster Hunter Rise to craft powerful talismans. Discover melding options, skills, and the best strategies for the talisman grind.
Talismans are powerful accessories in Monster Hunter Rise that provide passive skills and can be crafted using the Melding Pot. This guide explains how to unlock the Melding Pot, use its various options, and equip your newly crafted talismans.
How to Unlock Talismans
The Melding Pot becomes available after completing any quest after unlocking 5-star Village Quests or 3-star Hub Quests. This typically involves defeating the Urgent Quest “Comeuppance” or “Hellfire,” which features a fight against Magnamalo.
Using the Melding Pot
Access the Melding Pot by speaking to the merchant (Kagero in Kamura Village or Maido in the Gathering Hub) and selecting the Melding Pot option from the shop menu. You will receive a tutorial on its use upon first access.
Melding Options
| Option | Description | How to Unlock |
| Reflecting Pool | Can choose 1 skill | Unlock 5-star Village Quests or 3-star Hub Quests |
| Haze | Can choose 1 skill | Unlock 5-star Hub Quests |
| Moonbow | Can choose 1 skill | Unlock 7-star Hub Quests |
| Wisp of Mystery | Skills are random | Clear the Hub Quest “Serpent Goddess of Thunder” |
| Rebirth | Skills are random | Clear the Hub Quest “Serpent Goddess of Thunder” |
How Melding Works
When using options like Reflecting Pool, Haze, or Moonbow, you can select a desired passive skill from a list. Note that the chosen skill is not guaranteed and has a probability of appearing, indicated on the left side of the selection screen.
After selecting a skill or choosing a random option, you must pay a certain amount of Kamura Points and provide materials to fill a meter. Once confirmed, your talisman order is placed in the queue. You can queue multiple orders, up to 10, but each quest completion only fulfills one order.
Receiving Your Talisman
Talismans are fulfilled one per quest completion, excluding Expedition Quests. Failing a quest also counts towards fulfilling an order and is the fastest method.
When you receive a talisman, its skills, skill level, and number of slots are randomized. Talismans cannot be upgraded, so obtaining better ones requires repeated melding and hoping for favorable random rolls.
Equipping a Talisman
To equip a talisman, go to your item box, select “Manage Equipment,” then “Change Equipment.” The talisman slot is located near the bottom, below the Petalace. If the slot is not visible, you do not currently possess any talismans.
Passive Skills (Reflecting Pool Example)
The Reflecting Pool melding option offers a variety of skills with different probabilities:
| Skill | Rate (%) | Description |
| Constitution | 70 | Reduces stamina depletion when evading, blocking etc. |
| Affinity Sliding | 70 | Sliding increases your affinity for a short time |
| Recovery Up | 70 | Increases the amount of health recovered |
| Fire Resistance | 100 | Boost to Fire resistance |
| Ice Resistance | 100 | Boost to Ice resistance |
| Dragon Resistance | 100 | Boost to Dragon resistance |
| Paralysis Resistance | 100 | Boost to Paralysis resistance |
| Muck Resistance | 100 | Boost to Muck resistance |
| Botanist | 100 | Increases the amount of herb, fruit, nut, seed or insect items when gathering. |
| Bombardier | 70 | Boost to Explosive power |
| Free Meal | 80 | Chance of using a food or drink item without expending a use |
| Carving Pro | 70 | Prevents knockback when carving. |
| Leap of Faith | 80 | Enables dive-evade when facing large monsters and extends dive-evade duration. |
| Master Mounter | 80 | Makes filling the Riding Gauge easier and increases ease of parrying |
| Wall Runner | 70 | Reduces stamina consumption while wall running |
| Stamina Thief | 70 | Boost to exhaust power |
| Horn Maestro | 70 | Increases overall performance speed and shockwave damage for Hunting Horn |
| Recovery Speed | 70 | Increases the speed at which you heal recoverable damage |
| Water Resistance | 100 | Boost to Water resistance |
| Thunder Resistance | 100 | Boost to Thunder resistance |
| Poison Resistance | 100 | Boost to Poison resistance |
| Sleep Resistance | 100 | Boost to Sleep resistance |
| Blast Resistance | 100 | Boost to Blast resistance |
| Geologist | 100 | Increases the number of times you can gather from bonepiles, gathering points or mining outcrops. |
| Item Prolonger | 70 | Prolongs the duration of item effects |
| Fortify | 80 | Increases attack and defense each time you faint |
| Hunger Resistance | 80 | Increases the time until your stamina cap |
How to Capture Monsters
Learn the essential steps to capture monsters in Monster Hunter Rise. Discover the traps, tranq bombs, and strategies needed to successfully bring down your quarry.
Alright, hunter! So you want to learn how to capture monsters instead of just KO'ing them? It's a super useful skill, and honestly, once you get the hang of it, it's pretty straightforward. Think of it like Pokémon, but with way cooler monsters and much bigger swords. Let's break down what you need and how to do it.
Preparations for Capture
Before you even think about heading out, you need to make sure you've got the right gear. There are two main things you'll need:
Traps
Traps are your best friends when it comes to capturing. You use them from your item pouch, and your hunter will kneel down to place it. This takes a few seconds, so make sure you're not in immediate danger when you do it!
We highly recommend keeping both a Pitfall Trap and a Shock Trap with you at all times. While they function pretty much the same, a tiny handful of monsters might be immune to one type, so having options is key.
You can sometimes get traps as quest rewards, but most of the time, you'll be crafting them. The main ingredient you'll need is a Trap Tool, which you can buy from the market or the guild shop. The other materials can be gathered out in the field or traded for.
| Item to Craft | Materials Required |
| Pitfall Trap | Trap Tool x1, Net x1 |
| Shock Trap | Trap Tool x1, Thunderbug x1 |
| Net | Ivy x1, Spider Web x1 |
Tranq Bombs
Now, monsters aren't exactly going to happily stay put in a trap. That's where Tranq Bombs come in! These are short-range bombs that release a gas to put the monster to sleep. If you're a ranged hunter, you can also use Tranq Ammo, but anyone can use the bombs.
You can – and absolutely should – carry a maximum of 8 Tranq Bombs with you. It's usually quicker to just buy these from the shops rather than crafting them.
| Item to Craft | Materials Required |
| Tranq Bomb | Sleep Herb x1, Parashoom x1 |
| Tranq Ammo | Tranq Bomb x1, Normal Ammo 1 x1 |
The Capturing Process
Capturing might seem a bit tricky at first, but once you've done it a few times, you'll be a pro. Here's how it all goes down:
Weaken the Monster
This is the most crucial step. You need to weaken the monster significantly. If you try to trap a monster that's still full of fight, it'll just break free. In older games, figuring out the right moment was a bit of a gamble, but Monster Hunter Rise makes it much easier.
Keep an eye on what your Palico is saying on the right side of your screen during the fight. It can be tough to focus on dialogue when you're dodging attacks, but do your best! Eventually, your Palico will tell you when the monster is ready to be captured.
If you happen to miss that prompt, don't sweat it. There's another clear indicator: a blue skull icon will appear below the monster's health bar in the top right corner, and also near its icon on the mini-map. If the fight feels like it's dragging on, try to glance at the top-right corner whenever you get a brief moment to breathe.
Set Your Trap
Once you know the monster is weak enough, don't just rush in blindly. Try to put some distance between you and the monster. Then, open your item pouch (using and /) until you have either the Pitfall or Shock Trap selected.
Wait for a safe moment – maybe the monster isn't looking at you, or it just finished a big attack with a long recovery. Then, press to place the trap. Try to put it in an area where you have plenty of space to maneuver.
After you've placed the trap, you need to get the monster to step into it. Usually, the monster will notice you and come charging. Your job is to cleverly lure it towards the trap. If the monster isn't actively fighting you and hasn't seen you, you could try baiting it with meat, but that usually takes longer. Luring it is generally the safest bet.
Important Note: You can only have one trap active at a time. If the monster leaves the area after you've set a trap, you can't just go set another one elsewhere. However, if you go up to an existing trap and press , you can destroy it. You won't get the materials back, but you'll be free to set a different type of trap. A more efficient way to lure a monster back to a trap is by using a Stinkmink (found under Hunting Helpers on your map) when you're near the monster; it'll follow you like a lost puppy.
Use Your Tranq Bombs/Ammo!
The moment the monster steps into the trap, it'll be stuck there for a little while. As soon as you can, start chucking your Tranq Bombs or firing your Tranq Ammo at it. If you're using Tranq Bombs from your item pouch, it's super helpful if you've placed them in your quick slots so you can access them with just a couple of presses of and /.
Generally, using 2 Tranq Bombs or Tranq Ammo is all it takes for the monster to fall asleep and be successfully captured. If you happen to miss a throw or shot, you might need to use one or two more, but that's usually the magic number.
Similar guides you might like


100% Human-Written. AI Fact-Checked. Community Verified. Learn how AntMag verifies content