Learn the best strategy to defeat the Sicklescythe enemy in Enshrouded and acquire its coveted Fell Sicklescythe Head for your crafting needs.
Alright, so you're looking to snag the Fell Sicklescythe Head in Enshrouded? It's a pretty neat item, and the best place to hunt for the enemy that drops it is the Ridgeback Mine. You'll find this spot in the southeastern part of the map. If you're coming from the Kindlewastes Tower, just head southwest into the Shrouded area. If you've been doing the Blacksmith's quests, you might already have a point of interest marked nearby called 'Hearts of Iron' – that's your general area.
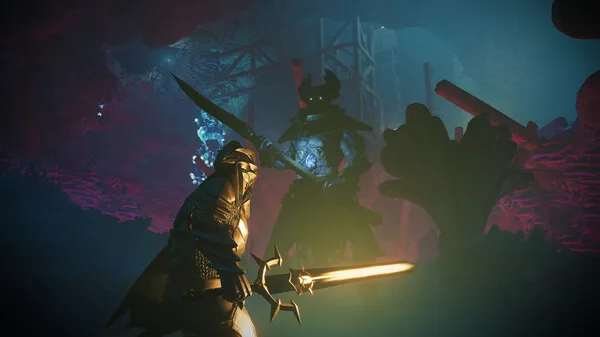
When you get to the Ridgeback Mine, you'll notice it's a fantastic spot for farming Iron ore. But watch out, because this place is crawling with a new kind of floating mage enemy – the Sicklescythe. These guys can be a real pain, so let's break down how to handle them.
The Sicklescythe has two main attacks you need to worry about:
- Sickle Throw: This is their faster attack, where they hurl lock-on blades at you. They come at you pretty quickly and often. The good news is that with a decent shield and good physical armor, you can block these. Each blade only does about 70 damage, so if you're geared up, this attack becomes much less of a threat.
- Skull Bomb: This is the real danger move. It's a slow-moving, screaming skull that explodes after a short delay or on impact, dealing massive damage. Expect to take around 200-300 magical damage if this hits you – it's a potential one-shot if you're not prepared.
For the Skull Bomb, your best bet is to keep moving constantly. If you can, use the environment to break line of sight, making the skull hit cover instead of you. Alternatively, just keep dodging and weaving; it'll often explode in the air after a short timer if you stay mobile.
Once you've got a handle on dodging the Skull Bomb and can block or parry the Sickle Throw, you can start trading hits. It doesn't matter if you're using a staff, bow, or melee weapon – the small window after they attack is your prime opportunity to strike back.
Need a little extra help? Consider using Fire Wisp Scrolls. You can find these in vases scattered around places like the Kindlewastes Tower, sun temples, and flame sanctums. These scrolls summon wisps that deal damage and, importantly, draw the Sicklescythe's aggro. This gives you breathing room and more chances to attack.
And, of course, don't forget your basic survival gear! Stock up on bandages, health potions, and any other consumables you might need. If you're really struggling, crafting some of the end-game armor sets, especially after you've unlocked the laboratory, can make a huge difference against these tougher enemies.
Once you finally take down the Sicklescythe, you can grab the Fell Sicklescythe Head. You can either store it for later use when your Flame level is high enough, or just put it on your mantlepiece for those sweet comfort bonuses. That's all there is to it for getting this head!
100% Human-Written. AI Fact-Checked. Community Verified. Learn how AntMag verifies content