Navigate the Springlands Hollow Halls in Enshrouded with our comprehensive walkthrough. Learn about enemy encounters, glyph puzzles, and essential loot like Bones and Ectoplasm Fragments.
Walkthrough
- 1Find the Hollow Halls: Speak with Balthazar, the alchemist NPC, in the Springlands. He will provide lore and add a marker to your map for the dungeon's location in the far southwest of the map.
- 2Preparation: Before entering, craft the best available armor, healing potions, bandages, and food buffs. The dungeon is recommended for level 25 players due to tough, numerous enemy encounters.
- 3Entering the Dungeon: Upon entering, you'll find the first of four journal pages on a table. Collect these for lore.
- 4First Area: Progress south and defeat the initial group of skeletons. Collect at least 20 Bones, which are needed for the Revelwood Bone Key. Smash nearby pots for extra loot and use the green portal to proceed.
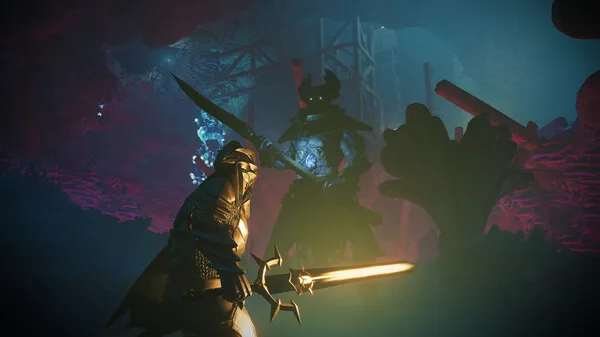
- 5Second Area: Encounter more skeletons and dog-like skeletons. Be cautious of being overwhelmed; kite enemies and use jump attacks if using a melee build, managing stamina.
- 6First Barrier Room:
- 7Defeat all enemies in the area.
- 8Locate the first green glyph by jumping to platforms on either side of the western barrier.
- 9Find the second glyph by using a grapple point on the east side, leading to a platform above.
- 10Use your glider to pass through the barrier to the west.
- 11Crossroads and Treasure: Approach the crossroads slowly. You can avoid a group of skeletons heading northeast. In the small room ahead, find a treasure chest (requires grapple hook to reach the upper part) and another journal page on the ground floor.
- 12Further Exploration: Fight skeletons in this room, including wights that drop Ectoplasm Fragments. Collect at least 50 Ectoplasm Fragments for the Revelwood Bone Key. Return to the hallway, head northeast where the skeletons were, and then west. Dig through rubble with a pickaxe to find another treasure chest.
- 13Checkpoint: Go back to the hallway and descend stairs to the south to find a checkpoint. Interact with it to set a respawn point.
- 14Second Barrier Room:
- 15Continue south to the next barrier room.
- 16Defeat wights with glyph symbols above their heads to unlock the western barrier. Some may be hidden behind columns.
- 17Interact with the journal on the eastern side of the room.
- 18Find a hidden treasure chest by pressing a button to the south, which reveals a hidden wall.
- 19Transition to Third Barrier Room: Head west until you reach a hole in the ground. Use your glider to jump through it to reach the third barrier room.
Tips
- Collect at least 20 Bones and 50 Ectoplasm Fragments for crafting the Revelwood Bone Key.
- Be prepared for large numbers of enemies, especially skeletons and dog-like skeletons.
- Utilize kiting and jump attacks for crowd control if playing melee.
- Look out for all four journal pages to learn more about the Hollow Halls' lore.
- The dungeon is recommended for level 25 players.
100% Human-Written. AI Fact-Checked. Community Verified. Learn how AntMag verifies content