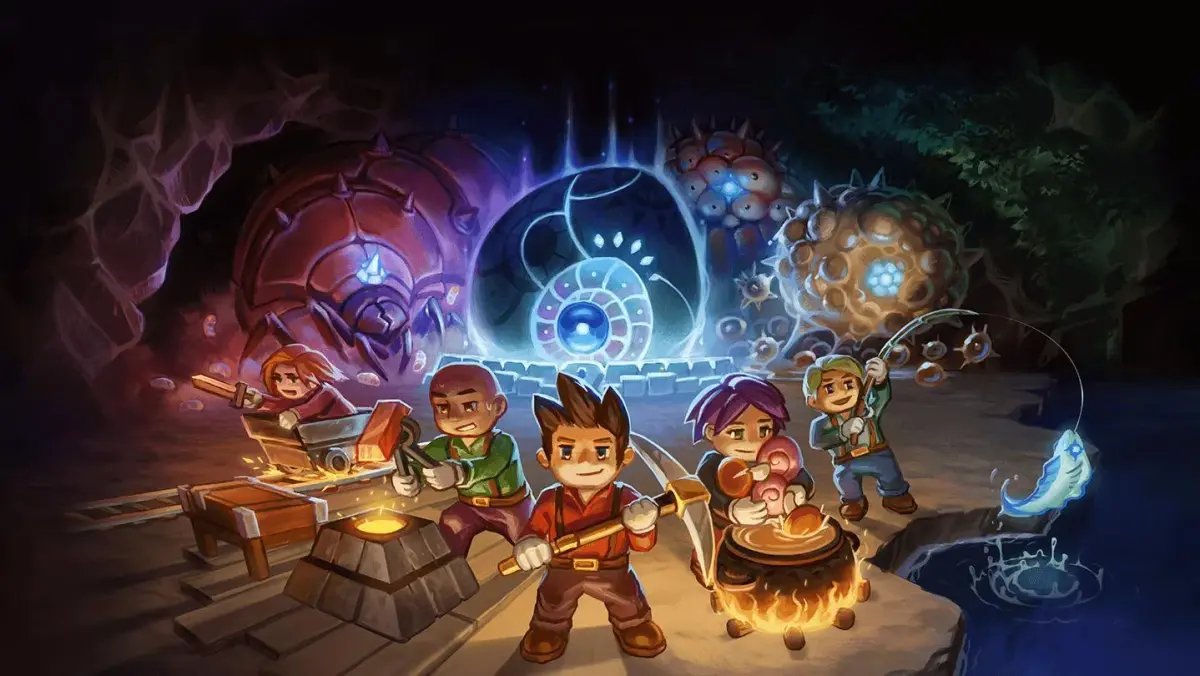
Core Keeper drops you into a mysterious underground world as a lone explorer tasked with restoring the Core. This 2D, atmospheric RPG adventure blends exploration, base building, and challenging combat. You'll mine resources, craft gear, farm food, and delve deeper into procedurally generated caverns, facing off against creatures and formidable bosses.
This guide is your essential companion for mastering the depths. We'll cover everything from initial character creation and world generation to optimizing your melee warrior build. Get ready to explore hidden biomes, gather crucial accessories and trinkets, and learn the strategies needed to defeat bosses like Glurch and Azeos. Survive and thrive in this challenging underground world.
GameFAQ status: 90%
Core Keeper version updates from v0.1 on Oct 3, 2012 to v0.9 on Nov 5, 2012, detailing walkthrough progress and release status.
- 1The initial version, v0.1, was started on October 3, 2012, focusing on the walkthrough after owning the game for approximately 12 years.
- 2By November 4, 2012 (v0.85), all walkthrough sections were finished except for Belial. This version also aimed to improve markup in several sections.
- 3The first released version, v0.9, was published on November 5, 2012. It included the description for Belial and might still receive general information additions and spelling/grammar checks.
- The author had owned Core Keeper for about 12 years before starting the walkthrough.
- Version 0.85 was a significant update, completing all but one boss in the walkthrough.
- Version 0.9 marked the first public release of the FAQ.
Controls
Learn the easy Core Keeper controls: use your mouse to move the cursor, select items, and get information.
You can move the cursor around with the mouse and click with the left mouse button (LMB) on certain parts to select rooms, spells, traps, and creatures. Hover the cursor over a specific part to get information about that topic.
- Hovering the cursor over elements provides quick information.
- The left mouse button (LMB) is your primary interaction tool.
Control panel
Navigate the Core Keeper control panel like a pro! Learn about the dungeon view, mini-map options, and all five essential tabs: Info, Room, Spell, Manufacture, and Creature.
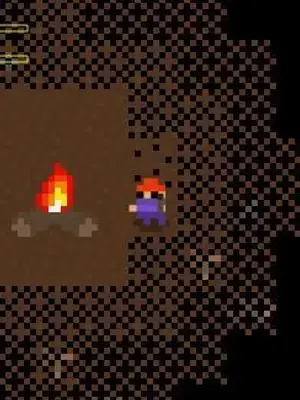
Alright, let's get you familiar with the control panel in Core Keeper. Think of it as your command center for everything happening in your dungeon. It's split into two main parts: the left pane for your dungeon view and the bottom panel with all the important tabs.
The left pane gives you a bird's-eye view of your dungeon. You'll see the four wind directions, which is super handy for always knowing where north is. Plus, there's a dotted line that always points back to your Dungeon Heart, so you never lose track of your most important structure. Around this map, you've got a few quick options: the Map icon to see the whole land, the 'C' key to toggle computer assistance, the 'Q' key for game options and quitting, and the plus (+) and minus (-) signs to zoom in and out on your mini-map.
Below that, you'll find five tabbed panels, each with its own set of functions:
Info tab (Question mark icon)
- At the top, you can toggle 'Imprison' and 'Flee' options. You'll need a Prison built first for 'Imprison' to work, of course.
- Right below that, you'll see the time until your next payday. When that gauge fills up, it's time to pay your creatures. The total amount you owe is shown in red numbers.
- There are two more gauges here: research and manufacture. These show you the progress on new spells and traps/doors you're working on.
- Further down, you'll see tabs for any other active Keepers in the region. It'll show their room and creature count, but remember, numbers aren't everything!
- Finally, the very bottom has a '?' query option. Click it to turn your cursor into a question mark. If you click on any creature, friend or foe, you'll get some extra info about them, and the game will even center the screen on their movements.
Room tab
- This is where you'll see all the rooms you can build. If a room's icon is raised, it means you've already built it.
- If you haven't researched a room yet, it'll show up as a '?'. You'll need to do research in the Library to discover these.
- The bottom-right icon here is for selling rooms. Click it, and your cursor turns into a '$' icon, letting you sell any rooms you've placed on the map.
Spell tab
- Just like the rooms tab, this shows all the spells you've researched so far. Any spells you haven't discovered yet will be marked with a '?'.
Manufacture tab
- This tab shows all the traps and doors you can build. Traps are in the top two rows, and doors are in the third.
- You can use the '$' icon here to sell doors and traps, though only selling traps actually gives you some money back.
Creature tab
- Here, all your creatures are displayed based on their current activity: idle, working, or fighting.
- Clicking on the numbers lets you select creatures from that specific activity. A right-click will change the view to focus on that creature.
- Clicking the icon itself will select the most experienced creature of that type.
Options menu
Learn how to access and customize the Options menu in Core Keeper, from visual and sound settings to computer assistance and saving your game.
Hey there! So, you're looking to tweak some settings in Core Keeper, huh? No worries, it's super straightforward. Just hit the 'Q' key in the top left corner of your screen, or if you prefer, the 'Esc' key on your keyboard. This will pop up the main menu, giving you quick access to all sorts of handy options.
From left to right, you'll see:
- Load game
- Save game
- Set visual options
- Set sound options
- Set computer assistance
- Quit game
Let's break down what each of these does, starting with saving your progress!
Load and Save Game
These two are pretty self-explanatory, right? 'Load game' lets you jump back into any of your previous adventures, and 'Save game' lets you bookmark your current progress. You've got 8 save slots to play with, so you can keep multiple playthroughs going or just make sure you don't lose that epic dungeon you just built.
Set Visual Options
This is where you can really fine-tune how the game looks and performs. The developers designed it so that most machines built after 1997 should handle it just fine, even with the best settings. Here's what you can tweak:
- Shadows: You can adjust how many shadows appear on screen, from 0 up to 4. More shadows can look cool, but might impact performance on older systems.
- View distance: This controls how much of your dungeon map is visible at once. A longer view distance means you can see more of your underground empire without having to scroll around as much.
- Field of view: This setting lets you choose how the camera rotates. You can either have it snap in 90-degree increments or rotate smoothly, which can feel more natural to some players.
- Wall height: If you want your creatures to stand out a bit more against the dungeon walls, you can adjust the wall height.
- Gamma correction: This is your go-to for adjusting the brightness of the dungeon view. If things are looking a bit too dark and gloomy, you can lighten it up here.
Set Sound Options
Here's where you can balance the audio to your liking. You can independently control the volume for the background music (BGM) and all the special effects, sounds, and voice-overs (SFX). Crank up the epic tunes or keep the creature noises a bit lower – it's all up to you!
Set Computer Assistance
Honestly, I usually skip this one because the AI can sometimes be more of a hassle than a help, but if you're curious, give it a shot! There are four different types of computer assistance, each with its own personality:
- Red (Aggressive): This AI is all about action. It'll actively build rooms, use spells and traps, and even try to attack enemies.
- Yellow (Defensive): This one is more cautious. It'll build rooms and use spells and traps, but it won't initiate attacks.
- Green (Construction): Purely focused on building, this AI will only construct rooms.
- Blue (Movement): This AI is all about managing your creatures. It can only slap and move them around.
To see your chosen AI in action, just click on the little 'c' icon near the map radar. It's interesting to watch them manage things, even if it's not always the most efficient way!
Quit Game
When you're all done tinkering or ready to head back to the main menu, just select the trashcan icon. Easy peasy!
Similar guides you might like


100% Human-Written. AI Fact-Checked. Community Verified. Learn how AntMag verifies content