Learn how to defeat the Demon of Hatred in Sekiro: Shadows Die Twice. This guide covers its attacks, phases, and recommended items to help you overcome this fiery boss.
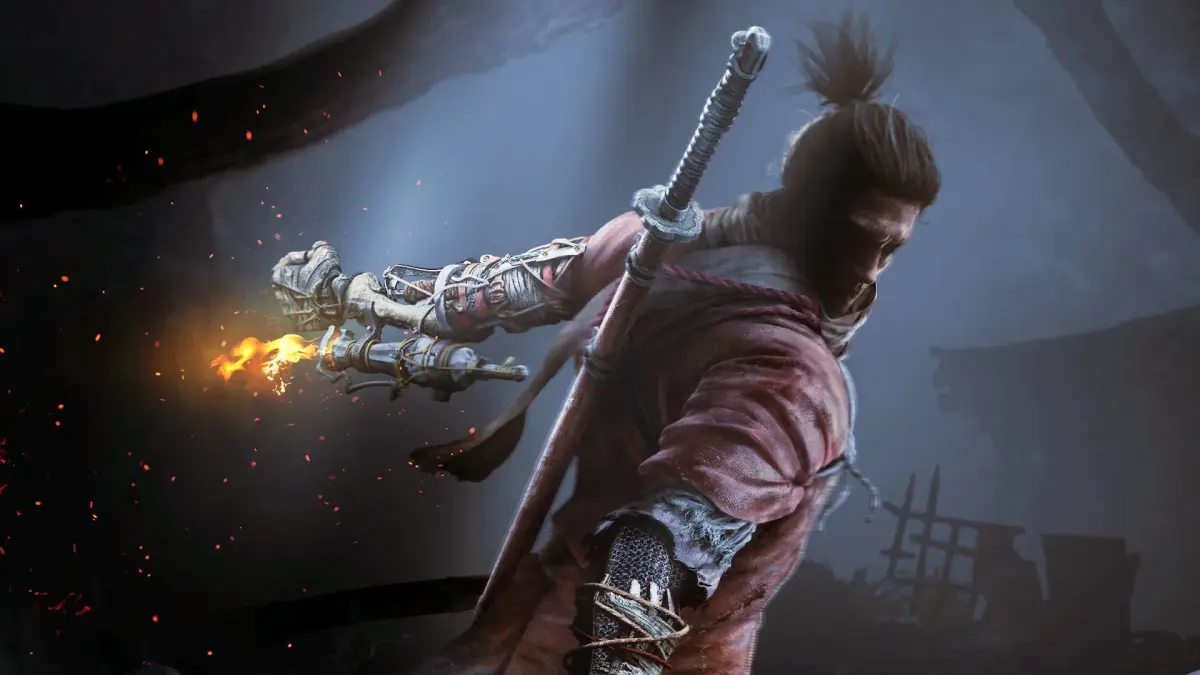
Alright, let's talk about the Demon of Hatred. This guy is a real wall for a lot of players, and honestly, it's understandable. He's an optional boss you'll find at the Ashina Castle Gate after the Central Forces invade. He's basically a man consumed by flames of hatred, failing to become Shura and instead turning into this fiery demon. You'll know you're in the right place when you commune with the Sculptor's Idol at the Outskirts Wall - Gate Path and get sent to the Flames of Hatred Sculptor's Idol. He's got three Deathblows, so be prepared for a long fight. ### Phase 1 This phase is all about learning his massive, fiery moves. He'll charge long distances, sweep with his fiery arm, and leap into the air for a big fiery explosion (you can grapple after he lands). Watch out for his 'Flame Chase' if you're behind him, and his 'Flaming Tendril' overhead smash. If you have the Suzaku's Lotus Umbrella, deflecting that tendril can stun him briefly. His 'Flaming Whip' is a series of sweeps and an overhead smash, and the sweeps can be jumped. He also has a 'Flickering Flame' where he'll smash down if you get too close. 'Shower of Fire' is a ranged attack with fireballs, and he'll use it again if you try to close the distance. He also does a simple 'Slam' and a 'Double Stomp'. Keep an eye out for 'Harite', a sumo-like push, and his 'Head Slam' which can happen up to three times. Finally, there's the 'Slingshot', where he lunges and slams down. ### Phase 2 This is where things get a bit more intense. He'll start using 'Burning Wrath', conjuring eight homing burning Buddha statues. These do posture damage even if you block, so your best bet is to just run sideways to dodge them. He also has 'Flashfire', a wide line of flames that appears after a grappling point is revealed. Keep an eye out for his quick 'Feral Claw' lunge. ### Phase 3 In the final phase, he adds a nasty move called 'Blazing Trail'. After his initial charge, he might quickly turn and charge again with his burning arm at crazy speed. You can jump over this second charge too. His 'Inferno' is a wild series of three flaming swings that create a tall fire ring. To get through it, try jumping the first sweep and dashing towards him through the second. ### Tips for the Fight The Suzaku's Lotus Umbrella is a lifesaver here, blocking most of his burn attacks like 'Shower of Fire' and 'Eruption'. You can even use the Projected Force Combat Art with it for some Vitality damage. Since he's an apparition-type enemy, Divine Confetti is great. The Malcontent prosthetic can stun him up to three times, which is super helpful. Lazulite Shuriken and Lazulite Sacred Flame can also chunk his health. Don't forget items like the Withered Red Gourd, Dousing Powder, and Ministry Dousing Powder, as his demonic arm attacks build up fire status. You'll need all the help you can get with this fiery beast!100% Human-Written. AI Fact-Checked. Community Verified. Learn how AntMag verifies content