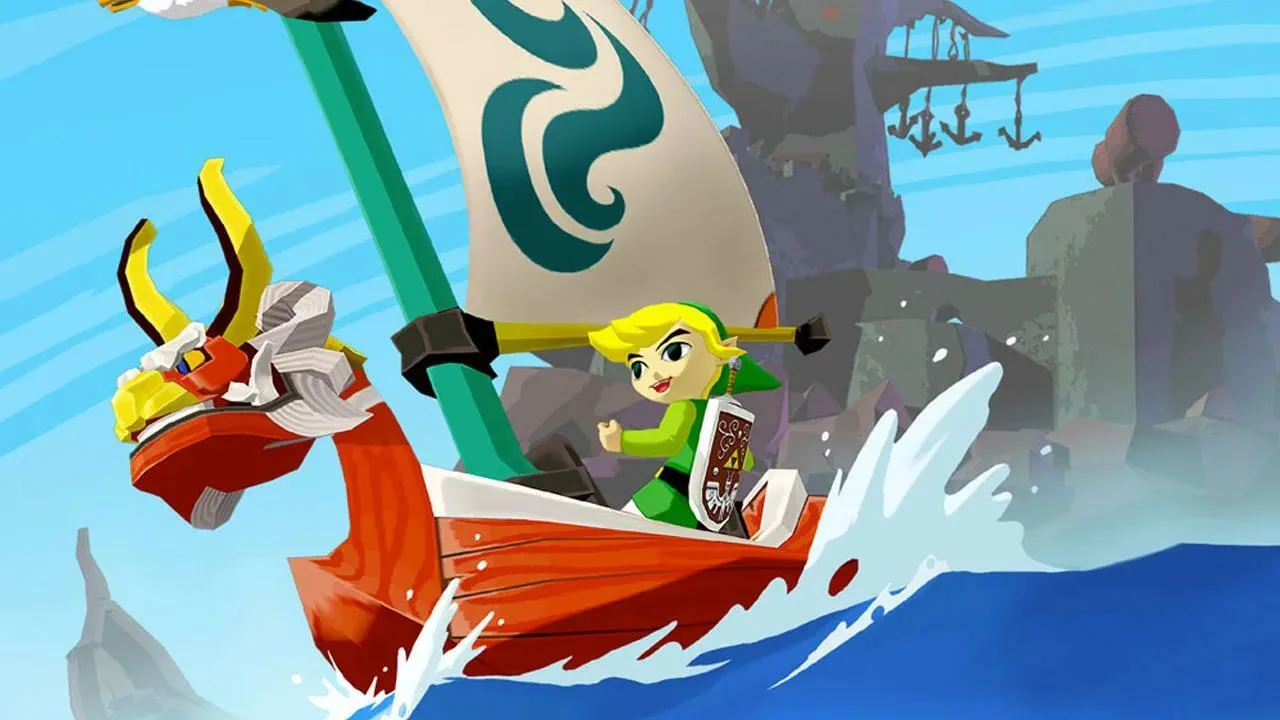
Track down all eight Triforce Shards in The Legend of Zelda: The Wind Waker. This guide maps out locations, necessary items, and strategies for acquisition.
Welcome, brave hero, to the most arduous and rewarding quest in all of the Great Sea: the hunt for the eight Triforce Shards! After your encounter with the King of Red Lions and the revelation of the Triforce of Courage, your next monumental task is to reassemble this sacred relic. This section will guide you through each shard's location, the necessary items, and the strategies to claim them. Prepare for extensive sailing, fierce combat, and clever puzzle-solving!
Prerequisites for the Hunt
Before embarking on this grand adventure, ensure you have the following essential items and abilities:
- Ballad of Gales: Obtained from Cyclos at Mother & Child Isles. Absolutely crucial for fast travel between islands.
- Hookshot: Acquired in the Earth Temple. Necessary for reaching many hidden areas.
- Boomerang: Found in the Forbidden Woods. Useful for stunning enemies and hitting distant switches.
- Bow & Arrows: Essential for ranged combat and specific puzzles.
- Power Bracelets: Found in the Tower of the Gods. Allows you to lift heavy objects.
- Iron Boots: Acquired in the Earth Temple. Used to weigh yourself down and resist strong winds.
- Magic Meter Upgrades: Highly recommended, especially for dungeons and combat encounters.
- Plenty of Rupees: You'll need a significant amount of Rupees to pay Tingle for deciphering the Triforce Charts. Start saving early!
The Triforce Charts & Shards
There are eight Triforce Shards, each hidden in a different location across the Great Sea. To find them, you'll first need to locate eight Triforce Charts. These charts are often found in dungeons or as rewards for completing side quests. Once you have a chart, you must take it to Tingle on Tingle Island (D-3) to have it deciphered for a hefty fee (200-398 Rupees per chart). Only then will the chart reveal the exact location of a Triforce Shard.
Triforce Shard 1: Pawprint Isle (A-5)
- Chart Location: Dragon Roost Cavern (B-2), after defeating Gohma.
- Decipher Cost: 398 Rupees
- Shard Location: Pawprint Isle (A-5).
- Sail to Pawprint Isle.
- Look for a small, circular island with a cave entrance.
- Enter the cave. You'll find a series of platforms and a large block.
- Use your Power Bracelets to lift the heavy block, revealing a hole.
- Drop down the hole. You'll land in a small chamber.
- Open the chest to claim your first Triforce Shard!
Triforce Shard 2: Gale Isle (A-1)
- Chart Location: Forbidden Woods (C-6), after defeating Kalle Demos.
- Decipher Cost: 398 Rupees
- Shard Location: Gale Isle (A-1).
- Warp to Gale Isle using the Ballad of Gales.
- Head to the main temple structure.
- Use the Hookshot to grapple across the gaps and climb the exterior.
- Inside, you'll face a series of wind-based puzzles. Use your Iron Boots to resist the strong gusts.
- Navigate through the rooms, defeating any enemies that appear.
- Eventually, you'll reach a room with a chest containing the Triforce Shard.
Triforce Shard 3: Greatfish Isle (B-4)
- Chart Location: Tower of the Gods (F-4), after defeating Gohdan.
- Decipher Cost: 398 Rupees
- Shard Location: Greatfish Isle (B-4).
- Sail to Greatfish Isle.
- Locate the large, circular rock formation in the center of the island.
- Use your Hookshot to reach the top of this formation.
- On top, you'll find a small pond. Dive into the pond.
- Swim through the underwater passage until you emerge in a hidden grotto.
- The chest containing the Triforce Shard will be waiting for you.
Triforce Shard 4: Needle Rock Isle (C-2)
- Chart Location: Earth Temple (D-1), after defeating Jalhalla.
- Decipher Cost: 398 Rupees
- Shard Location: Needle Rock Isle (C-2).
- Sail to Needle Rock Isle.
- You'll notice a large, spiky rock formation with a Morth-infested platform.
- Use your Boomerang to clear the Morths from the platform.
- Now, use the Hookshot to grapple onto the platform.
- From there, look for another grapple point leading to a higher ledge.
- Follow the path, eliminating any enemies, until you reach the chest with the Triforce Shard.
Triforce Shard 5: Stone Watcher Island (E-5)
- Chart Location: Wind Temple (A-6), after defeating Molgera.
- Decipher Cost: 398 Rupees
- Shard Location: Stone Watcher Island (E-5).
- Sail to Stone Watcher Island.
- You'll see a large stone head. Stand on the small platform in front of its face.
- Play the Ballad of Gales. This will cause the stone head to open its mouth, revealing a cave entrance.
- Enter the cave.
- Inside, navigate the dark passages. You may need your Lantern or Fire Arrows to light the way.
- Defeat the various enemies within.
- The chest containing the Triforce Shard is at the end of the cave.
Triforce Shard 6: Southern Fairy Island (F-3)
- Chart Location: Ghost Ship (Various, see Ghost Ship section).
- Decipher Cost: 398 Rupees
- Shard Location: Southern Fairy Island (F-3).
- Sail to Southern Fairy Island.
- Look for a small, hidden cave entrance on the side of the island, often obscured by foliage.
- Enter the cave.
- Inside, you'll encounter a series of challenging combat encounters against Darknuts and other formidable foes.
- Utilize your best sword techniques and items like the Hero's Bow and Bombs.
- After clearing the enemies, the path to the chest with the Triforce Shard will open.
Triforce Shard 7: Seven-Star Isles (F-7)
- Chart Location: Islet of Steel (C-4).
- Decipher Cost: 398 Rupees
- Shard Location: Seven-Star Isles (F-7).
- Sail to Seven-Star Isles.
- You'll notice a cluster of small islands. Look for the one with a large, glowing warp portal.
- Step into the warp portal. This will transport you to a hidden chamber.
- Inside, you'll face a gauntlet of enemies, including Wizzrobes and Moblins.
- Defeat all the enemies to unlock the path forward.
- The chest containing the Triforce Shard will be your reward.
Triforce Shard 8: Two-Eye Reef (G-2)
- Chart Location: Private Oasis (E-6), reward for completing the Cabana Deed quest.
- Decipher Cost: 398 Rupees
- Shard Location: Two-Eye Reef (G-2).
- Sail to Two-Eye Reef.
- You'll see two distinct rock formations. Look for the one with a small, accessible cave.
- Enter the cave.
- Inside, you'll need to solve a light-based puzzle. Use your Mirror Shield to reflect light onto specific targets.
- Manipulate the light beams to activate switches and open doors.
- Once the puzzle is complete, the final Triforce Shard will be yours!
With all eight Triforce Shards in your possession, the Triforce of Courage will be fully restored! You are now ready for the final confrontation. Return to Hyrule and prepare for the ultimate battle against Ganondorf!
100% Human-Written. AI Fact-Checked. Community Verified. Learn how AntMag verifies content