Follow the game progression of The Legend of Zelda: The Wind Waker. Understand story beats, dungeon sequences, and essential item acquisitions.
Game Progression & Flow
Welcome, aspiring hero of the Great Sea! This section will guide you through the core progression of The Legend of Zelda: The Wind Waker, ensuring you never feel lost amidst the vast ocean. We'll cover essential story beats, dungeon sequences, and crucial item acquisitions.
The Hero's Awakening: Outset Island & Forsaken Fortress
Your adventure begins on the tranquil shores of Outset Island. After the initial events, your primary goal is to rescue your sister, Aryll.
- Acquire the Hero's Clothes: Speak with Grandma to receive your iconic green tunic.
- Master Basic Combat: Practice with Orca in his house to learn essential sword techniques.
- Obtain the Hero's Sword: After demonstrating your skill, Orca will entrust you with this vital weapon.
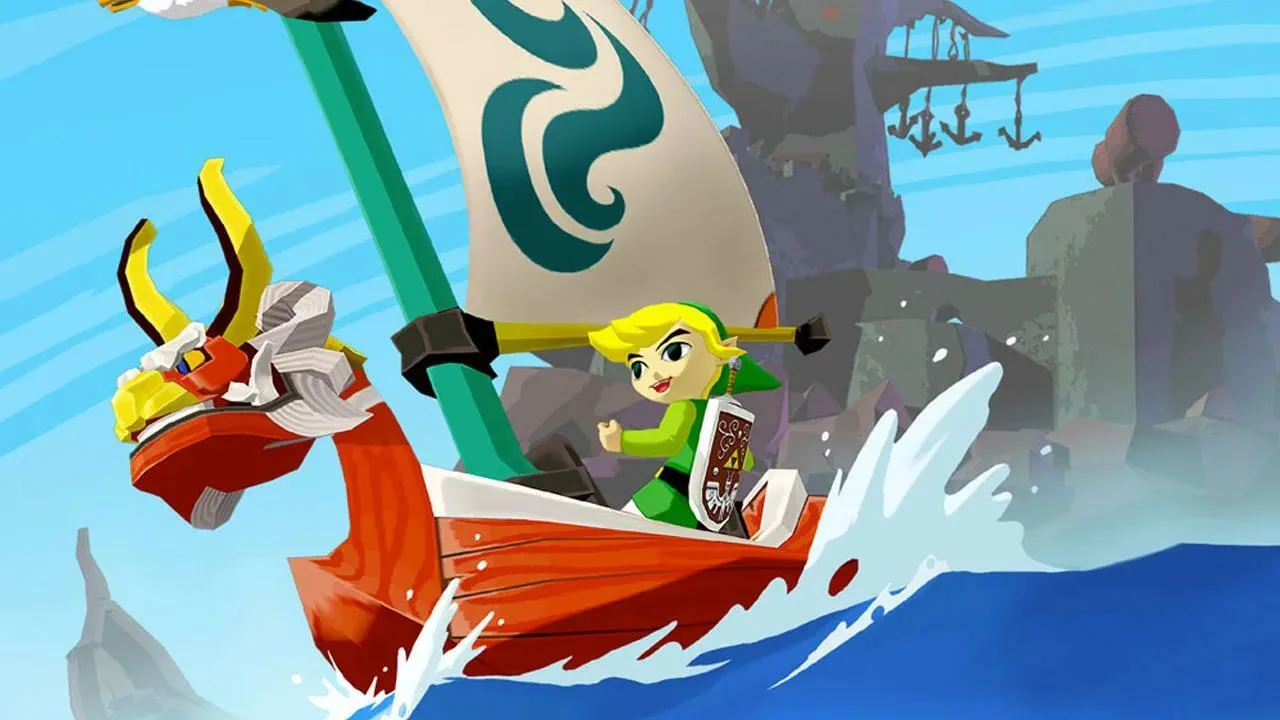
- Sail to Windfall Island: Board the Pirate Ship and set sail for Windfall Island. Here, you'll meet Tetra and her crew.
- Infiltrate Forsaken Fortress: With the help of the pirates, you'll gain access to the formidable Forsaken Fortress. Your objective is to reach the top and confront the Helmaroc King.
- Retrieve the Telescope: After being flung from the fortress, you'll wash ashore on Windfall Island. Speak with the pirates to retrieve your stolen Telescope.
The Goddess Pearls & The Master Sword
The next major phase involves collecting the three Goddess Pearls to reveal the Tower of the Gods and ultimately, the Master Sword.
Dragon Roost Island: Din's Pearl
Your journey for the first pearl takes you to the volcanic Dragon Roost Island.
- Meet the Rito: Upon arrival, speak with Prince Komali and the Chieftain.
- Acquire the Grappling Hook: Enter Dragon Roost Cavern. Navigate the dungeon, defeat the Mini-Boss (Mothula), and claim the Grappling Hook. This item is crucial for traversing gaps and stealing items from enemies.
- Defeat Gohma: Conquer the fiery boss of Dragon Roost Cavern, Gohma, to earn Din's Pearl.
Forest Haven: Farore's Pearl
Next, you'll venture to the lush, mystical Forest Haven.
- Learn the Wind's Requiem: On Dragon Roost Island, speak with the Rito postman to learn about the Wind Waker. Use it to learn the Wind's Requiem from the stone tablet on Windfall Island.
- Sail to Forest Haven: Use the Wind's Requiem to change the wind direction and sail to Forest Haven.
- Acquire the Deku Leaf: Enter the Forbidden Woods. Navigate the dungeon, defeat the Mini-Boss (Mothula), and obtain the Deku Leaf. This item allows you to glide across chasms.
- Defeat Kalle Demos: Triumph over the botanical boss of the Forbidden Woods, Kalle Demos, to receive Farore's Pearl.
Greatfish Isle: Nayru's Pearl
The final pearl is found at the once-vibrant Greatfish Isle.
- Visit Jabun: After obtaining the Deku Leaf, sail to Greatfish Isle. You'll find it in a state of disarray. Speak with the Great Fairy, then use the Deku Leaf to enter Jabun's cave.
- Receive Nayru's Pearl: Jabun will bestow upon you Nayru's Pearl.
Tower of the Gods & The Master Sword
With all three pearls, the path to the Master Sword is clear.
- Summon the Tower of the Gods: Place the three Goddess Pearls (Din's, Farore's, and Nayru's) into their respective statues around the Triangle Islands. This will cause the Tower of the Gods to rise from the sea.
- Conquer the Tower of the Gods: Enter the Tower of the Gods. Navigate its intricate puzzles and challenges, defeat the Mini-Boss (Darknut), and ultimately face the boss, Gohdan.
- Claim the Master Sword: Upon defeating Gohdan, you will be granted access to the resting place of the Master Sword. Draw it from its pedestal to restore a portion of its power.
The Triforce Shards & The Final Confrontation
The Master Sword's power is incomplete. Your next quest is to find the eight scattered Triforce Shards.
- Return to Hyrule Castle: After obtaining the Master Sword, you'll be transported to the sunken Hyrule Castle.
- Obtain the Power Bracelets: Within Hyrule Castle, find and equip the Power Bracelets, allowing you to lift heavy objects.
- Acquire the Hero's Bow: Your journey for the Triforce Shards will lead you to the Earth Temple. Navigate the dungeon, defeat the Mini-Boss (Stalfos), and claim the Hero's Bow. This weapon is essential for ranged combat and activating distant switches.
- Defeat Jalhalla: Conquer the spectral boss of the Earth Temple, Jalhalla, to restore one of the Sages.
- Acquire the Mirror Shield: Next, you'll journey to the Wind Temple. Navigate the dungeon, defeat the Mini-Boss (Wizzrobe), and obtain the Mirror Shield. This item is vital for reflecting light and solving puzzles.
- Defeat Molgera: Triumph over the airborne boss of the Wind Temple, Molgera, to restore the second Sage.
- Locate the Triforce Charts: The remaining Triforce Shards are hidden across the Great Sea. You'll need to find eight Triforce Charts, decipher them with Tingle's help (for a hefty fee!), and then use the Grappling Hook to retrieve the shards from the ocean floor. This is a significant side quest that can be tackled at your own pace, though it's required for game completion.
- Reassemble the Triforce of Courage: Once all eight shards are collected, the Triforce of Courage will be complete.
Ganon's Tower & The Showdown
With the Master Sword fully powered and the Triforce of Courage in hand, it's time for the ultimate confrontation.
- Return to Ganon's Tower: Sail back to the Forsaken Fortress, which has now transformed into Ganon's Tower.
- Navigate Ganon's Tower: This final dungeon is a gauntlet of challenging enemies and puzzles, testing all the skills and items you've acquired.
- Confront Ganondorf: Face the King of Evil, Ganondorf, in a multi-stage battle that will push your abilities to their limits.
- Witness the Ending: Upon defeating Ganondorf, enjoy the epic conclusion to your adventure on the Great Sea.
100% Human-Written. AI Fact-Checked. Community Verified. Learn how AntMag verifies content