
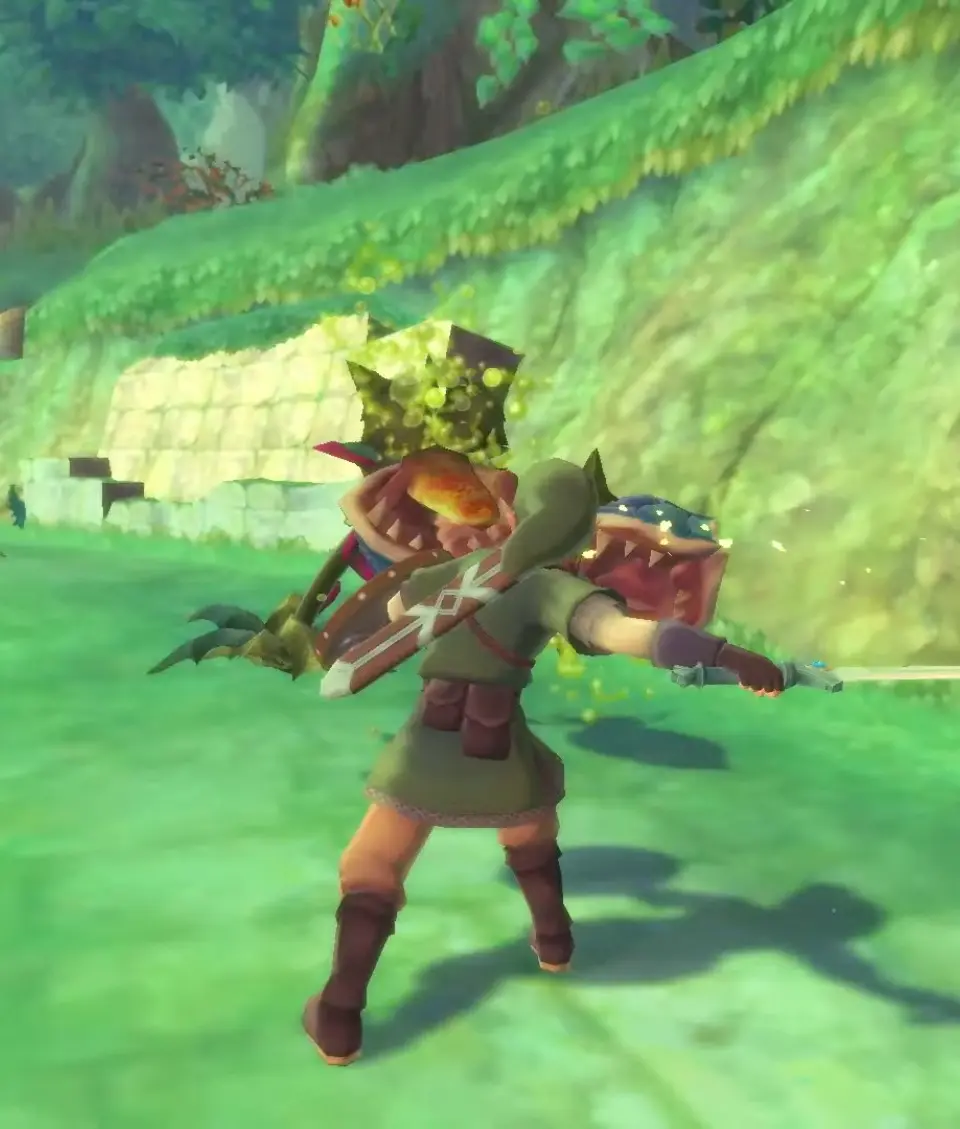
Welcome to the AntMag.NET hub for The Legend of Zelda: Skyward Sword HD! This game takes you on an adventure across the skies and the surface, where you'll master intricate combat, navigate challenging dungeons, and uncover secrets as you embark on a quest to discover the origins of the Master Sword. You'll play as the Hero of the Skies, exploring the world and interacting with characters like Zelda, all while facing the ancient threat of Demise.
This guide is here to help you conquer every aspect of this legendary adventure. We'll provide detailed walkthroughs for every area, including Skyloft and the challenging dungeons. You'll find comprehensive maps to ensure you don't miss any collectibles, like the shards of the surface map and the Goddesses Blessings. We'll also offer strategies for defeating tough bosses and navigating the unique Loftwing and sword controls.
Moldarach (Sandship)
Learn how to defeat Moldarach in The Legend of Zelda: Skyward Sword HD with our expert guide. Find tips and strategies to overcome this challenging boss.
- 1You'll find yourself in a large chamber within the Lanayru Mining Facility. Moldarach, a massive scorpion, will emerge from the sand.
- 2Moldarach has two main attacks: it can either scuttle across the floor quickly or slam its tail down. When it scuttles, try to stay out of its path. When it slams its tail, it will create shockwaves, so jump over them.
- 3Your primary tool here is the Gust Bellows. Use it to blow away the sand covering Moldarach's eyes. When its eyes are exposed, it will become stunned.
- 4While it's stunned, quickly run up to it and attack its eyes with your sword. You can also use the spin attack for more damage.
- 5After you've attacked its eyes a few times, Moldarach will recover and start attacking more aggressively. It will also start using its pincers to try and grab you.
- 6When Moldarach tries to grab you with its pincers, dodge out of the way. If it successfully grabs you, you'll take damage.
- 7Moldarach will eventually flip over onto its back, exposing its soft underbelly. This is your chance to deal massive damage. Run up and attack its underbelly with your sword.
- 8Repeat this process: use the Gust Bellows to stun it, attack its eyes, dodge its attacks, and then attack its underbelly when it flips over.
- 9Once you've depleted its health, Moldarach will be defeated.
- Keep moving! Standing still makes you an easy target for Moldarach's attacks.
- Don't be afraid to use the Gust Bellows liberally. It's essential for stunning the boss.
- If you get grabbed by its pincers, mash the buttons to escape as quickly as possible.
- The spin attack is very effective against its eyes and underbelly when it's stunned or flipped.
Getting Started
Discover the essential changes and additions in The Legend of Zelda: Skyward Sword HD for Nintendo Switch, including graphics, gameplay, and quality-of-life improvements.
Getting Started
Discover the essential changes and additions in The Legend of Zelda: Skyward Sword HD for Nintendo Switch, including graphics, gameplay, and quality-of-life improvements.


Locating the Kikwi Elder
Find the elusive Kikwi Elder in Zelda: Skyward Sword HD's Faron Woods. Navigate the early challenges of the woods to progress the main story.
After your dramatic descent into the Faron Woods, your primary objective is to locate the Kikwi Elder. This crucial step is essential for progressing the main story and learning more about the surface world. The woods are teeming with new sights, sounds, and a few early challenges. Don't worry, this guide will walk you through every step of finding the elusive Elder.
Navigating Faron Woods: Initial Steps
Upon landing, you'll find yourself in a vibrant, albeit slightly overgrown, forest. Your first task is to get acquainted with the area and a new tool that will prove invaluable:
- Follow the Path: From your landing spot, proceed along the main, winding path. Keep an eye out for sparkling spots on the ground and in bushes; these often contain valuable Rupees or collectible materials like Jelly Blobs (from defeated ChuChus) and Amber Relics.
- First Encounter & Slingshot Acquisition: As you continue, you'll soon encounter a small, green, plant-like creature hiding in a bush. This is a Kikwi! After a brief, humorous interaction, the Kikwi will point you towards a nearby chest. Open this chest to receive your very first ranged weapon: the Slingshot! This item is crucial for solving puzzles and defeating certain enemies, so get used to aiming with motion controls or the right stick.
- Practice with the Slingshot: Immediately after acquiring the Slingshot, you'll have an opportunity to use it. Look up at the large tree directly in front of you. You'll spot another Kikwi perched precariously on a branch. Aim your Slingshot at it and fire a Deku Seed to knock it down. This friendly Kikwi will then provide you with some helpful directions.
Finding the Kikwi Elder: A Step-by-Step Guide
With the Slingshot in hand and a better understanding of the Kikwi, it's time to delve deeper into the Faron Woods to find their leader. The Elder is known for being particularly shy and well-hidden.
- Proceed Deeper into the Woods: Continue following the main path. You'll encounter your first group of Bokoblins. These red-skinned goblins are a common enemy. Practice your swordplay, using horizontal and vertical slashes to break their guard and defeat them. Remember to collect any Bokoblin Horns or Bokoblin Guts they drop.
- The Great Tree and the Waterfall: The path will lead you towards a massive, ancient tree with a large opening at its base. To the right of this tree, you'll see a small waterfall cascading into a pond. This area serves as a central hub for the initial part of Faron Woods.
- Consult Fi for Hints: If you ever feel lost, remember to summon Fi (by pressing the ↓ button on the D-pad). She will often provide subtle, yet useful, hints about your current objective, including the general direction of the Kikwi Elder. Her dowsing ability can be particularly helpful here.
- Navigating the Elevated Paths: From the area near the Great Tree, look for a path that ascends. You'll need to climb some vines or ledges. Be wary of Deku Babas – carnivorous plants that will try to snap at you. Use your sword to cut them down when their mouths are open, or stun them with your Slingshot.
- The Elder's Hiding Spot: The Kikwi Elder is notoriously good at blending in with its surroundings. As you traverse the elevated paths, you'll eventually reach a section with several large, leafy bushes. The Elder is hiding within one of these.
- Locating the Elder:
- Method 1 (Visual): Carefully scan the large, dense bushes. Look for any slight movement or a small, green, plant-like creature peeking out.
- Method 2 (Fi's Dowsing): This is the most reliable method. Summon Fi and activate her dowsing ability. Select "Kikwi Elder" as your target. Fi's dowsing meter will glow and beep more intensely as you get closer to the Elder's exact hiding spot. Follow the direction her dowsing points you.
- Method 3 (Environmental Interaction): Once you've narrowed down the general area, you may need to perform a specific action to reveal the Elder. This often involves rolling into the bush it's hiding in (by running and pressing the A button) or using your Slingshot to hit it.
- The Revelation: Once you successfully interact with the correct bush, the Kikwi Elder, Bucha, will reveal himself. He's a much larger, older Kikwi with a distinctive appearance.
Rewards and Next Steps
After a lengthy and informative conversation with Bucha, the Kikwi Elder, you will receive vital information about the surface world and your next objective. He will also provide you with the Slingshot Pouch, allowing you to carry more Deku Seeds. This interaction is a key turning point in your adventure, opening up new areas and challenges in the Faron Woods and beyond.
Lanayru Desert Silent Realm
Navigate the Lanayru Desert Silent Realm in The Legend of Zelda: Skyward Sword HD. Learn strategies and tips to overcome its challenges and collect valuable rewards.
Hey there! So, you've made it to the Lanayru Desert Silent Realm in The Legend of Zelda: Skyward Sword HD. This part can be a bit tricky, but don't worry, I'll walk you through it. It's all about stealth and timing here, so keep your wits about you!
- 1You'll start in a new area of the Lanayru Desert. The main goal here is to activate a series of switches, but you'll be doing it under the watchful eyes of the Silent Realm's guardians. If they spot you, it's game over and you'll have to start the trial again.
- 2Your primary tool is the Triforce of Courage, which will guide you. Follow the glowing lights that appear – they'll show you the path to the next objective.
- 3Be mindful of your stamina. Running and using your sword consumes stamina, and if it runs out, you'll be vulnerable. Plan your movements carefully.
- 4There are specific points where you'll need to use your Gust Bellows to clear away sand and reveal pathways or switches. Keep an eye out for these opportunities.
- 5The enemies here are sensitive to sound and movement. Move slowly and deliberately when you're near them. Sometimes, you'll need to wait for them to pass before you can proceed.
- 6Activating the switches is key. Each switch you activate will bring you closer to completing the trial. Make sure you don't get spotted while you're interacting with them.
- 7The final switch usually requires a bit more maneuvering. Pay attention to the patterns of the guardians and use any cover available to sneak past them.
- Always keep moving, but do so cautiously. Standing still for too long can also attract attention.
- Use the terrain to your advantage. Tall grass and rock formations can provide cover.
- If you're spotted, don't panic. Sometimes you can quickly move to cover, but often it's best to accept the restart and learn from your mistake.
- Listen carefully to the game's audio cues. They often signal the presence or movement of guardians.
- Don't rush! Patience is your greatest asset in the Silent Realm.
Completing the Lanayru Desert Silent Realm trial will reward you with a crucial item or progression that allows you to continue your journey through Skyward Sword HD.
Similar guides you might like


100% Human-Written. AI Fact-Checked. Community Verified. Learn how AntMag verifies content