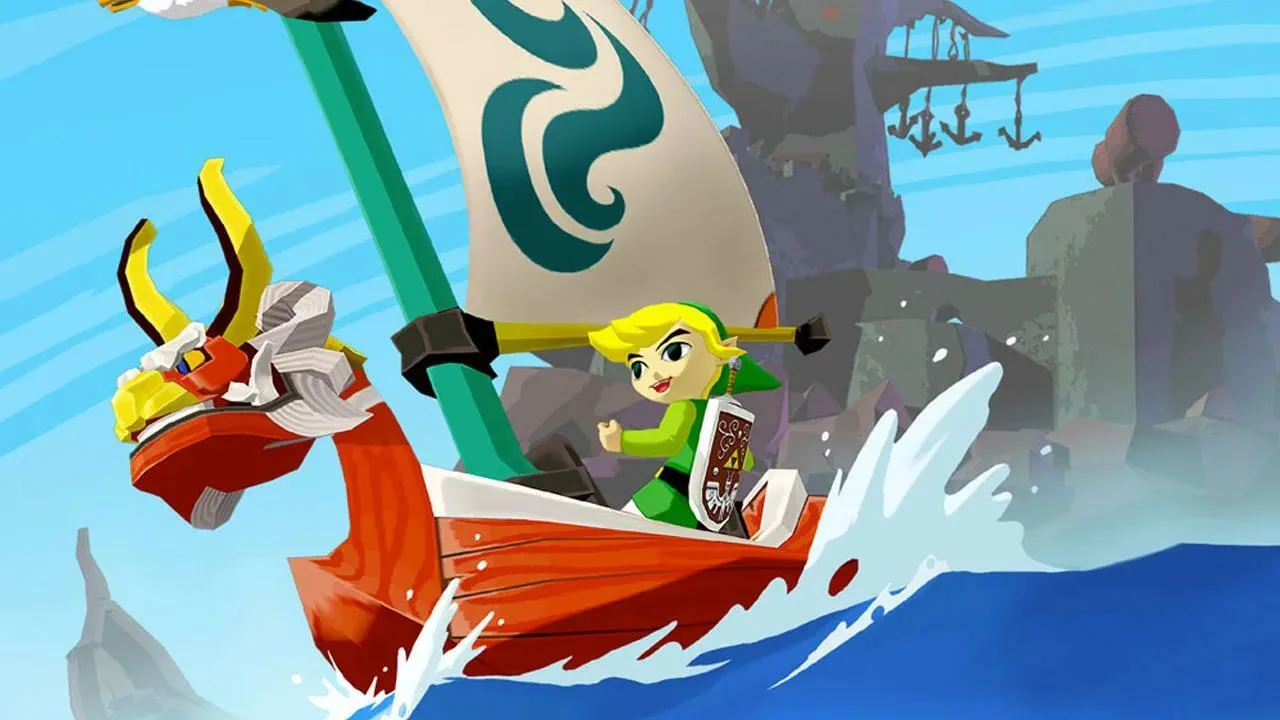
Prepare for The Legend of Zelda: The Wind Waker's Boss Rush Mode. This guide details strategies to overcome every boss consecutively with limited resources.
Welcome, brave hero, to the ultimate test of your courage and skill! The Boss Rush Mode in The Legend of Zelda: The Wind Waker pits you against every major boss in the game, back-to-back, with limited resources. This isn't for the faint of heart, but with the right preparation and strategy, you'll emerge victorious. This guide will help you conquer each foe and claim your place among the legends.
Unlocking Boss Rush
To unlock Boss Rush Mode, you must first complete the main story of The Wind Waker. After defeating Ganondorf and viewing the ending, save your game. Upon reloading your completed save file, head to the Fairy Island (Quadrant D-2) and speak with the Great Fairy. She will now offer you the challenge of the Boss Rush.
Preparation is Key
Before you even think about entering the Boss Rush, ensure Link is as strong as possible. Your health and magic meters will carry over from your save file, so maximize them!
- Heart Containers: Collect all 20 Heart Containers. Every extra heart makes a significant difference.
- Magic Meter: Obtain the Double Magic Meter upgrade from the Mother & Child Isles (Quadrant A-7) by using a Skull Necklace on the Fairy.
- Wallet Upgrades: While rupees aren't directly used in Boss Rush, having a larger wallet (up to 5000 rupees from the Great Fairy on Northern Fairy Island, Quadrant C-1) allows you to purchase more items beforehand.
- Potions: Stock up on Blue Potions (restores both health and magic) and Red Potions (restores health). You can carry up to four bottles. Fill them all!
- Fairies: Catch as many Fairies as possible. They will automatically revive you upon defeat, essentially giving you extra lives. You can store them in your bottles.
- Hero's Sword & Master Sword: Ensure you have the fully powered Master Sword.
General Strategies for Boss Rush
- Conserve Magic: Your magic meter is a precious resource. Use it wisely, primarily for the Hurricane Spin or specific item attacks.
- Know Your Enemies: Each boss has a specific weakness and attack pattern. Review their individual strategies if you're rusty.
- Aggressive Offense: The faster you defeat a boss, the less damage you'll take. Don't be afraid to go on the offensive when openings appear.
- Defense is Important: Use your Shield to block projectiles and your Parry Attack to counter close-range strikes.
- Bottle Management: Assign your bottles to easily accessible buttons. Prioritize Fairies, then Blue Potions, then Red Potions.
Boss-by-Boss Walkthrough
The bosses appear in a fixed order, mirroring their appearance in the main story. You will be fully healed between each boss, but your magic meter and item counts (bombs, arrows, etc.) will NOT be refilled. This is why careful resource management is crucial.
1. Gohma (Dragon Roost Cavern)
- Required Item: Grappling Hook
- Strategy:
- Wait for Gohma to expose her tail. Use the Grappling Hook to latch onto it.
- Once latched, swing across and hit her eye with your Master Sword.
- When she retreats to the ceiling, use the Grappling Hook on the stalactites above her. This will cause them to fall, stunning her.
- Repeat the process of grappling her tail and striking her eye.
- Avoid her fire breath and falling lava drops.
2. Kalle Demos (Forbidden Woods)
- Required Item: Boomerang
- Strategy:
- Target the tentacles holding Kalle Demos to the ceiling. Use your Boomerang to cut all three tentacles.
- Once Kalle Demos falls, equip your Master Sword and unleash a flurry of attacks on its exposed core.
- When it retracts, it will try to slam you or release poisonous spores. Keep moving and watch for openings.
- Repeat the process until defeated.
3. Gohdan (Tower of the Gods)
- Required Items: Bow, Bombs
- Strategy:
- Phase 1 (Hands): Target the eyes on Gohdan's hands with your Bow. Once an eye is hit, it will be stunned. Quickly throw a Bomb into its open mouth. Repeat for both hands.
- Phase 2 (Head): After both hands are defeated, Gohdan's head will become active. Target its eyes with your Bow.
- Once both eyes are hit, Gohdan's mouth will open. Throw a Bomb into its mouth.
- Repeat this process until Gohdan is defeated. Be mindful of its laser attacks and stomping hands.
4. Helmaroc King (Forsaken Fortress)
- Required Item: Skull Hammer
- Strategy:
- Phase 1 (Chasing): This phase is mostly about avoiding its charges and pecks. Run along the ramparts, waiting for it to charge.
- Phase 2 (Platform): Once you reach the main platform, the Helmaroc King will land. Wait for it to charge at you. As it gets close, dodge out of the way.
- Its mask will get stuck in the ground. Use your Skull Hammer to smash its mask.
- After a few hits, its mask will break, exposing its head.
- Phase 3 (Exposed Head): Continue to dodge its attacks. When it lands, use your Skull Hammer to strike its head directly.
- Repeat until defeated.
5. Phantom Ganon (Ganon's Tower)
- Required Item: Master Sword, Boomerang (optional)
- Strategy:
- Phantom Ganon will teleport around the room. He will either throw an energy ball or charge at you.
- Energy Ball: Use your Master Sword to deflect his energy ball back at him. This is a game of "dead man's volley." The ball will speed up with each deflection.
- Charge Attack: If he charges, dodge and then counter-attack with your Master Sword.
- Once he is stunned by an energy ball or a direct hit, quickly run up and attack him with your Master Sword.
- Alternatively, if you're having trouble with the energy ball, you can use the Boomerang to stun him when he's vulnerable after a charge, then follow up with sword attacks.
- Repeat until he is defeated.
6. Molgera (Wind Temple)
- Required Item: Hookshot
- Strategy:
- Molgera will emerge from the sand. Target its tongue with your Hookshot.
- Once hooked, pull its tongue out and quickly attack it with your Master Sword.
- Molgera will dive back into the sand and summon smaller Molgera larvae. Defeat these quickly with your Master Sword or a Hurricane Spin to avoid being overwhelmed.
- Avoid its charges and sand attacks.
- Repeat the process of hooking its tongue and attacking until it is defeated.
7. Jalhalla (Earth Temple)
- Required Item: Mirror Shield, Bombs
- Strategy:
- Jalhalla will float around the room. Use your Mirror Shield to reflect light onto him, stunning him.
- Once stunned, he will fall to the ground. Quickly throw a Bomb into his body.
- He will then split into several smaller Poes. Use your Master Sword to defeat these quickly. A Hurricane Spin can be very effective here.
- Repeat the process until he is defeated. Be careful of his fire breath and spinning attacks.
8. Ganondorf (Ganon's Tower)
This is the final challenge. You will face Ganondorf in his final form, but without the assistance of Princess Zelda. This fight is a true test of your mastery of Link's abilities.
- Required Item: Master Sword, Parry Attack
- Strategy:
- Ganondorf will attack with his twin swords. Your primary strategy here is to utilize the Parry Attack (L-Target + A when an attack is incoming).
- Parry his attacks to create openings. After a successful parry, quickly counter-attack with your Master Sword.
- He will also throw energy balls. Deflect these back at him with your Master Sword, similar to Phantom Ganon.
- When he is stunned, unleash a flurry of sword attacks.
- Be aware of his powerful ground pound attack. Jump to avoid the shockwave.
- The fight is a war of attrition. Stay focused, parry consistently, and seize every opportunity to strike.
Good luck, hero! May the Triforce guide your blade!
100% Human-Written. AI Fact-Checked. Community Verified. Learn how AntMag verifies content