Master Link's actions and movements across the Great Sea with this guide to controls and basic movement in The Legend of Zelda: The Wind Waker.
Mastering Link's movements and actions is paramount to navigating the Great Sea, conquering treacherous dungeons, and ultimately saving Princess Zelda. This section will detail all fundamental controls and movement options available to you, ensuring you can confidently explore every nook and cranny of this vibrant world.
Core Controls & Actions
Here's a breakdown of Link's primary interactions and how to execute them:
- Left Analog Stick (GameCube) / Left Stick (Wii U GamePad): This is your primary movement control. Push it gently to walk, or push it fully to run. Link's movement speed is directly proportional to how far you push the stick.
- A Button (GameCube) / A Button (Wii U GamePad): The versatile A button is used for a multitude of interactions:
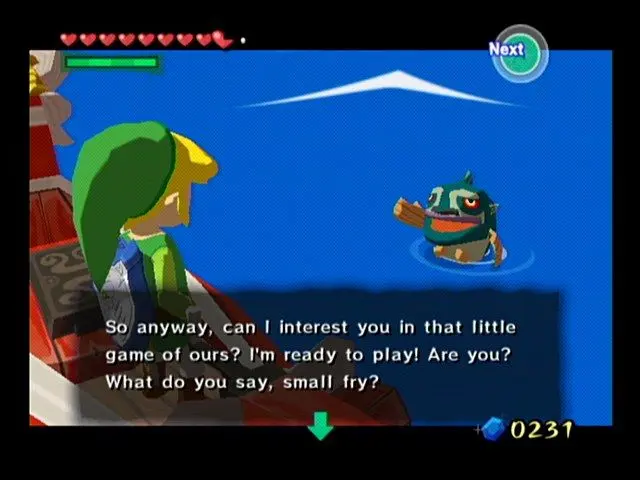
- Talk: Approach an NPC and press A to initiate dialogue.
- Open: Stand in front of doors, chests, or gates and press A to open them.
- Pick Up/Throw: Stand over small items (like pots, bombs, or even enemies) and press A to pick them up. Press A again to throw them.
- Examine: Press A when near signs, objects, or points of interest to get more information.
- Climb/Descend: When at the base of a climbable surface (ladders, vines, rough walls), press A to begin climbing. Use the Left Stick to move up, down, left, or right. Press A again to let go.
- Swim: When in water, pressing A repeatedly will make Link perform a faster breaststroke. See the "Swimming" section below for more details.
- B Button (GameCube) / B Button (Wii U GamePad): This button is dedicated to Link's primary weapon, the Master Sword (or Hero's Sword initially).
- Sword Slash: Press B for a quick horizontal slash.
- Spin Attack: Hold B to charge a spin attack, then release to unleash it. This is excellent for clearing multiple enemies or cutting grass in a wide radius.
- Jump Attack: While running, press B to perform a jumping slash.
- X, Y, Z Buttons (GameCube) / X, Y, R Buttons (Wii U GamePad): These are your item assignment buttons. Access the item menu (Start/Plus Button) and assign specific items (e.g., Boomerang, Bow, Bombs) to these slots for quick access during gameplay. Simply press the corresponding button to use the assigned item.
- R Button (GameCube) / ZL Button (Wii U GamePad):
- Shield Guard: Hold R/ZL to raise Link's shield, blocking most incoming physical and projectile attacks. This is crucial for deflecting projectiles back at enemies or mitigating damage.
- Crouch: While standing still, tap R/ZL to crouch. This can be useful for sneaking past certain enemies or fitting into small spaces.
- L Button (GameCube) / L Button (Wii U GamePad):
- Camera Reset: Tap L/L to quickly snap the camera directly behind Link. This is invaluable for reorienting yourself in tight spaces or after a chaotic battle.
- First-Person View: Hold L/L to enter a first-person perspective, allowing you to look around freely using the Left Stick. Release L/L to return to the third-person view.
- Z Button (GameCube) / ZL Button (Wii U GamePad):
- Z-Targeting: Hold Z/ZL to lock onto the nearest enemy or interactive object. This is arguably one of the most important combat mechanics. When Z-Targeting, Link will automatically face the target, and your attacks will be directed towards it. This also allows for sidestepping (Left Stick left/right) and backflipping (Left Stick down + A).
- Start Button (GameCube) / Plus Button (Wii U GamePad): Opens the main menu, allowing you to access your inventory, quest log, map, and save your game.
- Control Stick (GameCube) / Right Stick (Wii U GamePad): Used to manually rotate the camera when not Z-Targeting.
Advanced Movement Techniques
Beyond basic walking and running, Link possesses several dynamic movement options that are essential for exploration and combat:
Rolling
Rolling is a quick burst of movement that can help Link dodge attacks, cover short distances quickly, or even break certain objects.
- How to Execute: While running forward (Left Stick fully pushed), press the A Button. Link will perform a forward roll.
- Uses:
- Dodging: Roll to quickly evade an incoming enemy attack.
- Speed: Chaining rolls can be slightly faster than just running for short bursts.
- Breaking Objects: Rolling into pots, barrels, or certain weak walls can break them, sometimes revealing rupees or hearts.
- Initiating Combat: A well-timed roll can close the distance to an enemy quickly, allowing for a follow-up attack.
Swimming
The Great Sea is vast, and Link will spend a significant amount of time in the water. Understanding how to swim effectively is crucial.
- Entering Water: Simply walk or jump into any body of water.
- Basic Swim: Use the Left Analog Stick to move Link in the water. He will paddle slowly.
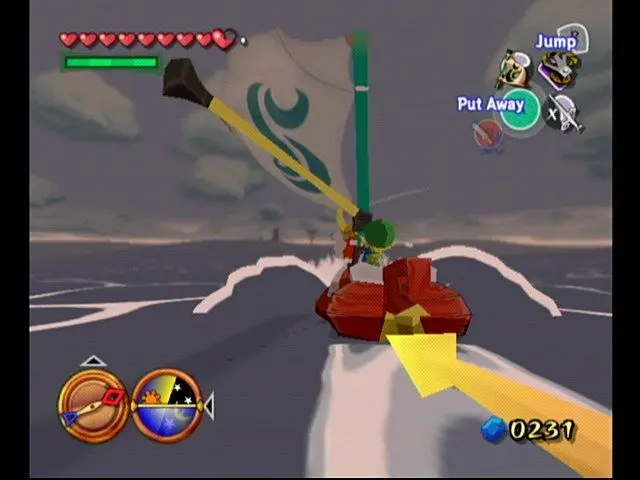
- Fast Swim (Breaststroke): Repeatedly tap the A Button to perform a faster breaststroke. This consumes Link's stamina (represented by a green circular meter that appears around Link when swimming).
- Diving: While swimming, press the B Button to dive underwater. Use the Left Analog Stick to move around. Link can stay underwater for a limited time, indicated by his breath meter. If it depletes, he will automatically surface.
- Surfacing: Press the A Button while underwater to quickly surface, or simply swim upwards using the Left Analog Stick.
- Climbing Out: Swim towards a low ledge or shore and Link will automatically climb out.
- Stamina Management: Keep an eye on Link's green stamina meter when fast swimming or diving. If it runs out, Link will become exhausted and slow down significantly, making him vulnerable. Replenish stamina by resting on land or by consuming certain items.
Climbing
Many areas in Wind Waker require vertical traversal. Link is quite adept at climbing various surfaces.
- Climbable Surfaces: Look for ladders, vines, rough rock faces, or specific marked ledges.
- Initiating a Climb: Approach a climbable surface and press the A Button. Link will grab on.
- Movement: Use the Left Analog Stick to move Link up, down, left, or right along the surface.
- Jumping While Climbing: While climbing, you can sometimes jump sideways or upwards to reach distant ledges by pressing the A Button in the desired direction. This consumes stamina.
- Dropping Down: Press the A Button again to let go of the surface. Be careful not to drop from too high, as Link can take fall damage.
- Stamina: Climbing, especially jumping while climbing, consumes Link's stamina. If his stamina runs out while climbing, he will fall.
Z-Targeting (Lock-On)
Z-Targeting is a fundamental combat and navigation mechanic that allows Link to focus on a single enemy or object.
- How to Use: Hold down the Z Button (GameCube) / ZL Button (Wii U GamePad) when an enemy or interactive object is within range. A small yellow reticle will appear over the target, and Link will automatically face it.
- Benefits in Combat:
- Focused Attacks: All of Link's sword swings and item uses will be directed at the targeted enemy.
- Defensive Maneuvers: While Z-Targeting, you gain access to specific evasive moves:
- Sidestep: Push the Left Analog Stick left or right to quickly sidestep around the enemy. This is excellent for dodging horizontal attacks or getting behind foes.
- Backflip: Push the Left Analog Stick down and press the A Button to perform a quick backflip, creating distance from the enemy.
- Parry/Counter: Some enemies can be parried by pressing A at the precise moment their attack lands while Z-Targeting, leaving them vulnerable.
- Benefits in Exploration:
- Precise Item Usage: Z-Targeting allows you to precisely aim items like the Boomerang or Bow at distant switches, pots, or specific enemy weak points.
- Camera Control: The camera will automatically adjust to keep both Link and the target in view, which is helpful in busy areas.
- Switching Targets: If multiple targets are present, you can cycle through them by flicking the Control Stick (GameCube) / Right Stick (Wii U GamePad) left or right while holding Z/ZL.
Practice these fundamental controls and movement techniques early in your adventure. A strong grasp of Link's capabilities will make your journey across the Great Sea much smoother and more enjoyable, allowing you to focus on the epic story and challenging puzzles that await!
100% Human-Written. AI Fact-Checked. Community Verified. Learn how AntMag verifies content