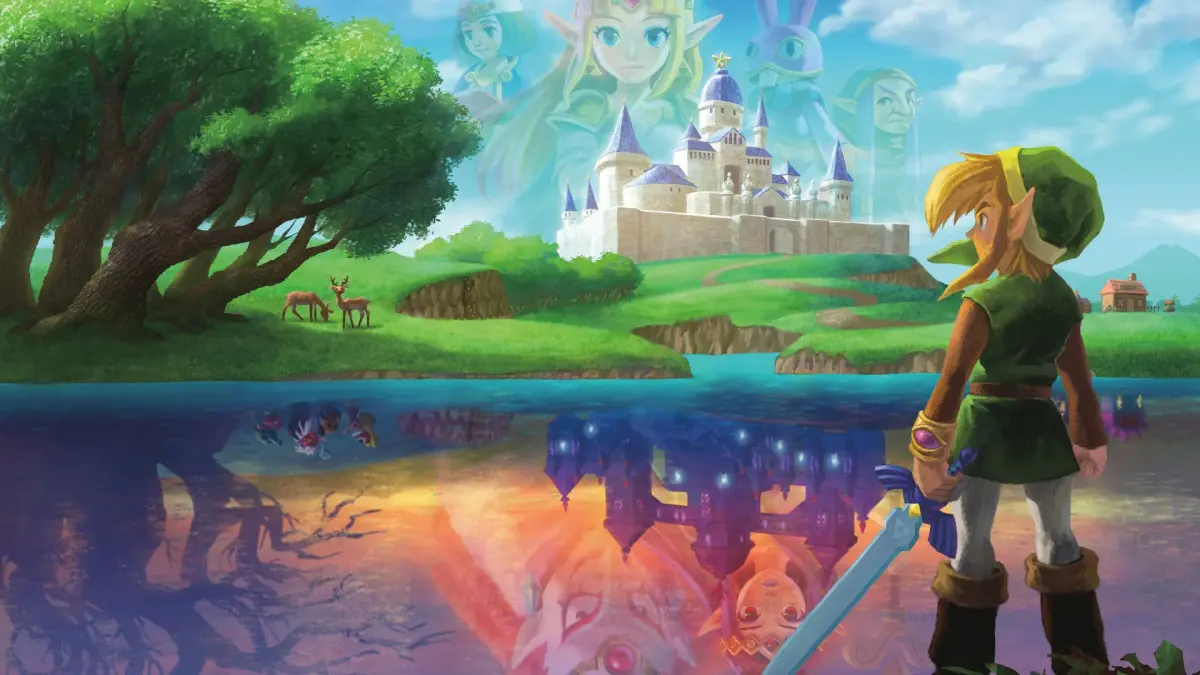
Welcome to The Legend of Zelda: A Link Between Worlds, a true exclusive for the Nintendo 3DS that masterfully blends classic top-down Zelda gameplay with an innovative wall-merging mechanic. You'll explore the familiar lands of Hyrule and the parallel world of Lorule, conquering treacherous dungeons and unraveling their secrets. This adventure is perfect for anyone looking for a fresh take on the Zelda formula, offering a unique way to traverse the environment and solve puzzles.
This guide is here to help you navigate every aspect of Link's journey. We'll cover everything from finding all the hidden collectibles scattered throughout Hyrule and Lorule to overcoming challenging boss fights. Whether you're aiming to 100% the game or just need a hand getting past a particularly tricky section, we've got you covered.
Part 1
Read the introduction for The Legend of Zelda: A Link Between Worlds guide, covering all treasure chests, Maiamai, minigames, Pieces of Heart, and a walkthrough.
This is the introduction to the guide for The Legend of Zelda: A Link Between Worlds, written by Greg Boccia (noz3r0) and Alex 'vin' Kleinheider. The guide aims to be comprehensive, detailing everything needed to fully complete the game and become a Hero of Hyrule. It includes coverage of all treasure chests, Maiamai, minigames, and Pieces of Heart, alongside a detailed walkthrough.
- 1The guide is structured to cover (press the cover button to crouch behind walls or objects) various aspects of the game, starting with an introduction and basics.
- 2It proceeds through a detailed walkthrough of the game's progression, including sections like "Link's Awakening", "The Princess' Plan", "Eastern Palace", "Hyrule Explorations", "The House of Gales", "The Tower of Hera", "The Master Sword", and "Hyrule Castle".
- 3The walkthrough continues into the alternate world of Lorule with sections such as "Lorule Explorations", "Thieves' Hideout", "The Desert Palace", "The Skull Woods", "The Dark Palace", "The Swamp Palace", "Turtle Rock", and "The Ice Ruins".
- 4Finally, it covers "Lorule Castle" and includes sections for "Item Lists" and an "Outro".
- The guide was written with significant time and dedication to make the reader feel immersed.
- This is the first co-authored guide for one of the authors, a collaboration with a long-time friend.
- The guide is available for the Nintendo 3DS.
Part 2
Master The Legend of Zelda: A Link Between Worlds Part 2 with our comprehensive guide covering game screens, controls, items, enemies, and the start of your adventure.
This section of the guide for The Legend of Zelda: A Link Between Worlds covers the game's interface, controls, and the initial steps of the adventure.
The Game Screens
The top screen displays the Life Gauge (heart containers), the Energy Gauge (used for quest items and replenishes over time), and the Action Icon (indicates interaction possibilities like Merging or talking). The bottom screen shows the map, with options to switch dungeon floors, zoom, and use the Lost Maiamai Icon to track the 100 missing Maiamai. You can also pin locations on the map and view your Rupee total. Quest item assignments for X and Y buttons are shown, along with the Light and Dark World Icon to switch between Hyrule and Lorule.
Gear and Items
From the bottom screen, you can access subscreens to view and manage all your equipment, items, pendants, pieces of heart, and special items. Items can be re-equipped by dragging and dropping them into their designated slots.
Controlling Link
Familiarize yourself with the controls to navigate Hyrule and Lorule effectively:
| Button | Action |
|---|---|
| D-Pad | Move the camera |
| A | Action Button (Merging, talking, pushing/pulling, diving) |
| B | Swing sword. Cancel in menu. Swim. |
| X | Use equipped quest item |
| Y | Use equipped quest item |
| L | Sprint (requires Pegasus Boots) |
| R | Raise shield |
| Start | Opens the Pause Menu |
The Action Button (A) is versatile, enabling actions like Merging with walls, interacting with characters, pushing/pulling objects, and diving while swimming. Swimming is performed using the B button.
Sword and Board
Link's primary attack is his sword. Pressing B performs a single slash, with faster presses resulting in quicker swings. Holding B until the sword glows initiates a Spin Attack, releasing it unleashes a whirlwind that damages and knocks back nearby enemies. Collecting all 100 Maiamai allows for an upgrade to the Great Spin Attack. The R button raises Link's shield, which can defend against attacks and reflect projectiles.
A Journey Begins
The adventure starts with Link awakening in his bed after a dream. Gulley appears, urging Link to visit the Blacksmith. Before leaving, take time to practice the controls and break some pots in the room. Notably, Majora's Mask can be found on the eastern wall of Link's room, a reference to fans of the series. Once outside, follow Gulley.
Items
- Red Rupee
- Lamp
- Small Key
- Forgotten Sword
Enemies
- Bee
- Blob
- Poe
- Rat
- Rope
Part 3
Follow our guide for Part 3 of The Legend of Zelda: A Link Between Worlds, covering the Blacksmith, Sanctuary, and Graveyard, including item locations and enemy strategies.
You'll learn about the weather vane and how to save your game, good to do so now. You'll want to activate all the weather vanes you come across for later in the game. As you wander around the town you'll notice bushes. These function like pots, you can pick them up and toss them around often revealing valuable rupees or recovery hearts.
To the Blacksmith
Head west and follow Gulley as he dashes northward. As you approach the river take a left to continue west and reach the Blacksmith's Forge. Inside a scene occurs and Link ends up with the [CAPTAIN'S SWORD]. You'll need to take this to the Captain who just left. He returned to Hyrule Castle and the Blacksmith marks this on your map, convenient. Head east to reach the castle's bridge.
Off to the Sanctuary
Talk with the guard on the bridge who informs you that the Captain has in fact not come here and is instead at the Sanctuary. The guard marks this location on your map and advises using the western path. Make your way west and north until you reach a sign that points to the Sanctuary, due north. Continue up the dirt path to another sign which indicates the Sanctuary is east. At outer area of the Sanctuary you'll find a weather vane, use it and talk to Dampe and Seres.
After a scene you'll end up with the [FORGOTTEN SWORD]. You can now use this to break pots and cut down bushes, just beware the bees you'll encounter for destroying the vegetation.
- Bee — Damage: 1/4 Heart. These little guys will often come buzzing out when you cut down bushes or grass. They can be caught with a net and bottled once Link acquires these items.
Save at the weather vane and proceed east to the Graveyard. You need to find the secret passage, but you'll have to contend with Blobs and Poes. If you push the gravestones aside you can find rupees and such but the only one you need to push is the obvious central one.
- Blob — Damage: 1/2 Heart. The green goo is found everywhere, so get familiar with it. They are pretty slow in general but can emerge from the ground for a quick surprise now and again.
- Poe — Damage: 1/2 Heart. Poes move fast and are erratic. Often it's best to just go on the offensive and swing violently to end the fight.
Graveyard
As you enter you'll notice it's pretty dark, but light shines through on a [CHEST] that holds the [LAMP]. Equip the Lamp and use it to get some light then go to the north end of the room. There are two unlit braziers, so use your Lamp to light them and open the path going north. The next room is fairly dark but there are braziers all over the place to help brighten it up. You'll have to contend with Rats and Ropes in this area, so be careful.
- Rat — Damage: 1/2 Heart. Rats aren't much of a big deal individually but a few of them can swarm you quickly. Take them out early to avoid unnecessary damage.
- Rope — Damage: 1/2 Heart. Ropes are essentially snakes and they will move slowly until Link alerts them. When the dash at Link simply swing with good timing to knock them back.
There are two [CHESTS] in this area, so start by heading to the low ground to find a [RED RUPEE]. On the high ground you'll find the second item, a [SMALL KEY]! Proceed to the northwest and use the small key to reach a small room. Link is ambushed by three Poes, so quickly defeat them and use the Lamp to light the braziers. Once the Poes have been defeated the door to the north will open. In the next room you'll notice there isn't much around, except for two levers. Grab the northwest one and move backwards to fully extend it and exit to the north. You'll get a scene here that leads to the next part of Link's journey.
NOTE
- You can pull the other lever if you want, you'll just have to fight some Ropes.
Part 4
Continue your journey in The Legend of Zelda: A Link Between Worlds Part 4, covering Kakariko Village, Sahasrahla's advice, and the Cucco Ranch.
- 1After awakening at your house, you will meet Ravio and receive Ravio's Bracelet.
- 2Head north to Hyrule Castle and speak with the guards in the courtyard to learn the spinning attack.
- 3Speak with the guard at the front door, and Impa will appear. Wait for her to finish speaking with Zelda.
- 4You will be summoned to meet Zelda, who gives you the Charm.
- 5Before leaving the castle, head to the castle ramparts by taking the east door after leaving the throne room, then use the southern door.
- 6Watch out for Crows (Damage: 1/2 Heart) that attack from above. Swing swiftly to defeat them.
- 7Head south along the eastern rampart to find a chest containing a Purple Rupee.
- 8Go back inside the castle and enter the western wing to find a chest with a Blue Rupee.
- 9Return to the Blacksmith and learn that Gulley is missing.
- 10Head left into Kakariko Village. Go north to the house with two doors; this is Elder Sahasrahla's home. Enter through the right door and speak with him. He will task you with heading to the Eastern Palace.
- 11If you wish to continue immediately to the Eastern Palace, jump to that section. Otherwise, continue reading for additional items.
- 12West of the weather vane in Kakariko Village, you can find the Street Merchant who sells Bottle #1 for 100 Rupees.
- 13West of the Street Merchant is the Item Shop. You can purchase a Scoot Fruit for 50 Rupees, a Fool Fruit for 30 Rupees, or a Shield for 50 Rupees.
- 14North of the Item Shop, a small cave contains a chest with a Red Rupee.
- 15South of the weather vane is the Bee Guy's home. If you have a bottle, speak to him to acquire a Net for catching Bees.
- 16Catching a Bee can be exchanged for a Purple Rupee. Finding a Golden Bee allows you to trade it for a Bee Badge, which prevents Bees from bothering you.
- 17At the southeast of Kakariko, the Milk Bar sells Milk for 20 Rupees, restoring 5 hearts.
- 18East of the Bee Guy is Fortune's Choice, where you can play a 50/50 game to potentially double your rupees.
- 19Leave Kakariko to the north to find the Fortune-Teller in her blue hut. You can obtain the Hint Glasses.
- 20Using the Hint Glasses near the large rock blocking a cave in town reveals a Hint Ghost that can provide a hint on moving the rock, though it is currently impossible.
- 21At the south exit of Kakariko Village is the Cucco Ranch. Speak to the Cucco Girl to play a mini-game where you must dodge cuccos. Successfully completing the challenges can earn you Piece of Heart #1 and the Large Cucco.
Cucco Ranch Mini-Game Details:
- Egg Level: Cost 20 Rupees. Dodge for 30 seconds for a prize of 40 Rupees.
- Chick Level: Cost 30 Rupees. Dodge for 30 seconds for a prize of 60 Rupees.
- Rooster Level: Cost 50 Rupees. Dodge for 30 seconds for a prize of 150 Rupees and a Piece of Heart.
- Endless Level: Cost 10 Rupees. Dodge endless cuccos. Prizes include 100 Rupees (100 Seconds), 300 Rupees (300 Seconds), 500 Rupees (500 Seconds), 800 Rupees (800 Seconds), and 3,000 Rupees & Large Cucco (999 Seconds).
- The Shield from the Item Shop is highly recommended for its defensive capabilities.
- The Hint Glasses can be useful later for finding secrets, even if the immediate hint is for an obstacle you cannot yet overcome.
- The Cucco Ranch offers a good opportunity to earn rupees and valuable items if you have good reflexes.
- Ravio's Bracelet
- Charm
- Purple Rupee
- Blue Rupee
- Red Rupee
- Bottle #1 (Cost: 100 Rupees)
- Shield (Cost: 50 Rupees)
- Scoot Fruit (Cost: 50 Rupees)
- Fool Fruit (Cost: 30 Rupees)
- Net (Requires a bottle)
- Bee Badge (Requires a Golden Bee)
- Piece of Heart #1 (Cucco Ranch)
- Large Cucco (Cucco Ranch)
Similar guides you might like


100% Human-Written. AI Fact-Checked. Community Verified. Learn how AntMag verifies content