Welcome to Strinova, the fast-paced, free-to-play tactical shooter from iDreamSky! As a skilled operative with a female protagonist, you'll dive into intense online co-op battles, mastering third-person combat and strategic teamwork. Strinova isn't just about aiming down sights; it's about understanding the flow of aggressive pushes, utilizing unique 'stringification' techniques, and coordinating with your squad to outmaneuver the enemy.
This guide is your essential companion to conquering Strinova. We'll break down everything you need to know, from optimizing your weapon loadouts and understanding every map layout to mastering advanced defensive strategies. Get ready to dominate daily challenges and climb the ranks to become the ultimate Strinova player.
Getting Started
Master Strinova's unique 2D and 3D tactical gameplay with this guide covering initial setup, core mechanics, and interface navigation for a smooth start.
Getting Started
Master Strinova's unique 2D and 3D tactical gameplay with this guide covering initial setup, core mechanics, and interface navigation for a smooth start.


Controls & UI — Strinova Guide
Master Strinova's controls and UI. Learn seamless movement, precise ability usage, and quick decision-making from the heads-up display and game interface.
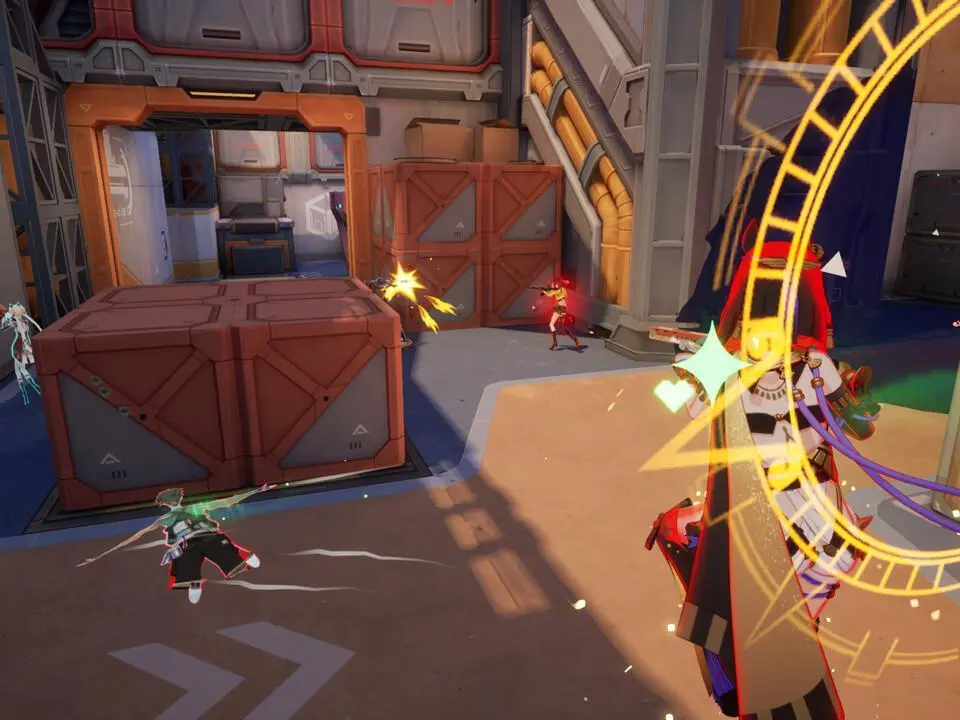
Welcome to the "Controls & UI" section of our Strinova guide! This chapter is your essential primer for understanding how to interact with the game world and interpret the information presented to you. Mastering Strinova isn't just about sharp aim; it's about seamless movement, precise ability usage, and quick decision-making based on the data the UI provides. Here, we'll break down every keybinding and every on-screen element, ensuring you're never lost in the heat of battle.
By the end of this section, you'll have a comprehensive understanding of Strinova's control scheme, allowing you to navigate the battlefield with confidence and execute complex maneuvers effortlessly. You'll also learn to effectively read the User Interface, transforming it from a collection of icons into a powerful tactical tool. This foundational knowledge is crucial for both new recruits and seasoned veterans looking to refine their gameplay and gain a competitive edge.
Let's dive in and demystify Strinova's controls and user interface, setting you on the path to becoming a true dimensional master!
PC Controls Overview
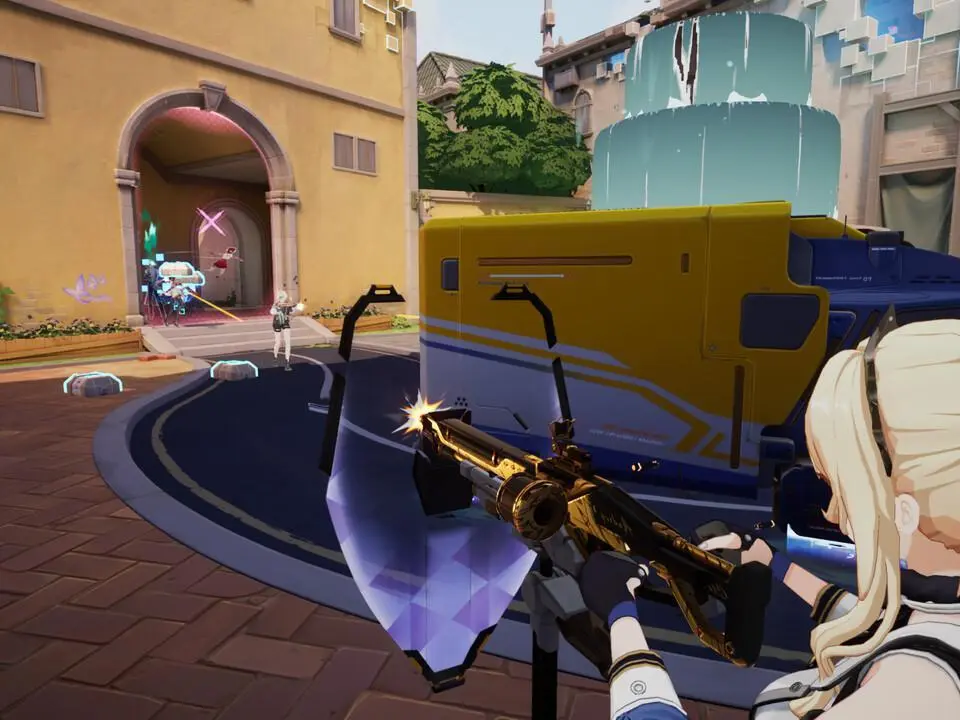
Strinova on PC offers a highly customizable control scheme, but the default settings are designed for immediate accessibility and competitive play. Familiarizing yourself with these core bindings is the first step to mastering the game's unique mechanics, especially the crucial 'Stringify' ability.
- Movement:
- Forward: W
- Backward: S
- Strafe Left: A
- Strafe Right: D
- Sprint: Left Shift (Hold to sprint in 3D, increases 2D movement speed)
- Jump: Spacebar (Allows for wall jumps in 2D form)
- Crouch/Slide: Left Ctrl (Hold to crouch, tap while sprinting to slide)
- Combat & Abilities:
- Primary Fire: Left Mouse Button
- Alternate Fire/Aim Down Sights (ADS): Right Mouse Button (Hold for ADS, tap for alternate fire if applicable)
- Reload: R
- Melee Attack: V
- Ability 1 (Tactical): Q
- Ability 2 (Ultimate): E (Requires ultimate charge)
- Grenade/Utility: G
- Dimensional Shift:
- Stringify (Toggle 3D/2D): F (Crucial for all dimensional maneuvers)
- Interaction & Communication:
- Interact/Pick Up: F (Contextual, shares key with Stringify but prioritizes interaction when available)
- Ping/Mark Location: Middle Mouse Button
- Voice Chat (Push-to-Talk): C
- Scoreboard: Tab
Pro Tip: While 'F' is shared between Stringify and Interact, the game's contextual priority system is generally reliable. However, in high-pressure situations, ensure you're not accidentally stringifying when trying to pick up an item, or vice-versa. Practice these interactions in the training range.
Customizing Your Controls
Strinova offers extensive control customization options. To access these, navigate to the main menu, then select "Settings" and "Controls." Here, you can rebind almost every action to suit your personal playstyle. Consider the following when customizing:
- Accessibility: Place frequently used abilities (like Stringify, Tactical, and Ultimate) on keys that are easily reachable without moving your hand excessively from WASD.
- Mouse Sensitivity: Experiment with your mouse sensitivity (DPI and in-game sensitivity) to find a balance that allows for precise aiming and quick turns. A lower sensitivity often aids in accuracy, while higher sensitivity allows for faster target acquisition.
- Key Overlaps: Be mindful of creating key overlaps that could lead to accidental inputs. While the game prevents direct conflicts, some contextual overlaps might still occur.
- Practice: After making significant changes, spend time in the training range to build muscle memory with your new setup before jumping into competitive matches.
Understanding the Heads-Up Display (HUD)
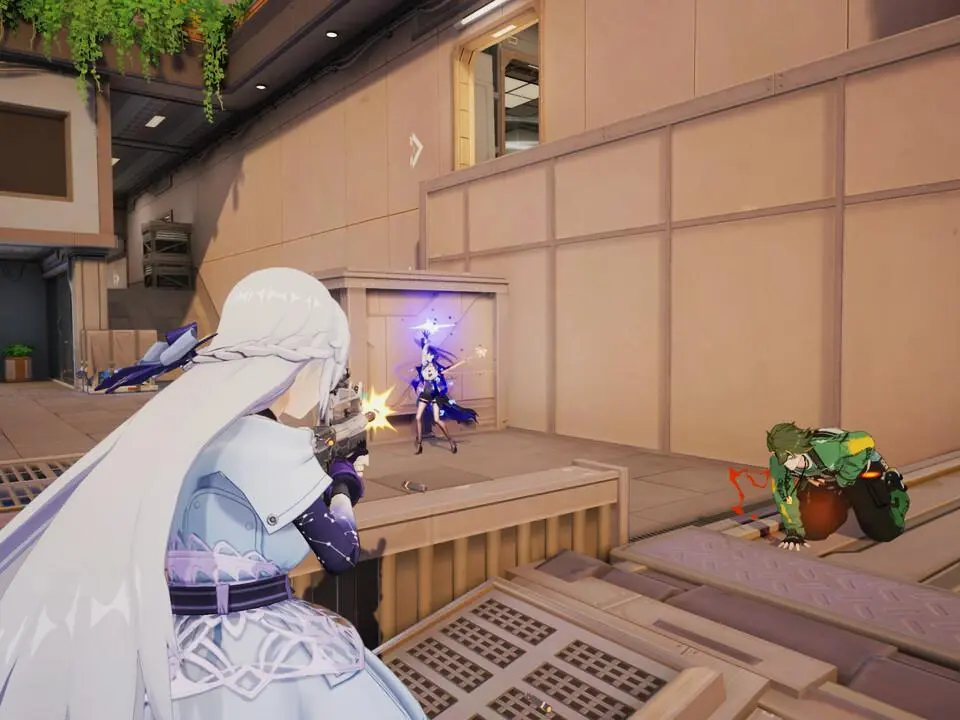
The Strinova HUD is designed to provide critical information at a glance, allowing you to make informed decisions without diverting your attention from the action for too long. Here's a breakdown of the key elements:
| HUD Element | Location | Information Provided | Strategic Importance |
|---|---|---|---|
| Health & Shield Bar | Top Left | Current Health (red) and Shield (blue) values. Indicates damage taken. | Crucial for knowing when to disengage, seek cover, or use healing abilities. |
| Mini-Map | Top Right | Your position, teammate locations (blue dots), known enemy locations (red dots), objective markers. | Essential for situational awareness, flanking routes, and understanding team positioning. |
| Weapon & Ammo Display | Bottom Right | Current weapon, remaining magazine ammo, total reserve ammo. | Manages combat engagement, informs reload timing, and weapon swap decisions. |
| Ability Icons & Cooldowns | Bottom Left (above health) | Visual representation of Tactical (Q) and Ultimate (E) abilities, showing cooldown status and ultimate charge. | Times ability usage, indicates when powerful plays are available, and tracks enemy ability usage (if observed). |
| Dimensional Shift Indicator | Near crosshair / Bottom Center | Visual cue indicating current dimensional form (3D or 2D). May show 'Stringify' cooldown if applicable. | Confirms your current state and readiness for dimensional maneuvers. |
| Crosshair | Center Screen | Indicates where your weapon is aiming. Changes based on weapon and movement. | Primary aiming tool. Pay attention to its spread for accuracy. |
| Kill Feed | Top Center | Real-time log of kills, assists, and significant events. | Tracks enemy eliminations, identifies threats, and confirms your team's success. |
| Objective Status | Top Center / Varies by mode | Displays progress for objectives (e.g., capture points, payload movement, round score). | Guides strategic focus and informs team priorities. |
Pro Tip: Regularly glance at your mini-map and ability cooldowns. This habit will significantly improve your game sense and allow for more proactive decision-making.
Game Overview & Core Mechanics
Learn Strinova's core mechanics, focusing on the unique stringification mechanism that lets you switch between 3D and 2D forms for tactical advantages.
Game Overview & Core Mechanics
Learn Strinova's core mechanics, focusing on the unique stringification mechanism that lets you switch between 3D and 2D forms for tactical advantages.
Enemy Types & Behaviors
Master Strinova's enemy roster by learning Scout behaviors, attack patterns, and optimal engagement strategies. Adapt your loadout for each threat.
Mastering the diverse enemy roster of Strinova is crucial for survival and success. Each enemy presents unique challenges, requiring specific tactics and loadouts. This section breaks down the most common threats you'll encounter, detailing their attack patterns, weaknesses, and optimal engagement strategies.
Common Enemy Archetypes
Scouts
Description: Small, agile, and often appear in groups. They are the eyes and ears of larger enemy formations.
- Behavior: They prioritize flanking maneuvers and will attempt to alert nearby enemies to your presence. Their individual attacks are weak but can quickly overwhelm an unprepared player.
- Weaknesses: Low health pools. Area-of-effect (AoE) weapons like the "Plasma Grenade" or shotguns like the "Scattershot" are highly effective at clearing groups.
- Strategy: Prioritize eliminating Scouts as soon as they are spotted. Listen for their distinctive chittering sounds and use cover to break line of sight while you deal with them. A quick burst from an assault rifle like the "Vanguard" can also dispatch them efficiently.
Brutes
Description: Large, heavily armored enemies with significant melee and ranged capabilities.
- Behavior: They advance directly towards the player, often ignoring cover. Their primary attacks are devastating melee slams and powerful projectile volleys.
- Weaknesses: Slow movement speed and large hitboxes. Their armor plating can be broken, revealing vulnerable weak points.
- Strategy: Maintain distance and use cover effectively. Focus fire on their exposed weak points, typically glowing or discolored areas on their chassis, once their armor is damaged. Heavy weapons like the "Railgun" or sustained fire from a high-caliber rifle like the "Annihilator" are recommended. If cornered, deploy a "Kinetic Shield" to absorb damage while you reposition or reload.
Snipers
Description: Stationary or slow-moving enemies positioned at long ranges, equipped with high-precision weaponry.
- Behavior: They seek elevated positions and will attempt to pick off players from afar. Their shots are highly damaging and often have a visible laser sight before firing.
- Weaknesses: Limited mobility and exposed during their charge-up sequence.
- Strategy: Identify their positions quickly by looking for the tell-tale laser sights. Use cover to advance and flank them. Precision weapons like the "Marksman Rifle" or a well-aimed shot from a sidearm like the "Pistolero" can neutralize them before they become a significant threat. If direct engagement is too risky, consider using explosives like the "Frag Mine" to flush them out.
Support Units
Description: Enemies that do not directly attack but provide buffs or healing to other combatants.
- Behavior: They typically stay behind front-line enemies, deploying shields, healing allies, or enhancing their damage output.
- Weaknesses: Generally have low defenses and are often less armored than combat units.
- Strategy: These are high-priority targets. Disrupting their support capabilities can significantly turn the tide of an engagement. Focus fire on them immediately upon spotting. Weapons with high rate of fire, such as the "SMG", are excellent for quickly eliminating them.
Encounter Tips
- Situational Awareness: Always be aware of your surroundings. Listen for audio cues and scan your environment for enemy movement.
- Weapon Proficiency: Different enemy types are vulnerable to different weapon classes. Adapt your loadout based on the anticipated threats in an area.
- Cover is Key: Never stand in the open. use environmental cover to break line of sight and reload safely.
- Ammo Management: Conserve ammunition, especially for heavy weapons. Prioritize targets that pose the greatest immediate threat.
Similar guides you might like


100% Human-Written. AI Fact-Checked. Community Verified. Learn how AntMag verifies content