Navigate the treacherous Bitterblack Isle once more in Dragon's Dogma: Dark Arisen's The Second Run. Discover new enemy placements and challenges in this comprehensive walkthrough.
Walkthrough
- 1Garden of Ignominy: Encounters near the entrance change from Wargs to either Greater Goblins and Goblin Shaman, or Giant Saurians and a Siren. The courtyard fountain area now features a Gorechimera, accompanied by either more Greater Goblins and Goblin Shaman, or Sulfur Saurians and Giant Sulfur Saurians. Hobgoblins in the southern rooms are replaced by whatever replaced the Wargs. Garm remain as scavengers, with more than one appearing.
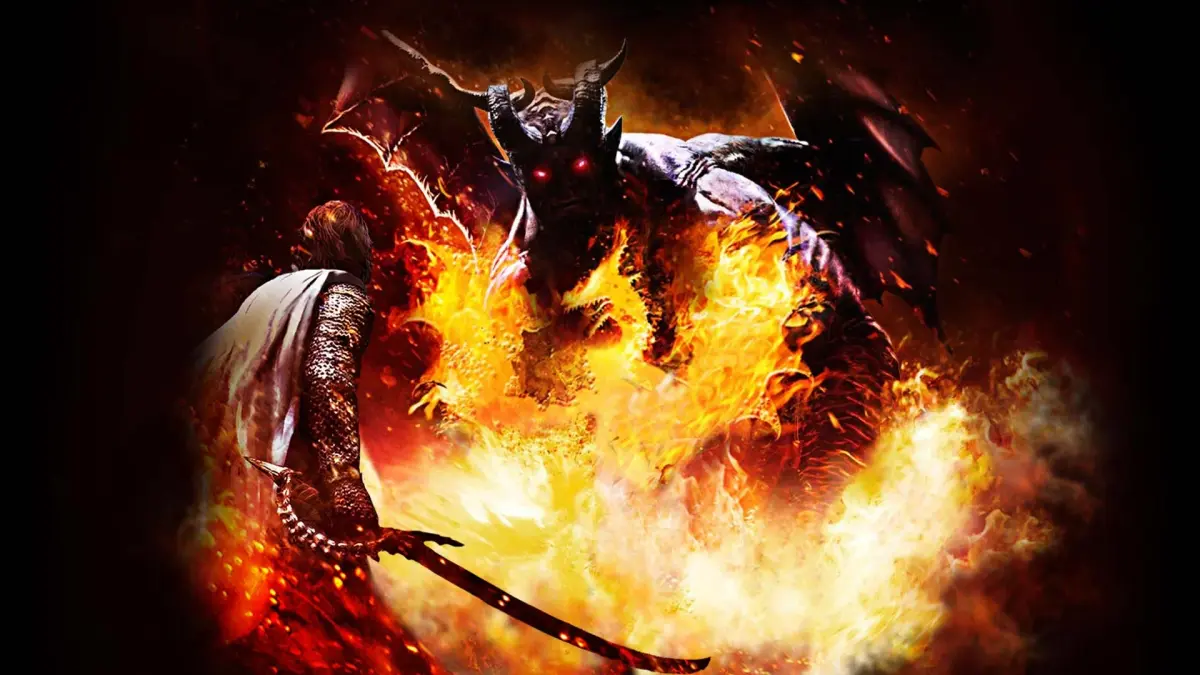
- 2Duskmoon Tower: Instead of a peaceful garden, face either a Dire Wyvern and Gargoyles, or a Dire Drake and Hellhounds. The chests in this area may contain Rift Currency. The southern balcony is good for luring dragons. A Cursed Dragon acts as a scavenger. Be wary of chests, as some may contain Maneaters. The door to the 'Vault of Defiled Truth' is not barred.
- 3Rotunda of Dread: This area presents a variety of challenging encounters, including Archydra and Sirines; Golems and Gargoyles; a Lich, Skeleton Brutes, and Skeleton Lords; two Wights and three Gorechimeras; three Liches and a Metal Golem; Wyrms and Phantasms/Specters; Ogres, Goblin Shaman, and a Cockatrice; four Gorecyclops and Goblin Shaman; a Lich, Evil Eye, and Hellhounds; or a Wyvern with Succubi and Sirines. Notes on specific fights: the Lich before Skeleton Lords can be killed early; Gorechimeras are tough and heal each other, use high ground; the Cockatrice may stay airborne; Goblin Shaman are often on high ground.
- 4Ward of Regret: Encounters near the cages (requiring a Skeleton Key) change. If Wraiths were encountered, expect Living Armor and a Poisoned Undead near the 'Midnight Helix' entrance. If Skeleton Brutes were encountered, face a Gold/Silver Knight duo, poisoned Undead in the west hallways, and two Skeleton Brutes and two Poisoned Undead near the 'Midnight Helix' entrance.
- 5Midnight Helix: The Prisoner Gorecyclops may appear unchained, joined by Corrupted Pawns on bridges. Alternatively, a Dire Wyrm replaces it, with Strigoi flying around. Three Skeleton Brutes guard the bone-filled cave over the blood river.
- 6Vault of Defiled Truth: Greater Goblins and Goblin Shaman are at the southern end. Hobgoblins are in the south-east water-filled chambers. The fountain courtyard features a Cockatrice with Corrupted Pawns, or two Gorecyclops with Greater Goblins and Sirines. Goblin Shaman are in the southern-most room. On the second floor, the 'T'-shaped room has two Eliminators (if a Cockatrice was in the courtyard) or a Golem (if Gorecyclops were present).
- 7Gutter of Misery: Encounters on the stairwell vary between Sulfur Saurians and Giant Sulfur Saurians, or a mixed group of undead including Giant Undead.
Tips
- In Duskmoon Tower, use the southern balcony to lure dragons into flight for easier takedowns.
- In the Rotunda of Dread, high ground is crucial for dealing with Gorechimeras and avoiding their magic.
- Be mindful of chests in Duskmoon Tower, as some contain Maneaters.
- The door to the 'Vault of Defiled Truth' in Duskmoon Tower does not require a Void Key.
- In the Midnight Helix, Corrupted Pawns and Strigoi can knock you off bridges; be cautious.
100% Human-Written. AI Fact-Checked. Community Verified. Learn how AntMag verifies content