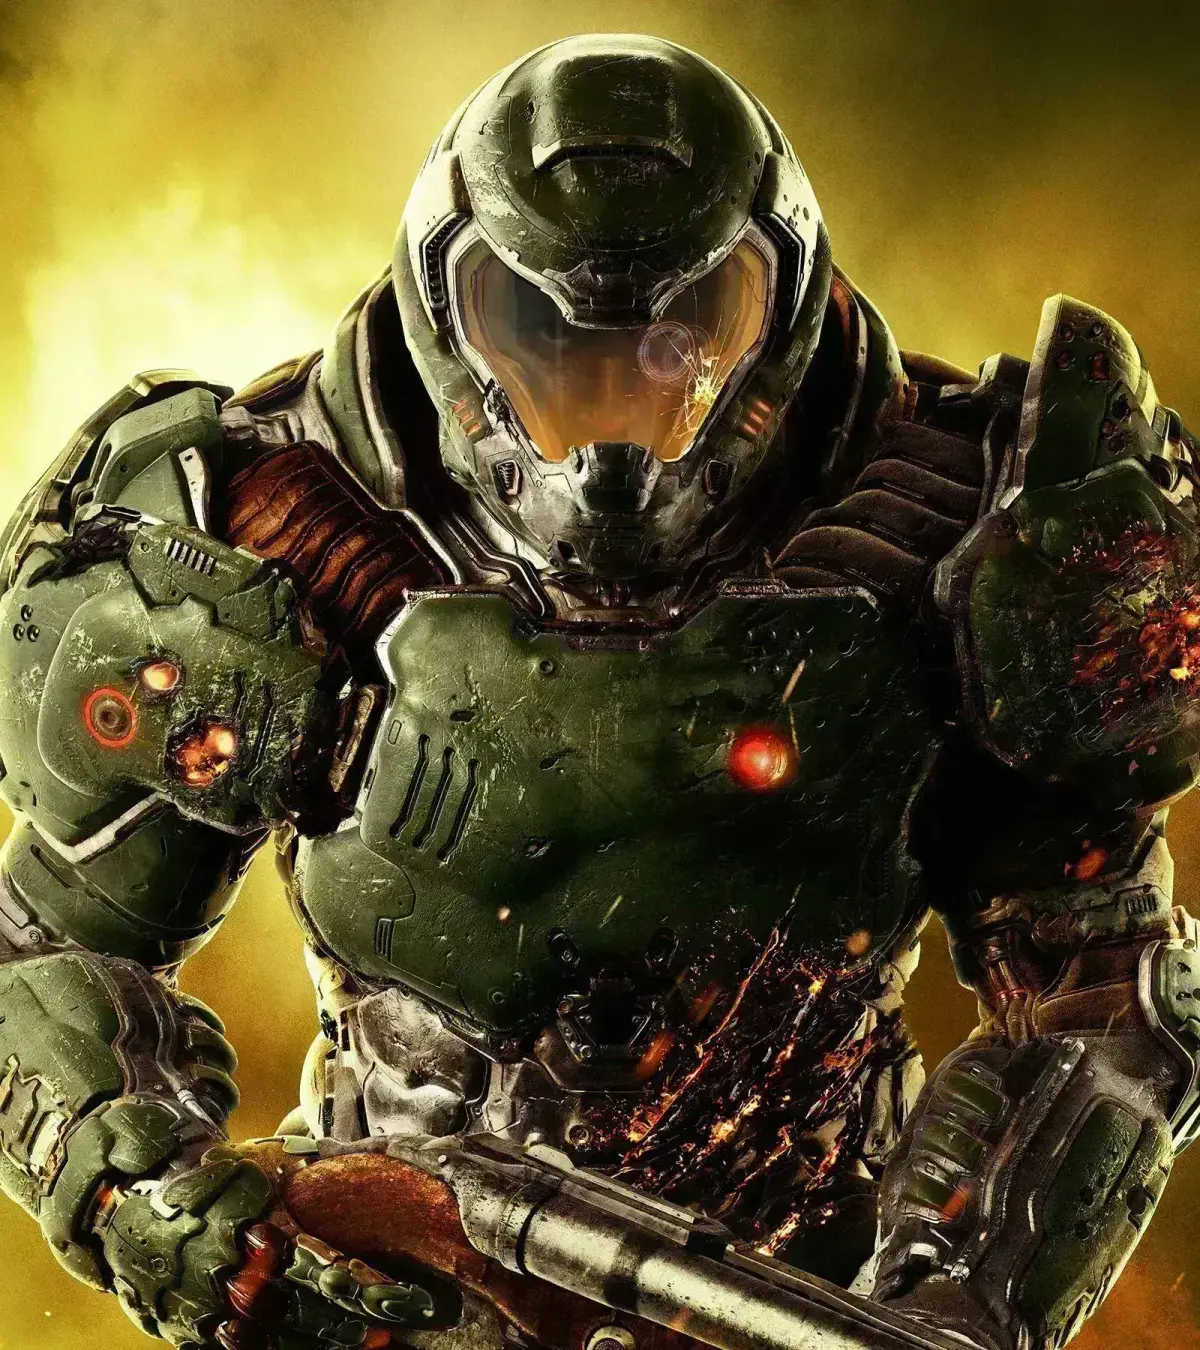
Doom (2016) reignites the legendary franchise, injecting the core DNA of the original shooter into a modern, visceral experience. You play as the Doom Slayer, a force of pure destruction unleashed upon Mars and Hell to combat a demonic invasion. Moment-to-moment gameplay is a relentless dance of aggressive combat, demanding you constantly move, utilize a brutal arsenal, and exploit enemy weaknesses to survive.
This guide will help you master that combat and conquer every challenge. We cover all main missions, from the UAC on Mars to the depths of Hell, detailing strategies for each level and boss encounters like the Lazarus & Cyberdemon and Hell Guards. Additionally, we'll show you how to find all the Classic DOOM Maps hidden within the campaign, unlocking a blast from the past.
Part 1
Learn the essential controls and master the early weapons like the Pistol, Shotgun, Plasma Gun, and Assault Rifle in this comprehensive Doom (2016) Part 1 walkthrough.
This guide covers the initial gameplay mechanics, controls, and weapons available in Doom (2016). It provides a detailed breakdown of button mappings for PS4 and Xbox, and an overview of the early-game firearms.
Controls (PS4 / X-Box):
| Action | PS 4 | X-Box | Description |
|---|---|---|---|
| Use equipment (usually Grenade) | L1 | LB | Use equipment (usually Grenade) |
| Weapon Modifier | L2 | LT | Weapon Modifier (meaning depends on weapon) |
| Switch or Select Weapon | R1 | RB | Switch or Select Weapon |
| Fire Weapon | R2 | RT | Fire Weapon |
| Melee Attack / Glory Kill | R3 | Press Right Stick | Melee Attack / Glory Kill |
| Chainsaw | Square | X | Chainsaw |
| BFG | Triangle | Y | BFG |
| Crouch / Stand (toggle) | Circle | B | Crouch / Stand (toggle) |
| Jump | X | A | Jump |
| Swap Weapon Mod | Up Arrow | DPad Up | Swap Weapon Mod |
| Previous Equipment | Left Arrow | DPad Left | Previous Equipment |
| Next Equipment | Right Arrow | DPad Right | Next Equipment |
| Mission Objective Summary | Down Arrow | DPad Down | Mission Objective Summary |
Weapons:
- Pistol — Unlimited ammo. Useful for stunning demons for Glory Kills. Upgrade strategy: save upgrades for later or invest in the first 1-point upgrade.
- Shotgun (available Mission 0) — Primary weapon for early missions. Recommended upgrade: Explosive Shot for the "Twofer" Challenge. Cyber-Mancubi count towards the "Changed Shot" upgrade challenge.
- Plasma Gun (available Mission 2) — Fires rapidly, though individual shots are weak. Heat Blast modification is powerful for clearing groups without ammo. Stun modification is generally not recommended due to ammo waste and limited effectiveness.
- Assault Rifle (available Mission 2) — Weak individual shots, less effective at range. Tactical Scope is good for sniping. Mini-Missiles are useful against Lost Souls but less effective against stronger demons.
- Super Shotgun (available Mission 4) — Powerful weapon, excellent for Hell Knights and groups of demons when upgraded. Challenge upgrade involves shooting through one demon to hit another behind it.
- Chain Gun (available Mission 6) — Powerful but has a startup delay. Mobile Turret modification is effective against bosses.
Part 2
Doom (2016) Part 2 covers the BFG (available Mission 8), Chainsaw (available Mission 2), and enemy details.
Weapons
Gauss Cannon
The most powerful standard weapon, even without mods. Siege Mode is the most powerful mod (by far), and it is strongly recommended. Its challenge upgrade is easy too. The Precision Bolt mod is also pretty good but it's a lot harder to fully upgrade and only kills once thing at a time, so I seldom use it.
BFG (available Mission 8)
The Big F-ing Gun. This will clear out a whole room of demons, but it can be a little unpredictable in how it works. Ammo is found individually, and you always have a limit of 3. However, the Ammo Boost II rune WILL cause enemies to randomly drop BFG ammo when they die so there isn't too much of a shortage.
Chainsaw (available Mission 2)
This crazy melee weapon will definitely kill any monster (except Bosses) in range that you have enough fuel to kill. The initial capacity is 3 Fuel Units, which is the amount in every gas can. Each Argent Cell upgrade to the Ammo Capacity increases your capacity by 1 Fuel. So fully upgraded, you have a capacity of 7 Fuel Units. Killing with a chainsaw is considered a Glory Kill that'll dump a huge pile of ammo.
Fuel to kill various demons:
- Imp: 1
- The Possessed: 1
- Unwilling: 1
- Possessed Guard: 1
- Possessed Securities: 1
- Hell Razer: 1
- Hell Knight: 3
- Summoner: 3
- Cacodaemon: 3
- Pinkie: 3
- Spectre: 3
- Revenant: 3
- Mancubus: 5
- Cyber-Mancubus: 5
- Hell Baron: 5
Weapon Upgrade Path: In My Humble Opinion
Here's how I upgrade my weapons. I usually upgrade one-at-a-time, simply because that spaces the Upgrade Challenges out more.
- Plasma Rifle / Heat Blast
- Rocket Launcher / Lock-On
- Super Shotgun
- Gauss Cannon / Siege Mode
- Assault Rifle / Tactical Scope (Often I get the first two upgrades before Siege Mode is available)
- Pistol
- Rocket Launcher / Remote-Detonation
Monsters
The Possessed, Unwilling
These idiots simply stagger around, vaguely coming toward you. In Nightmare mode, they do quite a bit of damage; in easier modes they are merely pesky.
Imps
Monkeys with fireballs with great aim. You have to move constantly and keep a lookout to avoid getting hit. They can take a fairly large amount of damage when they are climbing around on vertical surfaces. For players in Nightmare mode, Imps will probably cause more deaths than any other demon.
Possessed Engineers
Somewhat like the Possessed, except they explode when they die, and they charge at you to cause trouble. These guys are walking bombs - typically when they die they'll fly away from you which mitigates the problems. But some weapons might cause them to fly at you, and they'll do moderate damage. Even if you jump from above them and Glory Kill them, it does not count as a Death From Above Glory Kill (at least for the purposes of Rune or Combat Challenges).
Possessed Soldiers and Possessed Securities
These two monsters differ in that the latter has shields. They have 3 attacks: Plasma Volley (an attack of many straight-moving weak plasma baubles), Plasma Grenade (a stronger attack, similar to the Rocket Launcher / Remote Detonation, which expands before blowing up like a bomb), and Melee Attack (these are fairly weak for Possessed Soldiers, but they are quite strong from the shielded soldiers). The shields are a big difficulty: the Gauss Cannon or Chainsaw are the surest ways to kill them - you'll run into them before you have the Gauss Cannon. Otherwise, try running around them (around a structure) or jumping over them. Also they have to put their shields down when they jump/drop.
Hell Razers
These hellions attack with a laser in their arm, or a melee attack. They have a lot of hit-points, but they aren't too hard to kill.
Lost Souls
These little punks are very damaging. It's best to snipe them from afar (effective weapons: Assault Rifle/Tacticle Scope, Rocket Launcher/Lock-On, BFG). At the last moment when they are swooping in on you, the Shotgun or Super-Shotgun is probably the best, if you're quick. They can make little turns, but you can sneak behind pillars or protected areas.
Hell Knights
These are brutal melee attackers. They will jump toward you very fast. It is best to approach them right after an attack (Super Shotgun, Gauss Cannon) then back-off - a kind-of dance, or just use the Chainsaw which'll definitely kill them if you have fuel.
Summoners
These red-dressed ladies fire intense energy beams along the floor. Fortunately, the shot comes with a harmless pre-shot, so if you see a short red flame running along the ground, get away from it. The Rocket Launcher / Lock-On's Multi-Target Upgrade requires 5 kills on Summoners, so if you want to get that upgrade, you'll want to kill every summoner with lock-on rockets. That said, this upgrade isn't particularly useful.
Cacodemons
Big floating eyeballs with gigantic purple missiles. They do have a weak point near their eye opening, and precision shots with the tactical shot of the assault rifle can kill it from afar pretty quickly.
Revenants
These tough lanky flying demons wear a backpack to shoot you from above. They can take a significant amount of damage. The visible patch on the sternum (center of the chest) is a weak point.
Pinkies and Spectres
These are big charging idiot monsters. The Pinkies are substantially heartier. They are literally pink. The Spectres are essentially camoflaged Pinkies. They blend into their surroundings. I suggest using Super Shotgun, Chainsaw, Gauss Cannon on these guys. But really, any weapon will work.
- The Gauss Cannon's Siege Mode is the most powerful mod.
- The BFG is available from Mission 8 and can clear entire rooms.
- The Chainsaw can kill most non-boss enemies instantly if you have enough fuel.
- Upgrade challenges can be spaced out by upgrading weapons one at a time.
- Imps are particularly dangerous in Nightmare mode.
- Possessed Engineers explode upon death; be aware of their charge.
- Possessed Soldiers and Securities have shields that require specific tactics or weapons like the Gauss Cannon or Chainsaw.
- Lost Souls are best dealt with by sniping from afar or using a quick shotgun blast.
- Hell Knights are fast melee attackers; timing your attacks or using the Chainsaw is effective.
- Summoners fire energy beams; watch for the pre-shot indicator.
- Cacodemons have a weak point near their eye that can be targeted with precision shots.
- Revenants have a weak spot on their sternum.
- Pinkies and Spectres are charging enemies; the Super Shotgun, Chainsaw, or Gauss Cannon are good options.
Part 3
Learn enemy weaknesses, equipment uses, and weapon upgrade token acquisition in Doom (2016) Part 3.
Enemy Weaknesses:
- Pinky: The backside is their weakness. A single point-blank Super Shotgun blast to the base of the tail will usually kill it. Two such shots will definitely kill it, but the Pinky often starts moving before a second shot can be landed.
- Mancubi and Cyber-Mancubi: These demons shoot damaging fireballs. Cyber-Mancubi are more annoying as their shots leave a toxic (green) residue that must be avoided and lasts only a few seconds. The visible patch on the sternum (center of the chest) is a weak point.
- Hell Barons: These are similar to Hell Knights but can shoot missiles and have horns. They can be taken down by 2 Gauss Cannon / Siege Mode shots.
Equipment:
Most players primarily use the Frag Grenade due to its effectiveness, early availability, and ease of use. The Siphon Grenade is harder to aim and less damaging, making it less popular. The Hologram (Decoy) has potential but may require specific situational use.
- Frag Grenades: Recommended for their good radius and damage. Beginners may under-use them. They take a long time to regenerate until the first Praetor Suit Equipment Upgrade is obtained.
- Siphon Grenades: These pull energy from demons within their radius and transfer it to you, but the amount is not substantial enough to be widely used.
- Hologram (Decoy): Seems like a good idea but may require specific tactical placement.
Level Overview:
The following table details the availability of Elite Guards, Argent Cells, Rune Drones, Secrets, and Data Logs across missions in Doom (2016).
| Mission | Subtitle | Elite Guards | Argent Cells | Rune Drones | Secrets | Data Logs | |
| Mission 1: The UAC | Rip and Tear | 1 | 0 | 1 | 0 | 3 | 2 |
| Mission 2: Resource Operations | Know Your Enemy | 3 | 1 | 1 | 0 | 8 | 2 |
| Mission 3: Foundry | Meltdown | 3 | 1 | 1 | 0 | 6 | 3 |
| Mission 4: Argent Facility | Beginning of the End | 4 | 1 | 2 | 2 | 5 | 4 |
| Mission 5: Argent Energy Tower | Argent Tower | 3 | 2 | 1 | 2 | 7 | 4 |
| Mission 6: Kadingir Sanctum | Into the Fire | 4 | 1 | 1 | 2 | 6 | 7 |
| Mission 7: Argent Facility (Destroyed) | Hell on Mars | 4 | 1 | 1 | 2 | 6 | 5 |
| Mission 8: Advanced Resource Complex | A Brighter Tomorrow | 3 | 2 | 1 | 2 | 10 | 4 |
| Mission 9: Lazarus Labs | Lazarus | 4 | 1 | 1 | 2 | 9 | 5 |
| Mission 10: Titan's Realm | Titan's Realm | 2 | 1 | 1 | 0 | 6 | 4 |
| Mission 11: The Necropolis | The Crucible | 2 | 1 | 1 | 0 | 3 | 3 |
| Mission 12: VEGA Central Processing | I am VEGA | 3 | 0 | 0 | 0 | 5 | 4 |
| Mission 13: Argent D'Nur | The Well | 0 | 0 | 0 | 0 | 5 | 0 |
Weapon Upgrade Tokens:
Weapon Upgrade Tokens are spent to improve your weapons. All weapon mods require 18 Upgrade Points, except for the Super Shotgun and Pistol, which require 9 points each. This totals 126 points for all mods.
| Weapon | Upgrades | Upgrade Points Required For All Mods |
| Assault Rifle | Tactical Scope, Mini Missiles | 18 |
| Combat Shotgun | Charged Shot, Explosive Shot | 18 |
| Plasma Rifle | Heat Blast, Stun Gun | 18 |
| Chain Gun | Gatling Revolver, Mobile Turret | 18 |
| Gauss Cannon | Precision Bolt, Siege Mode | 18 |
| Rocket Launcher | Lock-On, Remote Detonation | 18 |
| Super Shotgun | - | 9 |
| Pistol | - | 9 |
| Total | - | 126 |
You earn Weapon Upgrade Tokens through Exploration Challenges, Combat Bonus, Bosses, and Mission completion. Completing all missions with 100% exploration and combat challenges should yield 142 tokens, resulting in 16 extra points. Earning 100% on a single playthrough without mission replay or dying is logistically difficult.
| Mission | Exploration Challenges | Combat Bonus | Bosses | Total | Cumulative | ||
| 1: The UAC | 2 | 0 | 0 | 0 | 2 | 2 | |
| 2: Resource Operations | 2 | 3 | 0 | 0 | 5 | 7 | |
| 3: Foundry | 2 | 3 | 5 | 0 | 10 | 17 | |
| 4: Argent Facility | 2 | 3 | 5 | 0 | 10 | 27 | |
| 5: Argent Energy Tower | 2 | 3 | 5 | 0 | 10 | 37 | |
| 6: Kadingir Sanctum | 2 | 3 | 5 | 0 | 10 | 47 | |
| 7: Argent Facility (Destroyed) | 2 | 3 | 5 | 0 | 10 | 57 | |
| 8: Advanced Resource Complex | 2 | 3 | 5 | 0 | 10 | 67 | |
| 9: Lazarus Labs | 2 | 3 | 5 | 2 | 6 | 18 | 85 |
| 10: Titan's Realm | 2 | 3 | 5 | 0 | 0 | 10 | 95 |
| 11: The Necropolis | 2 | 3 | 5 | 0 | 6 | 16 | 111 |
| 12: VEGA Central Processing | 2 | 3 | 5 | 5 | 0 | 15 | 126 |
| 13: Argent D'Nur | 2 | 3 | 5 | 0 | 6 | 16 | 142 |
Checkpoints:
Checkpoints (a save point in the game) save your ammo, health, and armor levels, as well as the locations of pickups of the same nature. Secrets, Argent Cells, and Elite Guards are saved immediately without needing a checkpoint (an auto-save point you restart from on death). However, Argent Cells have a side effect where they fill up power upgrades, which is only saved if you find a checkpoint afterward. This is particularly relevant in Mission 7.
Checkpoints, in Summary:
Things that are captured immediately:
- Secrets, Argent C
Part 4
Learn about checkpoints, the Dossier map, and rune upgrades in Doom (2016). Checkpoints preserve demon kills and pickups.
Checkpoints:
- Things preserved by checkpoints: demon kills, pickups (except those dropped by demons), Health, Armor, and Ammo levels.
- Things lost by dying after a checkpoint: the fill-up delivered by Argent Cells, and partial (pending) powerups at the time of the checkpoint.
Your Dossier:
The Dossier is accessed by the central button on PS4. In-game tutorials explain its features well.
- An Auto-Map enhances the map in your Dossier. Praetor Suit upgrades can improve the map.
- Weapons and Praetor Suit Upgrades are explained over the first few Missions.
- Tutorial Codex pages are automatically added to the Codex page, which lets you see if you have missed any Codex Entries.
Navigation:
The Dossier has a 3-D map that lacks a coordinate system, labels, or a reference direction. It does provide icons that can be used as landmarks. Pay attention to the names of major rooms/locations, as you will likely visit them multiple times.
Difficulty Levels:
Difficulty levels affect the damage done by demons, gains from ammo, armor, and health pickups, and the 'Rich Get Richer' rune. They do not affect the number or placement of demons, the chainsaw, secrets (except the size of an Armor pickup), or the 'In-Flight Mobility' rune. It is uncertain if monster health, user weapon damage, environmental damage to the user, or environmental damage to demons are affected. Ultra-Nightmare is the same as Nightmare for these effects.
Runes:
Hints are provided for completing Rune Challenges and upgrading runes.
- Vacuum: Easy to get and important. Upgrade is easy. Remember to equip it after completing the challenge, as it won't remind you in Nightmare mode.
- Dazed and Confused: Useful for the Bosses at the end of Mission 11 and for the 'To Be Knighted' Combat Challenge for Mission 4. Without Jump Boots, Glory Kills on Hell Knights can require setup.
- Ammo Boost: Very useful and recommended to be on much of the time.
- Equipment Power: Makes grenades powerful and is trivial to upgrade by throwing 30 grenades with the rune enabled. Upgrading with Praetor Tokens makes grenade throwing faster, easing the upgrade.
- Seek and Destroy: Useful for most berserk powerups, which are good times for upgrades.
- Savagery: Useful for most berserk powerups.
- In-Flight Mobility: Almost vital for the last boss fight, and its upgrade is critical. It may make sense to work on this upgrade alongside 'Dazed and Confused'. Challenge tips: single jump across the split is required; double-jumping wastes time. There are two chances to hit the mid-air relic. Upgrade requires 25 Mid-Air kills (referring to you). Glory-kills from above are the easiest way to get this upgrade, making it sensible to combine with 'Dazed and Confused'.
- Armored Offensive: Very useful and easy to upgrade by keeping it on a lot. The upgrade is measured by armor points picked up; a Mega-Health contributes 200 points.
- Blood-Fueled: Useful during Berserk Powerups, which are also good times to get the upgrade.
- Intimacy is Best: Helpful for the 'Atop the Mountain' challenge in Mission 10. Upgrade hint: best to upgrade by finding a group of The Possesseds and staggering them with the pistol, taking about a minute.
- Rich Get Richer: Quite useful in several Argent D'Nur fights. Upgrade requires 12 Armor Fillups (Argent Cell and Mega-Healths count). Using Toxic-Sludge for a single point of damage is an option, with an easy access fight in Mission 10, Pounding Rock Area. Upgrade hint: In Nightmare mode, getting full Armor is difficult except with Mega-Health powerups. You can die and repeatedly get Mega-Healths; Toxic Sludge is convenient for dropping a single health point.
Similar guides you might like


100% Human-Written. AI Fact-Checked. Community Verified. Learn how AntMag verifies content