
Master The Weaver's Nest in Death Howl with our comprehensive walkthrough. Learn strategies, find secrets, and defeat challenging enemies to progress through the Realm of Piercing Winds.
Walkthrough
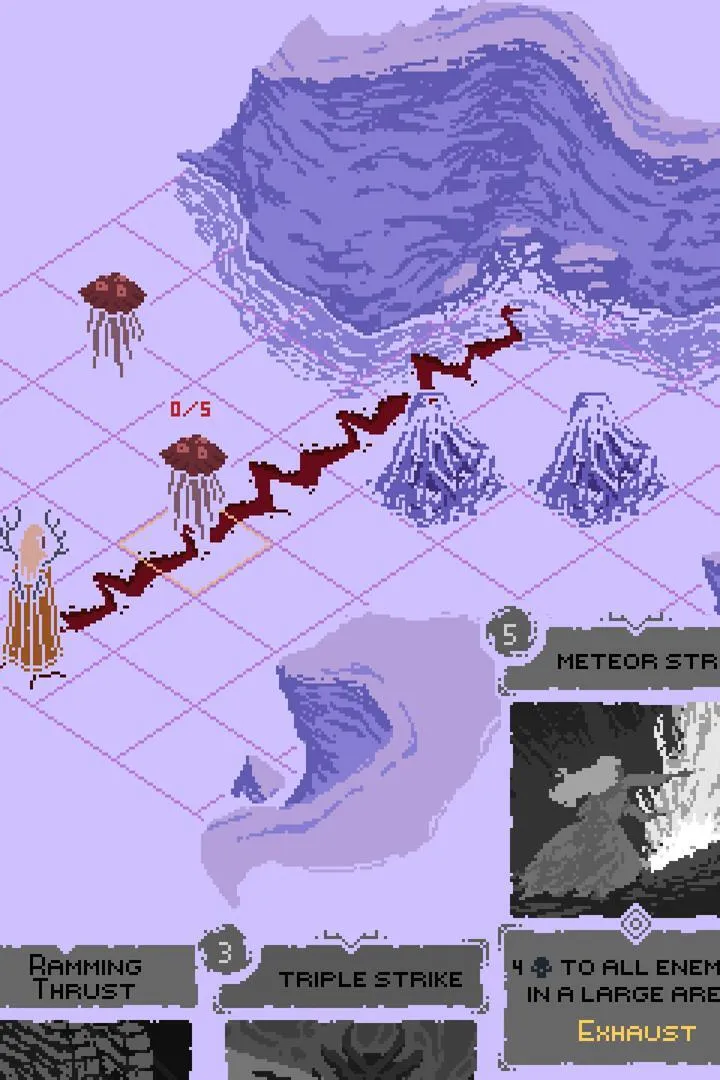
- 1Enter The Weaver's Nest from The Meadows of Delusions, heading north from the northern Sacred Grove.
- 2Locate and activate the first Sacred Grove in The Breathing Chasm to reveal the map.
- 3To start the 'Reap or Weep' side quest, find the large creature in the northeast section of The Breathing Chasm and accept its request to find its lost eyes.
- 4The 'Reap or Weep' quest item, 'Reaping Eye', is found in a hidden cave northwest of the quest giver, past two Elder Spirit encounters. Loot the Bear Skull Totem from a nest along the way.
- 5After retrieving the 'Reaping Eye' and defeating the ambush in the cave, return to the quest giver to complete 'Reap or Weep' and receive the Opal Totem.
- 6To begin the 'Two-Headed Spear' hidden side quest, find the inscription on a rock southwest of the map, near the third Sacred Grove in The Breathing Chasm.
- 7Collect the two 'Spear Head' quest cards: one near the entrance nest from The Meadows of Delusions, and the other below the northwestern Sacred Grove.
- 8In battle, use one 'Spear Head' card, then combine it with the other to form the Two-Headed Spear. Complete the battle.
- 9Return to the rock inscription and interact with it to enter a cave and trigger an Elder Spirit encounter. Defeat the enemies to receive three Teardrop upgrade points.
- 10To enter The Hidden Vale, return to the Sacred Grove in the southwest of The Breathing Chasm and head left.
- 11Navigate The Hidden Vale, dealing with initial Spirit and Elder Spirit encounters. Activate the Sacred Grove to reveal the map.
- 12The 'The Laughing Face of Death' side quest involves repeatedly resting at the Sacred Grove in The Hidden Vale and interacting with a revived Spirit until it eventually jumps off the cliff.
Tips
- Save up Death Howl currency to unlock cards and Teardrop upgrades before entering the Realm of Piercing Winds.
- If you struggle with the ambush after collecting the 'Reaping Eye', discard the quest card and return later when you are stronger.
- The 'Two-Headed Spear' quest requires careful timing during a battle to combine the items.
- Be prepared for Elder Spirit encounters, as they are more challenging.
- Reap or Weep Side Quest: Opal Totem (Each Turn: Reduce the Mana cost of a random card by 1 this turn).
- Two-Headed Spear Hidden Side Quest: Three Teardrop upgrade points.
100% Human-Written. AI Fact-Checked. Community Verified. Learn how AntMag verifies content