Continue your Death Howl journey in the Realm of Piercing Winds. This guide covers The Breathing Chasm, The Hidden Vale, and The Glacial Maw, including side quests and secrets.
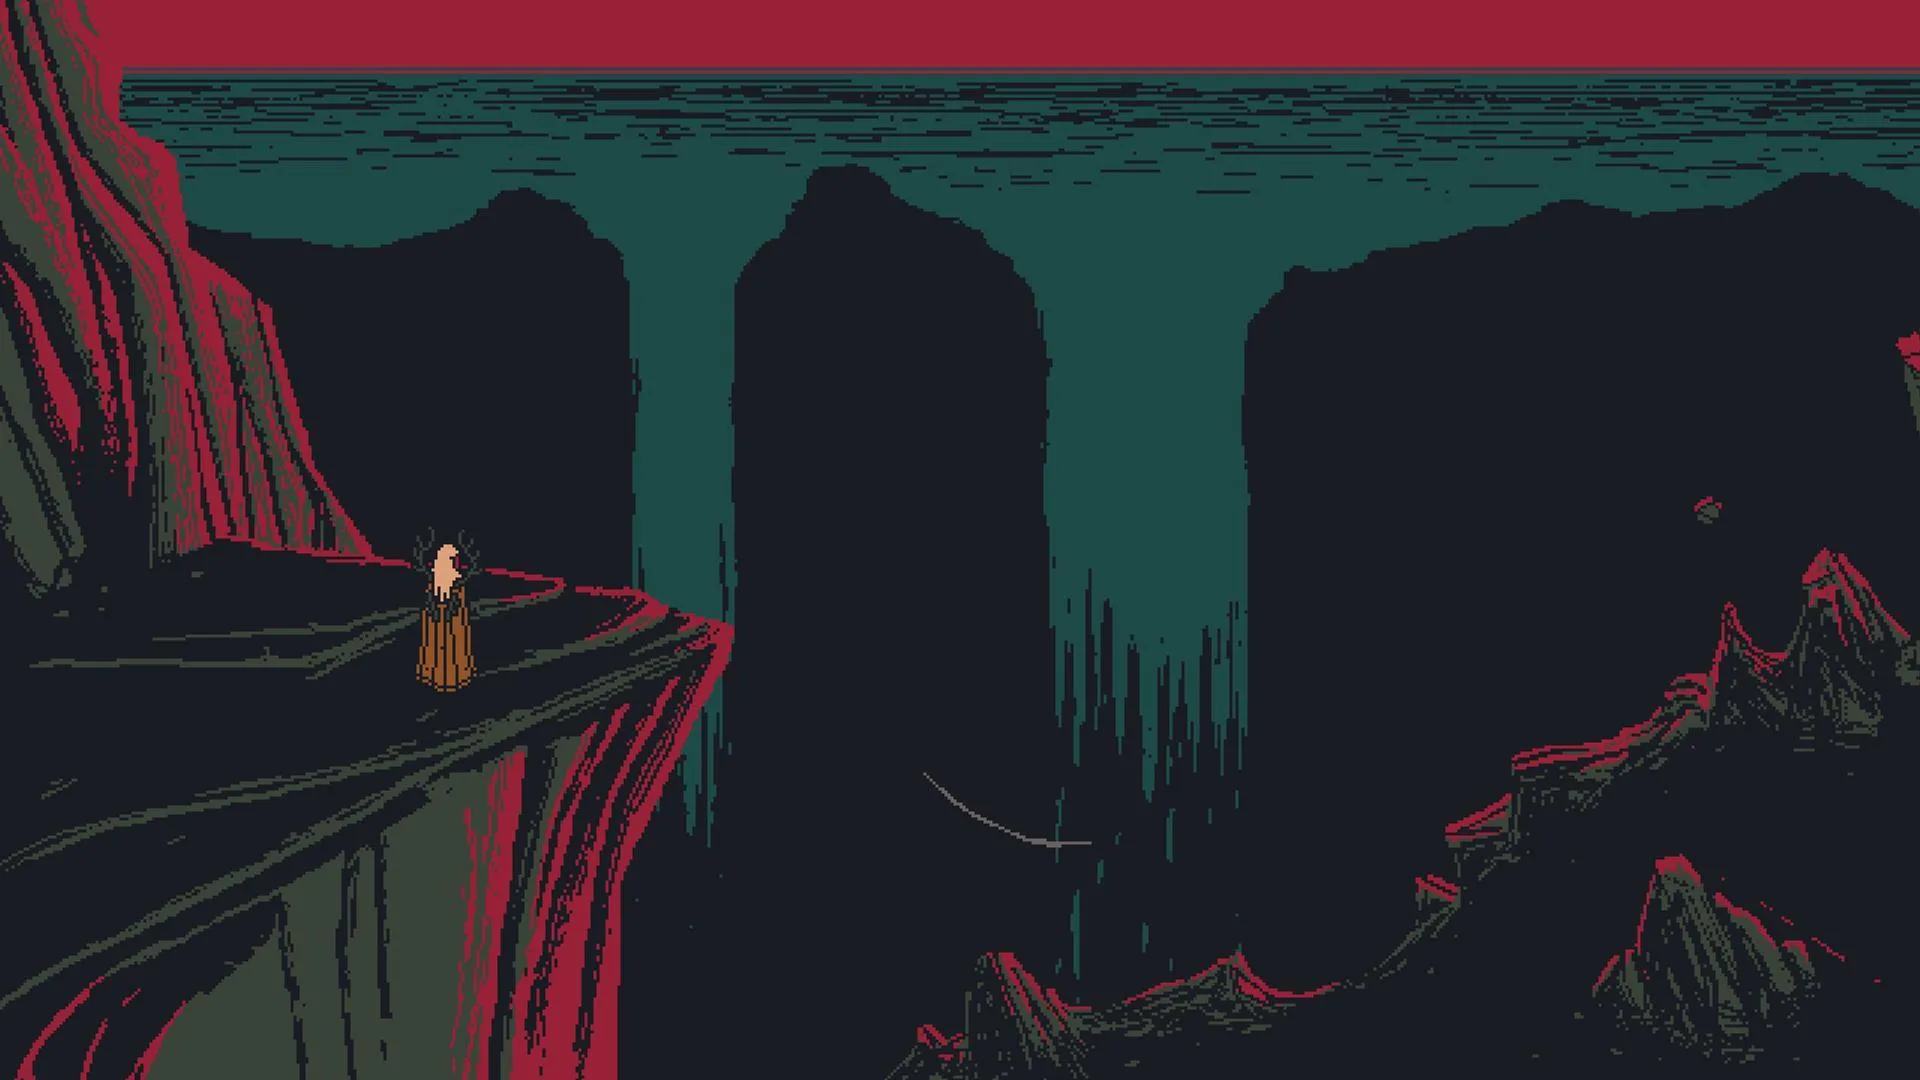
Welcome to the second part of our walkthrough for Death Howl. After defeating Cantharsis, the Great Spirit, you'll unlock the path to The Howling Mountain. However, Ro must first brave the dangers of the Realm of Piercing Winds to prepare.
This guide covers the Realm of Piercing Winds, which is split into three zones: The Breathing Chasm, The Hidden Vale, and The Glacial Maw. You can enter the realm through either The Breathing Chasm or The Hidden Vale, both accessible from The Meadows of Delusions.
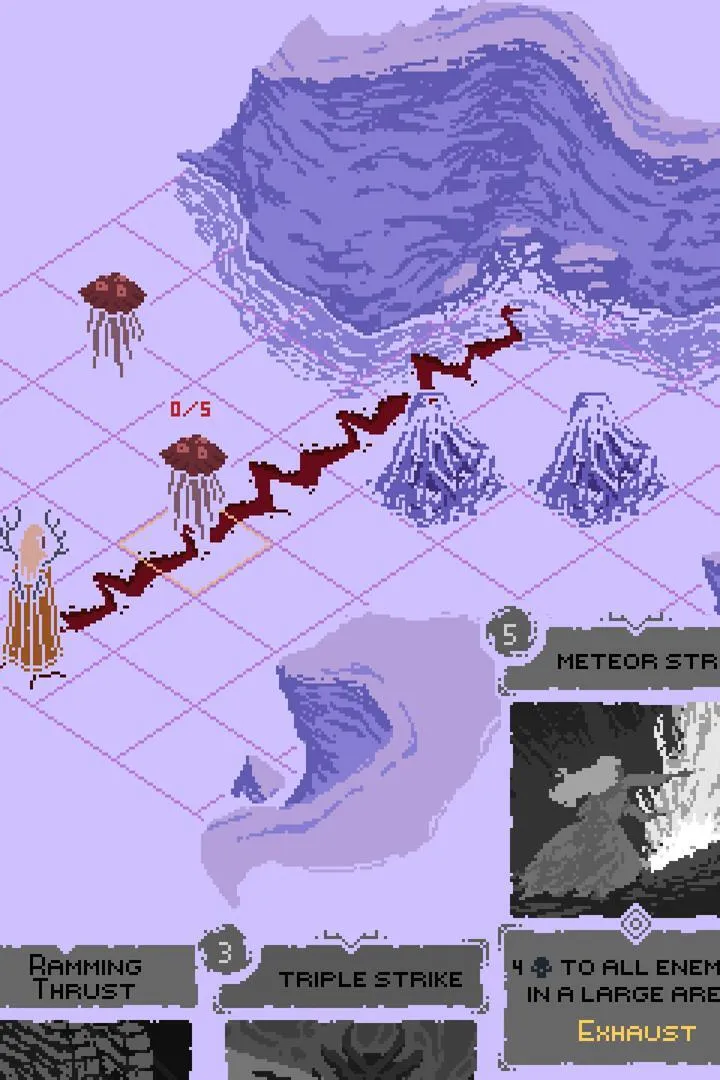
We will guide you through unlocking Sacred Groves and maps, completing side quests like 'Reap or Weep' and 'Two-Headed Spear', and finding secret items such as the 'Cone Realmless Card' and 'Frozen Driftwood Totem'. The walkthrough also details how to reach and explore The Glacial Maw and ultimately face Tradontoz, the Great Spirit of Piercing Winds.
100% Human-Written. AI Fact-Checked. Community Verified. Learn how AntMag verifies content