
Unlock the full potential of the Hunter class in Death Howl. This guide covers essential melee and ranged DPS strategies, tips, and essential information for mastering combat and defeating formidable foes.
This section of the Death Howl walkthrough focuses on the Hunter class, detailing strategies for both melee and ranged damage per second (DPS) playstyles. It covers key areas within the Realm of Piercing Winds, including The Breathing Chasm, The Hidden Vale, and The Glacial Maw. Players will find information on unlocking Sacred Groves and maps, completing various side quests like "Reap or Weep" and "The Laughing Face of Death," and acquiring special items such as totems and realmless cards.
- Overview of the Realm of Piercing Winds and its three zones: The Breathing Chasm, The Hidden Vale, and The Glacial Maw.
- Detailed walkthrough for The Breathing Chasm, including activating the first Sacred Grove, completing the "Reap or Weep" side quest for the Opal Totem, and the "Two-Headed Spear" hidden side quest for Teardrop upgrades.
- Guide for The Hidden Vale, covering map unlocking and the "The Laughing Face of Death" side quest.
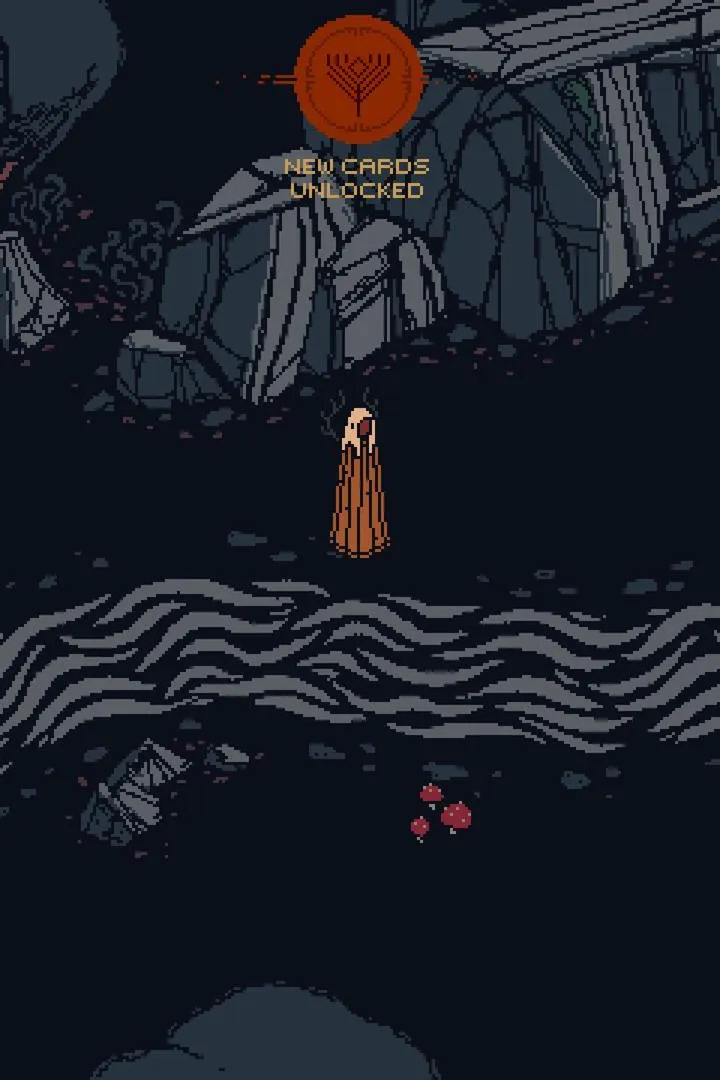
- Information on The Glacial Maw, including map unlocking and how to obtain the "A Sight to Behold" Realmless Card.
- Strategy for defeating the boss Tradontoz, Great Spirit of Piercing Winds.
100% Human-Written. AI Fact-Checked. Community Verified. Learn how AntMag verifies content