Discover all items and equipment in Death Howl! This guide details weapons, armor, consumables, and crafting materials to help you survive the Realm of Piercing Winds and beyond.
Category
Items & Equipment
Discover all items and equipment in Death Howl! This guide details weapons, armor, consumables, and crafting materials to help you survive the Realm of Piercing Winds and beyond.
Sections in this chapter (18)
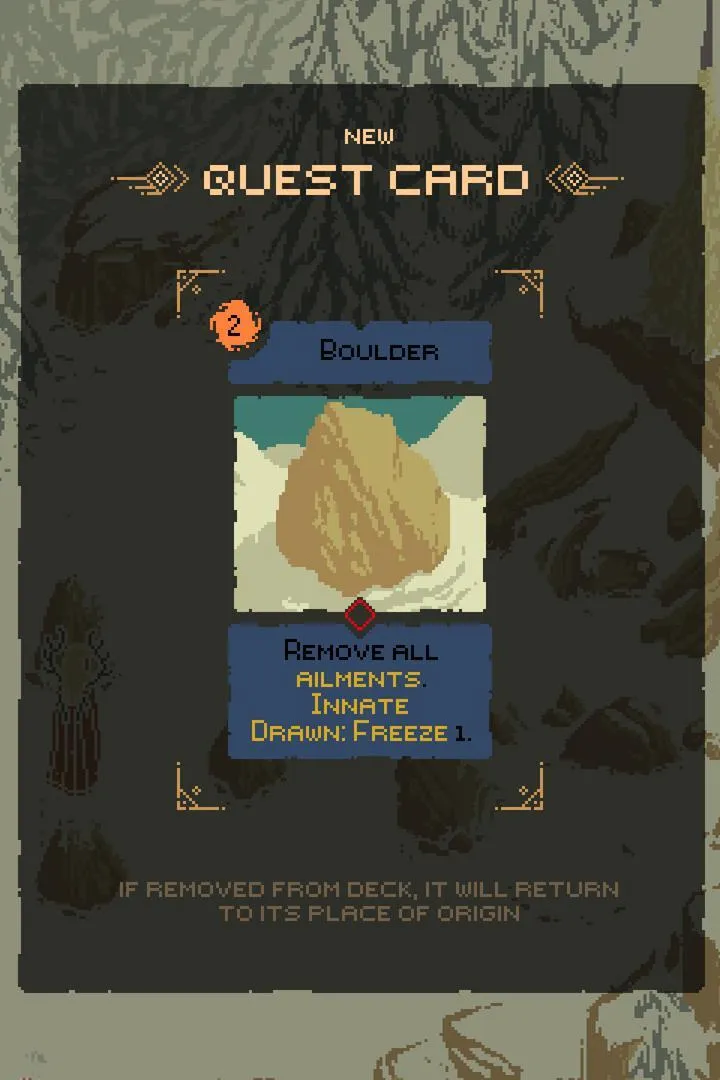
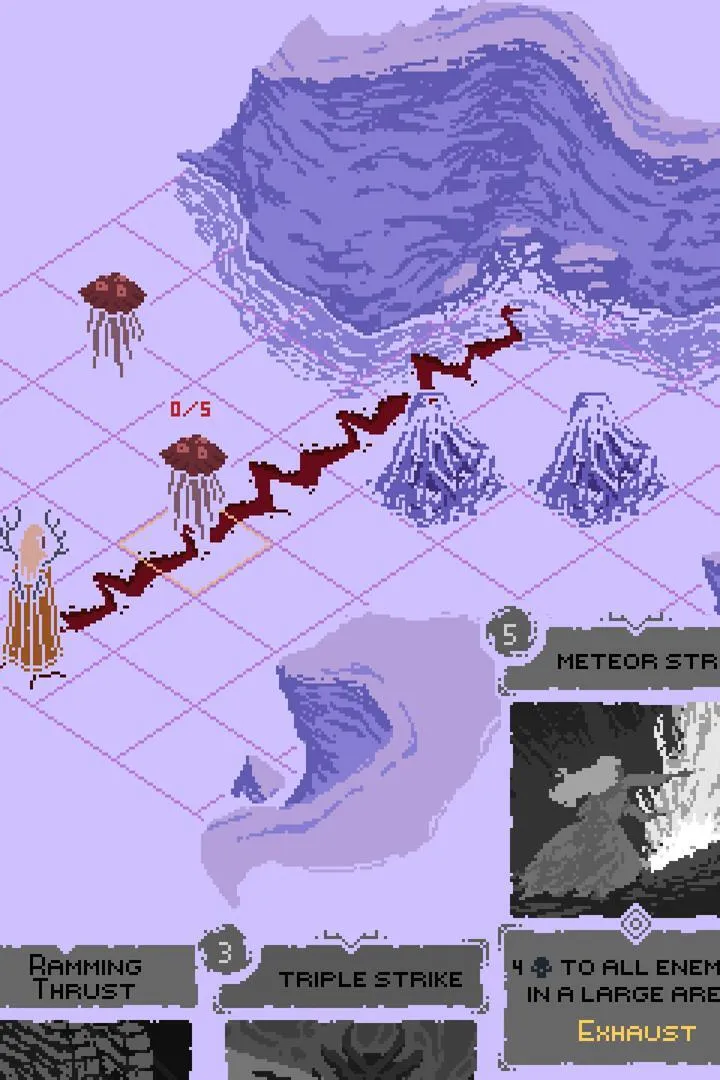
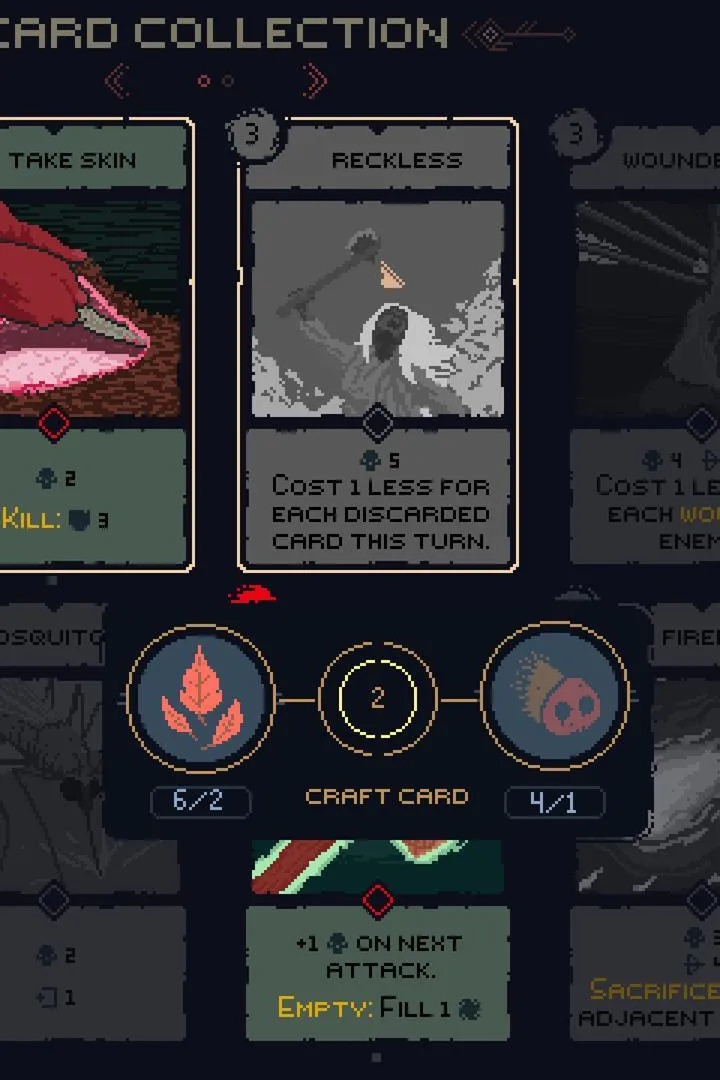
Weapons
Dive into Death Howl! Learn how to scavenge resources to craft powerful cards, which act as your primary weapons. Master tactical combat, mana management, and strategic deckbuilding to survive the spirit world.
Armor
Learn about the Death Howl ability in Death Howl! Understand its innate level, range, saving throws, and area of effect. Get tips on how to use and counter this powerful death-based monster ability.
Accessories
Discover essential accessories in Death Howl's Realm of Piercing Winds. Learn how to obtain the Bear Skull Totem, Opal Totem, and other valuable items.
Consumables & Potions
New to Death Howl? This guide breaks down the essential consumables and potions you'll need to survive the Spirit Realm and bring Ro's son back. Learn what to use and when!
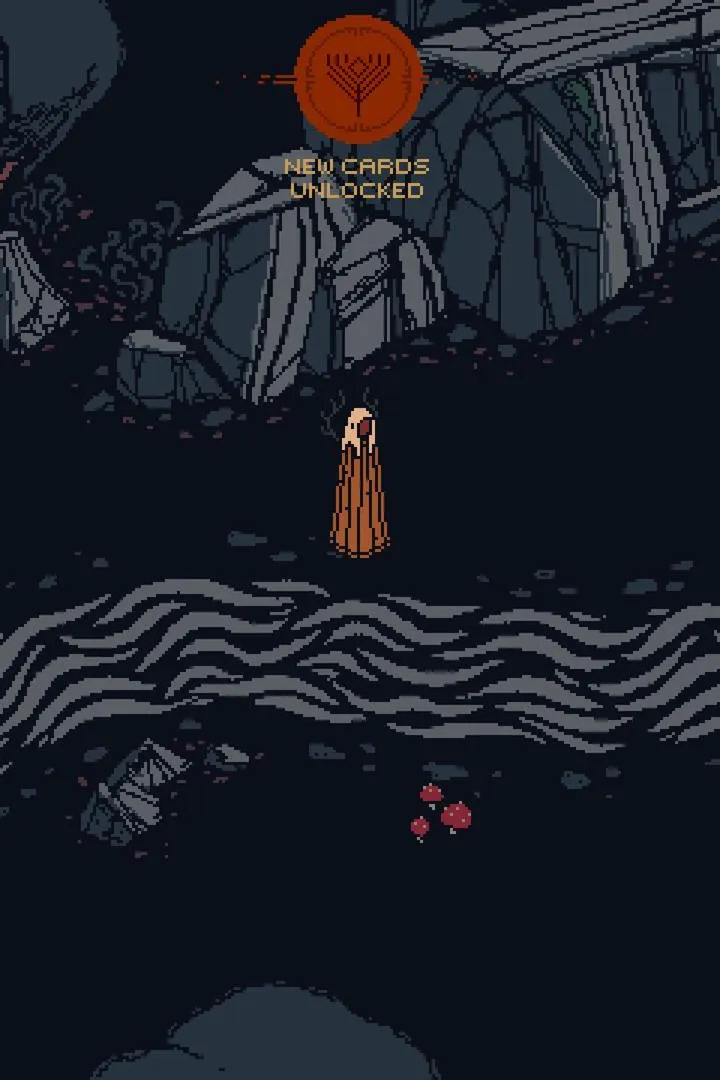
Runes & Enchantments
Explore the intricate world of Runes & Enchantments in Death Howl. This guide details how to find, use, and combine these powerful items to enhance Ro's abilities and overcome the challenges of the Realm of Piercing Winds.
Spirit Shard Locations
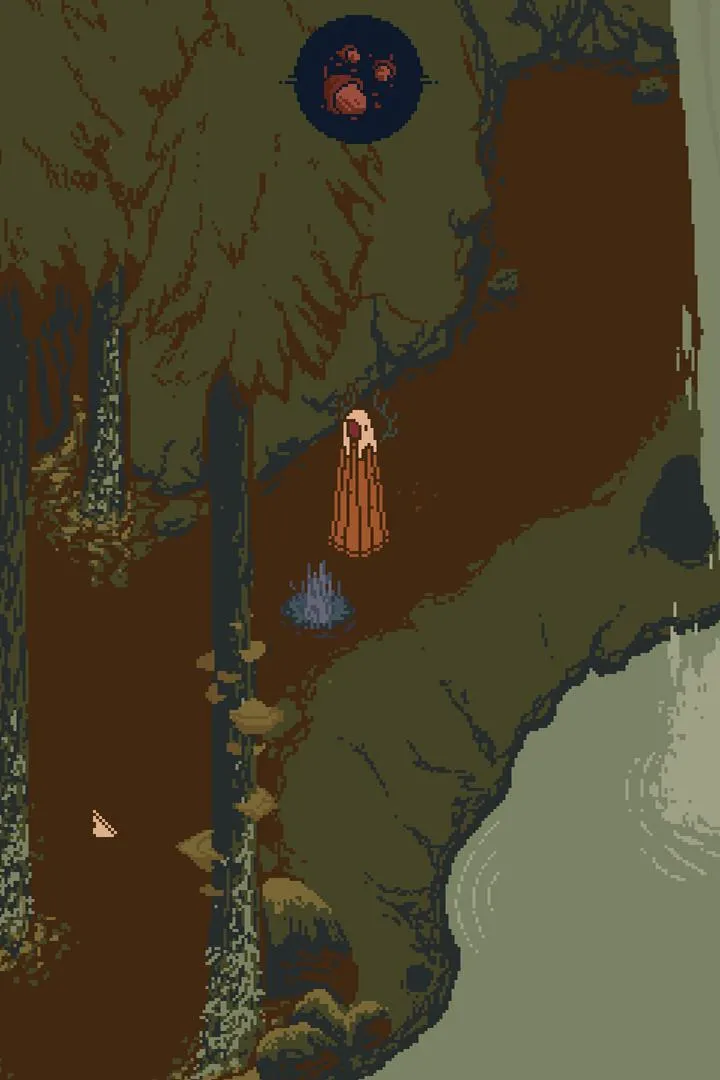
Guide to finding all Spirit Shard locations in Death Howl's Realm of Piercing Winds, including The Breathing Chasm, The Hidden Vale, and The Glacial Maw. Learn how to unlock Sacred Groves and complete side quests.
Ancient Rune Tablets
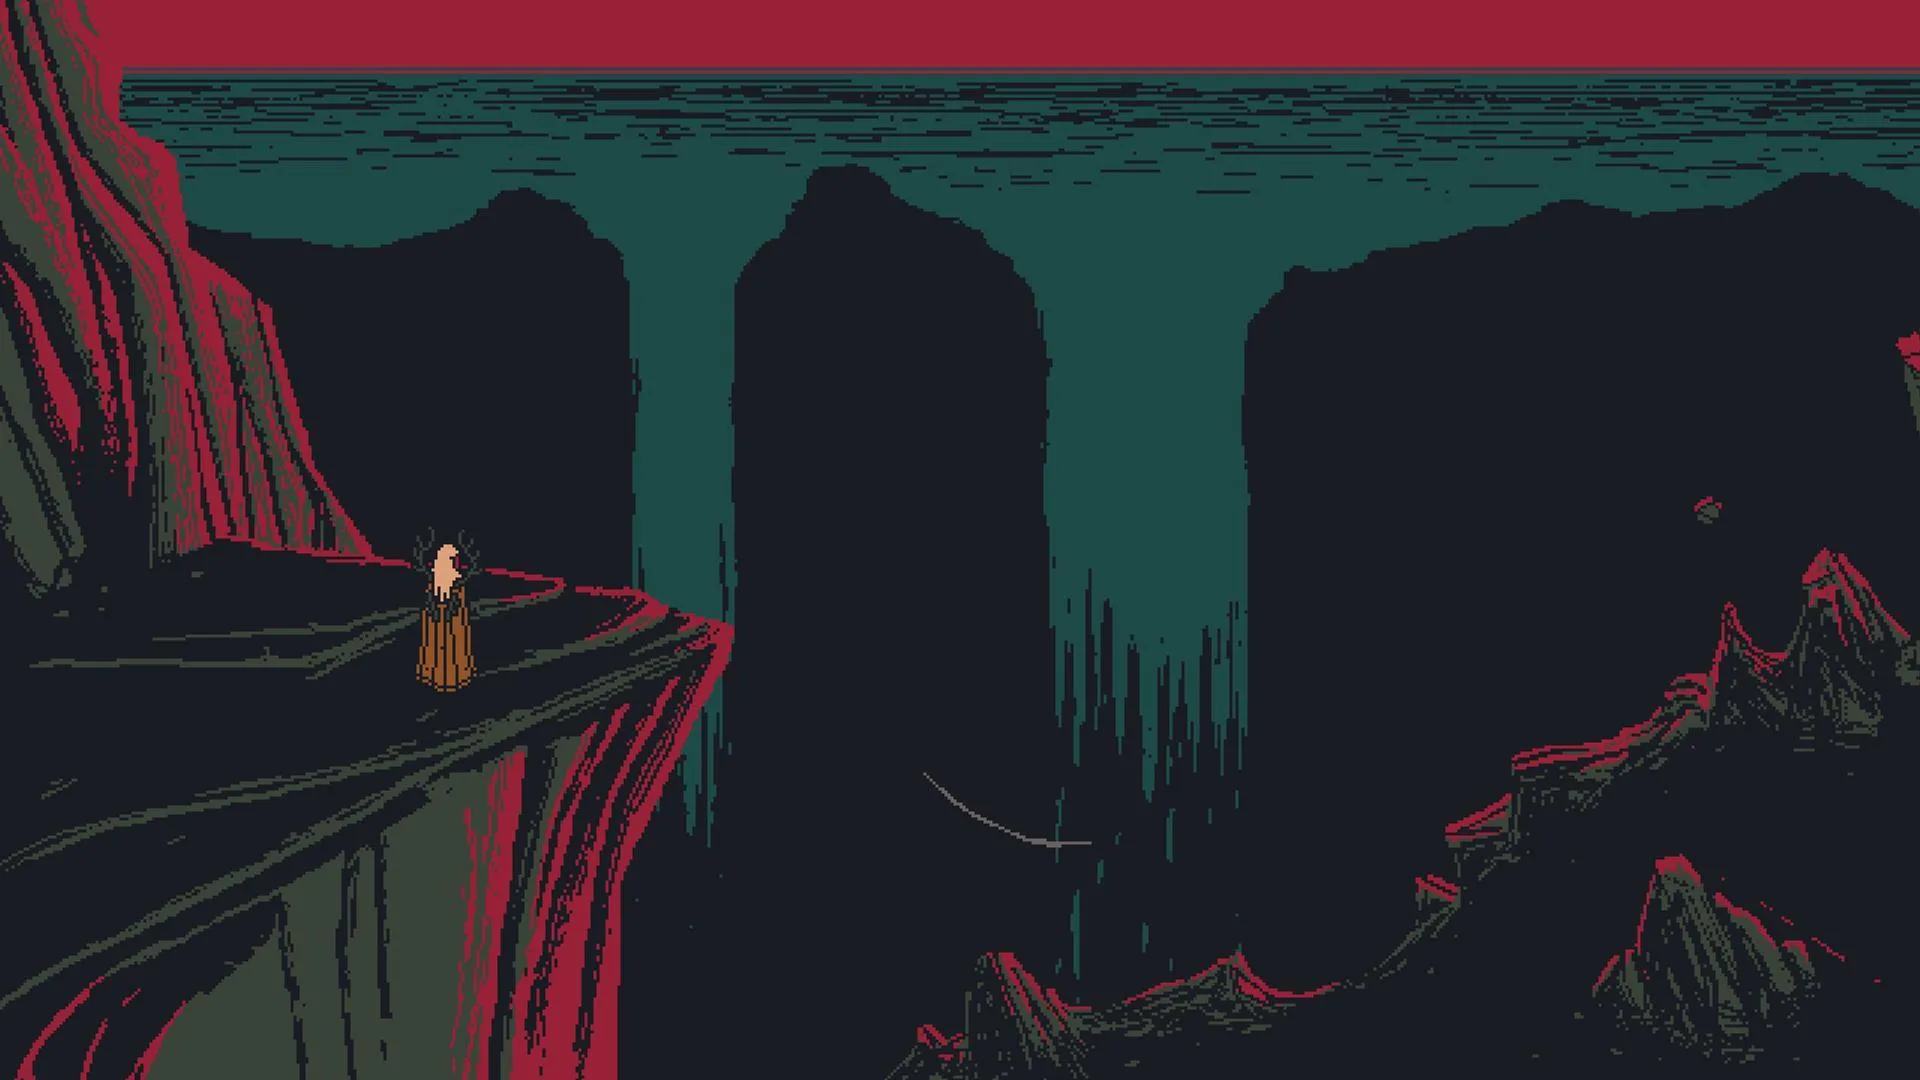
Navigate the treacherous Realm of Piercing Winds in Death Howl. This guide covers The Breathing Chasm, The Hidden Vale, and The Glacial Maw, including secrets and side quests.
Hidden Chests & Treasures
Discover all hidden chests and treasures in Death Howl's Realm of Piercing Winds. Our guide details locations for totems, cards, and upgrade materials.
Lore Scrolls Locations
Discover the locations of all Lore Scrolls in Death Howl's Realm of Piercing Winds. This guide details how to find each scroll and overcome the challenges within.
Blacksmithing Guide
Improve your gear with our Death Howl Blacksmithing Guide. Learn to forge powerful weapons and sturdy armor using rare metals and techniques.
Alchemy Guide
Unlock the secrets of Alchemy in Death Howl with our comprehensive guide. Learn crafting, item combinations, and essential tips to enhance your journey through the Realm of Piercing Winds.
Cooking Guide
Navigate the treacherous Realm of Piercing Winds in Death Howl with our comprehensive walkthrough. Discover secrets, complete side quests, and prepare for boss fights.
Mining Locations & Ores
Discover all mining locations and ores in Death Howl's Realm of Piercing Winds. Learn where to find valuable resources and complete quests for essential upgrades.
Herbalism & Plant Locations
Discover all Herbalism & Plant Locations in Death Howl's Realm of Piercing Winds. Our guide details The Breathing Chasm, The Hidden Vale, and The Glacial Maw for your walkthrough.
Weapon Crafting Recipes
Access all Death Howl weapon crafting recipes. Learn how to forge powerful arms like the 'Screaming Blade' and 'Void Smasher' to aid your survival.
Armor Crafting Recipes
Find all Death Howl armor crafting recipes. Create resilient gear such as the 'Shadowweave Tunic' and 'Ironbark Plate' to defend against the horrors.
Potion Recipes
Find all potion recipes in Death Howl, from basic healing draughts to potent stamina elixirs. Gather ingredients to brew the perfect concoctions.
Food Recipes
Learn food recipes in Death Howl to craft meals that provide crucial buffs. Collect ingredients to prepare dishes like Roasted Boar or Berry Stew.
100% Human-Written. AI Fact-Checked. Community Verified. Learn how AntMag verifies content