Learn how to understand strength in Death Howl. This guide covers the Realm of Piercing Winds, including The Breathing Chasm, The Hidden Vale, and The Glacial Maw.
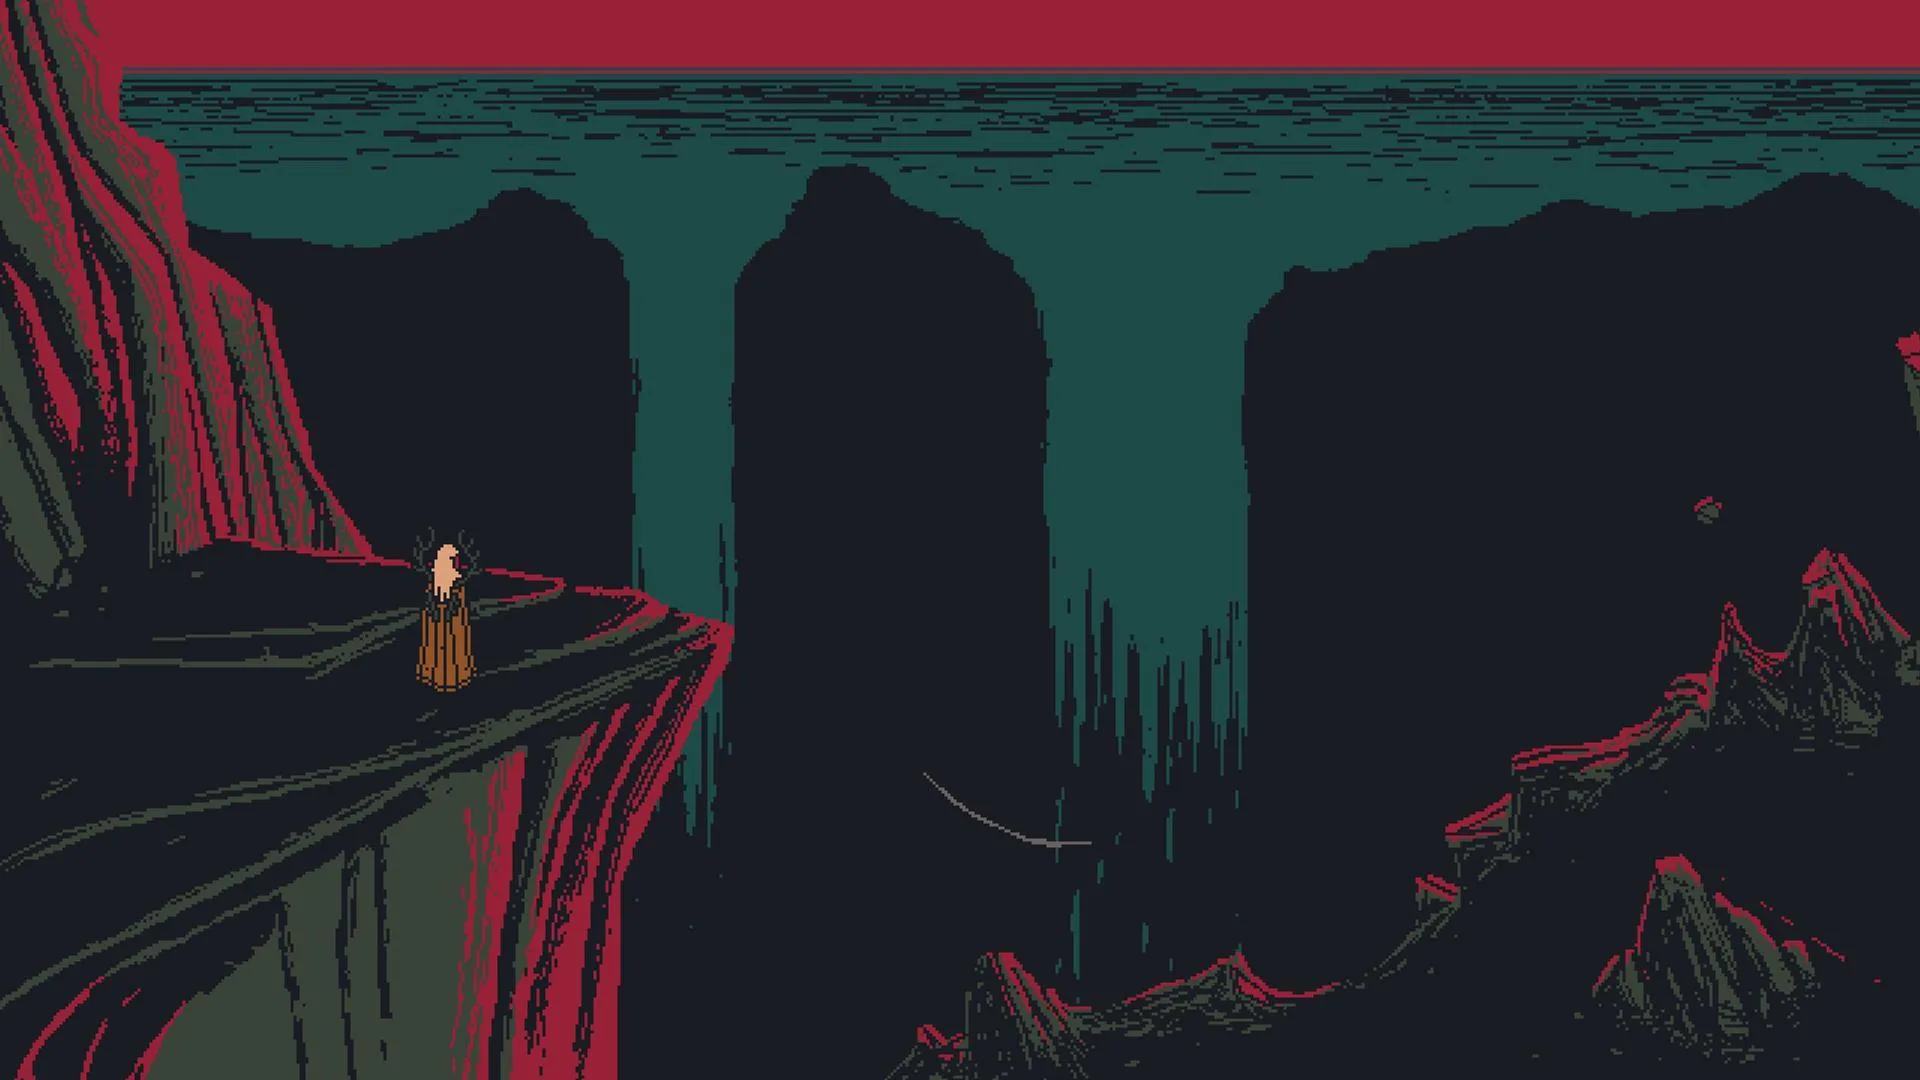
This section of the Death Howl walkthrough will guide you through understanding strength within the game. As Ro is not yet strong enough to face the dangers of The Howling Mountain, she must venture into the Realm of Piercing Winds. This realm is divided into three zones: The Breathing Chasm, The Hidden Vale, and The Glacial Maw. You can access this realm through either The Breathing Chasm or The Hidden Vale, both reachable from The Meadows of Delusions.
We will begin our journey in The Breathing Chasm. Upon entering, your first objective is to activate the nearest Sacred Grove to reveal the map. It is recommended to gather Death Howl before entering this zone to unlock cards and Teardrop upgrades. You will encounter various Spirit and Elder Spirit enemies throughout this zone. Several side quests are available, including 'Reap or Weep,' which involves retrieving lost eyes for a creature, and a hidden quest to assemble the 'Two-Headed Spear' by finding its two halves.
Next, we will proceed to The Hidden Vale. After activating the Sacred Grove in this zone, you can undertake the 'The Laughing Face of Death' side quest, which involves interacting with a spirit that repeatedly jumps off a cliff.
100% Human-Written. AI Fact-Checked. Community Verified. Learn how AntMag verifies content