Detailed walkthrough for Mission 24: The Great Devoid in Myth: The Fallen Lords. Learn strategies to defeat Soulblighter and his forces in the final level.
Walkthrough
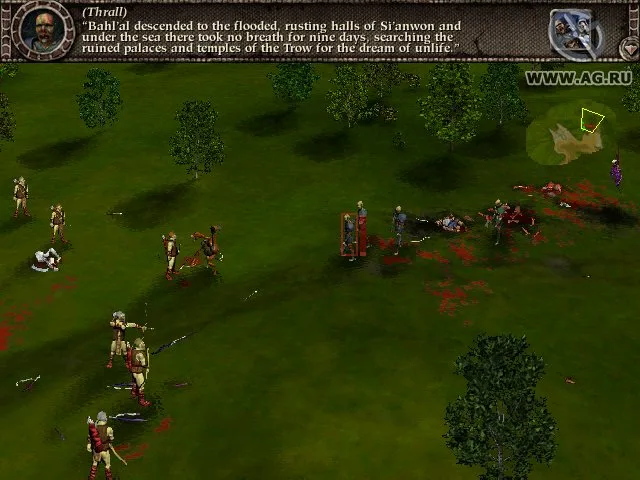
- 1Begin Mission 24: The Great Devoid. You start with four dwarves, archers, bezerkers, and a journeyman.
- 2Select one dwarf, have him drop his satchels, and pick up Balor's head. The other three dwarves pick up the satchels.
- 3Explore east through an open area and a forest until you reach a river with north and south crossing points.
- 4Explore along the river until you reach the north crossing. Upon hearing "I've got a bad feeling about this," immediately retreat everyone to the starting clearing.
- 5Bunch everyone into a box formation, with archers split into two groups forming a line on each side, facing outwards.
- 6When wights attack, use the archers to eliminate them from safe distances.
- 7Proceed to the north river crossing. Position two groups of four archers in a line on the bank, slightly uphill. Move dwarves and bezerkers back. Place the journeyman between the archers, slightly behind them.
- 8Use one bezerker to step into the muddy water and retreat. This will draw an army of soulless with two fetch.
- 9The fetch will stay on the opposite bank. Use your archers to eliminate the soulless.
- 10More wights may attack from the river; use archers to destroy them.
- 11Use two archer groups to simultaneously kill the two fetch.
- 12Reposition archers in a line on the bank. Send a bezerker into the middle of the river and retreat.
- 13A second wave of soulless and fetch will approach. Use archers to eliminate soulless, and the journeyman to heal injured units.
- 14More wights will attack from the rear; use archers to deal with them. The fetch will not cross the river.
- 15Simultaneously kill both fetch with the two archer groups, then cross the river with the entire party.
- 16Move east and position a long line of archers on a thin, white-toned hill past a crater.
- 17When soulless and fetch approach, shoot the fetch first, then the soulless. Use the journeyman to heal weak archers. Conserve one mandrake root for the journeyman.
- 18Move everyone due east to a hill with trees. Face south and move down slightly until the ground becomes rocky, indicating the area of the great devoid. Do not enter the rocky area.
- 19Wights will attack from the west and southwest; use archers to defeat them. A chain reaction can be achieved by blowing up the first of a line of 6-8 wights.
- 20To defeat Soulblighter and his guarding forces (soulless, wights, fetch), position two bezerkers with the journeyman.
- 21Have the bezerkers form a shallow encirclement with the journeyman on the right. Slowly advance towards Soulblighter.
- 22When Soulblighter charges, select the journeyman and press "T" (use ability). Target Soulblighter just as he reaches the first bezerker.
- 23While Soulblighter attacks the first bezerker (who will die), the journeyman will cast a spell that harms undead. The second bezerker will also be attacked.
- 24After the spell completes, Soulblighter will freeze, turn into ravens, and fly away.
- 25Deal with the two fetch patrolling near the mouth of the hole.
Tips
- The journeyman's heal spell with a mandrake root has the opposite effect on undead, making it a powerful weapon against Soulblighter.
- Protect the journeyman during the spell casting, as his concentration is easily broken.
- The bezerkers act as decoys to allow the journeyman to cast his spell.
- Conserve one mandrake root specifically for the final encounter with Soulblighter.
100% Human-Written. AI Fact-Checked. Community Verified. Learn how AntMag verifies content