
Survive the Locust Horde by learning enemy tactics and boss weaknesses in Gears of War 2. Acquire strategies and weapon advice for every encounter.
Welcome to the definitive guide for surviving the Locust Horde in Gears of War 2! This section details every enemy and boss you'll encounter, providing actionable strategies, weapon recommendations, and tactical advice to ensure your survival on Sera.
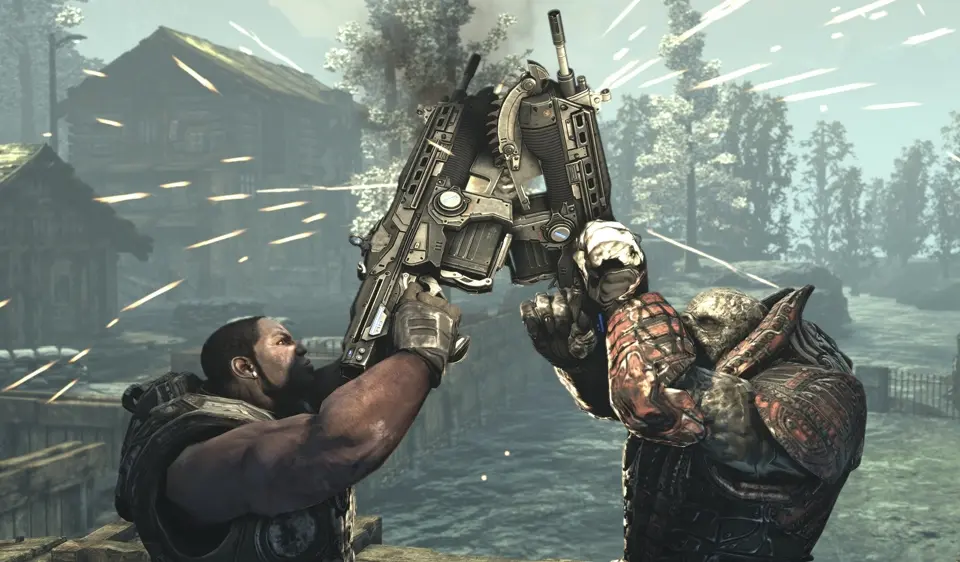
General Enemy Tactics
- Cover is King: Always prioritize finding solid cover. Blind firing can suppress enemies and allow you to reposition.
- Flanking: Many Locust units are vulnerable to flanking maneuvers. Use your squadmates to draw fire while you move for a better angle.
- Headshots: Critical hits to the head are almost always the fastest way to dispatch any enemy. Practice your aim!
- Weapon Specialization: Understand which weapons are effective against which enemy types. The Lancer is great for general infantry, while the Gnasher Shotgun excels in close quarters.
- Grenades: Frag Grenades are excellent for clearing entrenched enemies or dealing splash damage to groups. Smoke Grenades provide temporary cover for advances or retreats.
Standard Locust Infantry
Drone
The most common Locust enemy. Drones are moderately armored and wield several weapons, primarily the Lancer Assault Rifle or Hammerburst. They will actively seek cover and attempt to flank.
- Strategy: Prioritize headshots. Use the Lancer's chainsaw to quickly dispatch Drones that get too close. Frag Grenades can flush them out of cover.
- Weakness: Headshots.
- Weapons Used: Lancer, Hammerburst.
Grenadier
Heavier armored Drones that prefer close-quarters combat. They carry Gnasher Shotguns and Frag Grenades, and will often charge your position.
- Strategy: Keep your distance. Use long-range weapons like the Lancer or Hammerburst. If they get close, a well-placed Gnasher shot to their unarmored head can be effective, but be wary of their own shotgun.
- Weakness: Headshots (especially when exposed).
- Weapons Used: Gnasher Shotgun, Frag Grenades.
Sniper
Identifiable by their glowing red scope, Snipers wield the Longshot Sniper Rifle and will attempt to pick you off from a distance. They often take up elevated positions.
- Strategy: Locate them quickly and prioritize their elimination. Use your own Longshot if available, or suppress them with Lancer fire while advancing to a better position.
- Weakness: Headshots.
- Weapons Used: Longshot Sniper Rifle.
Theron Guard
Elite Locust soldiers, heavily armored and equipped with Torque Bows. They are tougher than Drones and can take more punishment. Their Torque Bow arrows explode on impact.
- Strategy: Dodge their Torque Bow shots; the glowing arrow indicates it's charged. Aim for headshots. If they get close, a Gnasher can be effective, but be prepared for a fight.
- Weakness: Headshots.
- Weapons Used: Torque Bow.
Wretch
Small, fast, and agile creatures that attack in packs. They deal melee damage and can stun you, making you vulnerable to other Locust attacks.
- Strategy: Use wide-spread weapons like the Gnasher Shotgun or a quick melee attack to dispatch them. The Lancer's chainsaw can also be effective if they swarm you.
- Weakness: Low health, easily staggered.
- Weapons Used: Melee (claws).
Ticker
Small, explosive creatures that charge at you and detonate. They can also be kicked to send them flying towards other enemies.
- Strategy: Shoot them from a distance to detonate them safely. If they get too close, kick them away or use a melee attack to push them back before they explode. Kicking them into groups of Drones is an excellent tactic.
- Weakness: Any damage causes detonation.
- Weapons Used: Self-detonation.
Boomer
Large, heavily armored Locust that wield the Boomshot Grenade Launcher. Their slow movement is compensated by their devastating explosive attacks.
- Strategy: Keep your distance and use cover. Aim for their head, which is their primary weak point. If you can flank them, their back is also vulnerable. Heavy weapons like the Mulcher or Mortar are highly effective.
- Weakness: Headshots, back (if exposed).
- Weapons Used: Boomshot.
Mauler
A variant of the Boomer, equipped with a Flail and a large Shield. They charge at you, using the shield for protection.
- Strategy: Wait for them to expose themselves during their attack animation, then aim for their head. Frag Grenades can force them to drop their shield temporarily. Coordinated fire from your squad can also break their guard.
- Weakness: Headshots (when exposed).
- Weapons Used: Flail, Shield.
Grinder
Another Boomer variant, armed with a powerful Mulcher minigun. They are slow but can lay down suppressive fire that will shred your cover.
- Strategy: Use cover to avoid their sustained fire. Flank them if possible, aiming for their head. Torque Bows and Boomshots are effective at staggering them and creating openings.
- Weakness: Headshots.
- Weapons Used: Mulcher.
Kantus
Shaman-like Locust that can revive fallen comrades and emit a sonic scream that disorients players. They are agile and carry Gorgon Pistols.
- Strategy: Prioritize Kantus elimination immediately. Their ability to revive Drones makes them a high-threat target. Headshots are key. If they scream, take cover until the disorientation passes.
- Weakness: Headshots.
- Weapons Used: Gorgon Pistol, Sonic Scream.
Bloodmount
Large, beastly creatures ridden by a Locust rider. They are fast, aggressive, and deal heavy melee damage.
- Strategy: Focus fire on the Bloodmount itself to dismount the rider. Once the rider is off, both the Bloodmount and the rider become easier targets. Explosives are very effective against the Bloodmount.
- Weakness: Body shots (Bloodmount), Headshots (Rider).
- Weapons Used: Melee (Bloodmount), Hammerburst (Rider).
Corpser
Giant, spider-like creatures that burrow underground and emerge to attack. They have thick armor on their back but vulnerable undersides.
- Strategy: When they rear up to attack, shoot their exposed underside. Explosives are particularly effective here. Keep moving to avoid their ground slams and burrowing attacks.
- Weakness: Exposed underside.
- Weapons Used: Melee (legs), Ground Slam.
Brumak
Massive, ape-like creatures armed with wrist-mounted cannons and a back-mounted rocket launcher. They are walking tanks.
- Strategy: Target their exposed back-mounted rocket launcher or their head. Heavy weapons like the Mortar, Mulcher, or even a mounted turret are essential. Keep your distance and use cover.
- Weakness: Head, back-mounted rocket launcher.
- Weapons Used: Wrist Cannons, Back-mounted Rocket Launcher, Melee.
Boss Encounters
Rook (Act 1, Chapter 3: "Disturbing Revelations")
A massive, armored Locust creature that serves as a mobile siege unit. It's heavily armored and impervious to most direct fire.
- Strategy:
- Locate the Weak Points: The Rook is covered in armored plates, but has glowing orange weak points on its legs and underbelly.
- Use the Mortar: During this encounter, you'll have access to a Mortar. Aim the Mortar at the Rook's back as it charges past. The explosive impact will temporarily expose its weak points.
- Focus Fire: Once a weak point is exposed (it will glow brighter orange), unleash all available firepower, especially from your Lancer or Hammerburst.
- Repeat: Continue this cycle of Mortar strikes and focused fire until the Rook is defeated. Be mindful of smaller Locust Drones that will accompany it.
- Recommended Weapons: Mortar, Lancer, Hammerburst.
Leviathan (Act 2, Chapter 6: "Sinking Feeling")
A colossal aquatic creature that attacks your submarine, the Raven's Nest.
- Strategy:
- Target the Tentacles: The Leviathan will attack with its massive tentacles. Focus fire on the glowing weak points at the base of each tentacle.
- Use the Turret: You'll be manning a mounted turret on the Raven's Nest. Keep a steady stream of fire on the tentacles.
- Avoid the Mouth: When the Leviathan opens its mouth, it's preparing a devastating attack. Dodge or take cover if possible, but your primary goal is to destroy the tentacles before it can fully charge.
- Final Blow: After destroying enough tentacles, the Leviathan will expose a large weak point in its mouth. Unleash everything you have into this vulnerability to finish it off.
- Recommended Weapons: Mounted Turret.
Skorge (Act 5, Chapter 4: "The Betrayal" & Chapter 5: "Escape")
The Locust High Priest, a formidable warrior wielding a dual-bladed chainsaw staff. You'll face him twice.
First Encounter: Act 5, Chapter 4
- Strategy:
- Dodge the Staff: Skorge's staff attacks are powerful. Roll or take cover to avoid his swings and charges.
- Exploit Openings: After a series of attacks, Skorge will often pause, leaving him vulnerable. Use this opportunity to land headshots with your Lancer or Hammerburst.
- Grenades: Frag Grenades can stagger him, creating a brief window for sustained fire.
- Chainsaw Duel: If he gets close, he might initiate a chainsaw duel. Be prepared for the quick-time event to win.
- Recommended Weapons: Lancer, Hammerburst, Frag Grenades.
Second Encounter: Act 5, Chapter 5 (on a Hydra)
- Strategy:
- Hydra Weak Points: Skorge is riding a Hydra. Focus your fire on the Hydra's glowing weak points on its head and body.
- Mounted Turret: You'll have access to a mounted turret. Use it to constantly pepper the Hydra with bullets.
- Avoid Fireballs: The Hydra will spit fireballs. Dodge these by moving the turret or your character.
- Skorge's Attacks: Skorge will occasionally jump off the Hydra to attack you directly. Switch to your Lancer and deal with him quickly before returning fire to the Hydra.
- Final Phase: Once the Hydra is heavily damaged, Skorge will be exposed. Focus all remaining firepower on him to end the fight.
- Recommended Weapons: Mounted Turret, Lancer, Hammerburst.
Queen Myrrah (Act 5, Chapter 6: "Closure")
The leader of the Locust Horde, piloting a massive, heavily armored Tempest creature.
- Strategy:
- Target the Tempest's Head: The Tempest is heavily armored, but its head is its primary weak point. Use the mounted turrets on the Raven's Nest to continuously fire at it.
- Avoid Laser Beams: The Tempest will fire devastating laser beams. Dodge these by moving the Raven's Nest or taking cover behind structures.
- Skorge's Interference: Skorge will appear on the Tempest, attacking you. Prioritize shooting him off the Tempest to prevent him from dealing damage.
- Exposed Queen: After dealing significant damage to the Tempest, Queen Myrrah will become exposed. Focus all your fire on her directly to finish the final boss.
- Recommended Weapons: Mounted Turrets, Lancer (for Skorge).
100% Human-Written. AI Fact-Checked. Community Verified. Learn how AntMag verifies content