
Find every collectible in Gears of War 2 with our detailed guide. Locate all lore items and hidden objects in Act 1: Tip of the Spear, Chapter 1: Brave New Wor.
Welcome, Gear! This comprehensive guide will help you track down every last collectible in Gears of War 2. Collecting these hidden items not only enriches the lore and backstory of Sera but also contributes to various achievements. Pay close attention to the detailed instructions and specific locations to ensure you don't miss a single one.
Act 1: Tip of the Spear
Chapter 1: Brave New World
- COG Tag 1: As soon as you gain control of Marcus, proceed forward until you reach a small courtyard with a fountain. To your immediate right, you'll see a small, partially destroyed building. The COG Tag is located inside, near a broken wall.
- COG Tag 2: After the first major firefight in the city streets, you'll enter a building and proceed through a hallway. Before exiting back into the street, look for a small alcove to your left. The COG Tag is tucked away behind some debris.
Chapter 2: Desperation
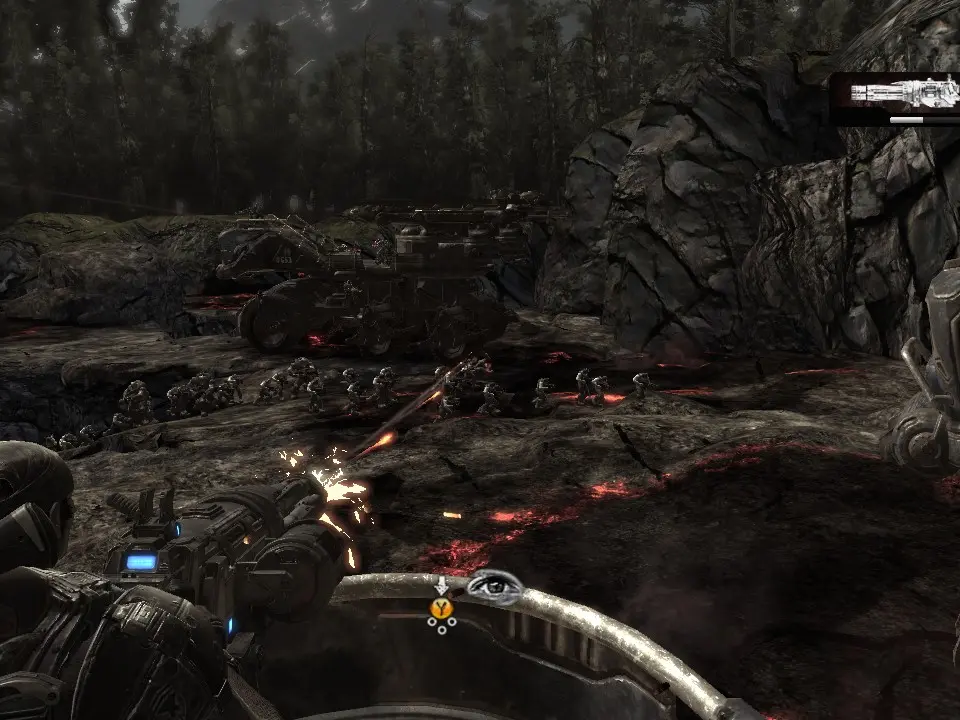
- Locust Drone Report: Once you've cleared the initial area with the crashed King Raven and the first wave of Locust, you'll move into a more open section with several destroyed vehicles. Look for a large, overturned truck on the left side of this area. The report is on the ground next to it.
- COG Tag 3: After traversing through the underground tunnels and emerging into a larger cavern, you'll encounter a few Drones. Before proceeding to the next objective marker, explore the far right side of this cavern. The COG Tag is hidden behind some stalagmites.
Chapter 3: Digging In
- Stranded's Journal: Early in the chapter, after you've used the Grinder to clear a path, you'll enter a large, open area with several ruined buildings. Head towards the building on the far left. The journal is on a table inside.
- COG Tag 4: Following the sequence where you defend the convoy from incoming Locust, you'll enter a building with multiple levels. Take the stairs to the second floor. The COG Tag is in a small office area, on a desk.
Act 2: The Hornet's Nest
Chapter 1: The Best-Laid Plans
- Locust Grenadier's Orders: After the initial encounter with the Bloodmounts, you'll enter a large, circular chamber. Before activating the next objective, search the perimeter of this chamber. The orders are on the ground near a pile of rubble.
- COG Tag 5: When you reach the section where you need to destroy the Tickers to clear a path, look for a small side path to your right, just before the main objective. The COG Tag is at the end of this path, near a collapsed wall.
Chapter 2: Rendezvous
- Captured COG Helmet: As you navigate through the winding tunnels, you'll come across a large open area with a broken bridge. Instead of crossing the bridge immediately, drop down to the lower level on the left. The helmet is nestled amongst some rocks.
- COG Tag 6: After the intense battle against the Brumak, you'll proceed into a smaller, more confined tunnel. Keep an eye on the left wall; the COG Tag is partially obscured by some organic growth.
Act 3: Gathering Storm
Chapter 1: Disturbance
- Locust Intel: Early in the chapter, as you make your way through the abandoned research facility, you'll encounter a room with several computer terminals. The intel is on one of the desks in this room.
- COG Tag 7: After the sequence where you operate the crane to move debris, you'll enter a flooded section. Before proceeding through the main exit, explore the far right corner of this flooded area. The COG Tag is submerged near a broken pipe.
Chapter 2: The Big Push
- Stranded's Plea: Once you've cleared the initial wave of Locust and are making your way through the trenches, look for a small, makeshift shelter on the left side. The plea is pinned to the inside wall of this shelter.
- COG Tag 8: Following the intense battle with the Corpser, you'll enter a more open, cratered area. Head towards the far left edge of this area. The COG Tag is near a large, overturned piece of machinery.
Remember, some collectibles can be easily missed during intense firefights. It's often a good strategy to clear out all enemies in an area before thoroughly searching for these hidden gems. Happy hunting, Gear!
100% Human-Written. AI Fact-Checked. Community Verified. Learn how AntMag verifies content