Learn how to configure Dwarf Fortress world generation settings to create unique and challenging worlds for your fortresses. This guide covers essential parameters and options.
This guide section is part of the Dwarf Fortress Quickstart Guide and focuses on World Generation. It assumes the reader is new to the game and wants to jump in head-first.
Walkthrough
- 1Common UI Concepts
- About key symbols
- 2Menu navigation and selection
- 3Options menu
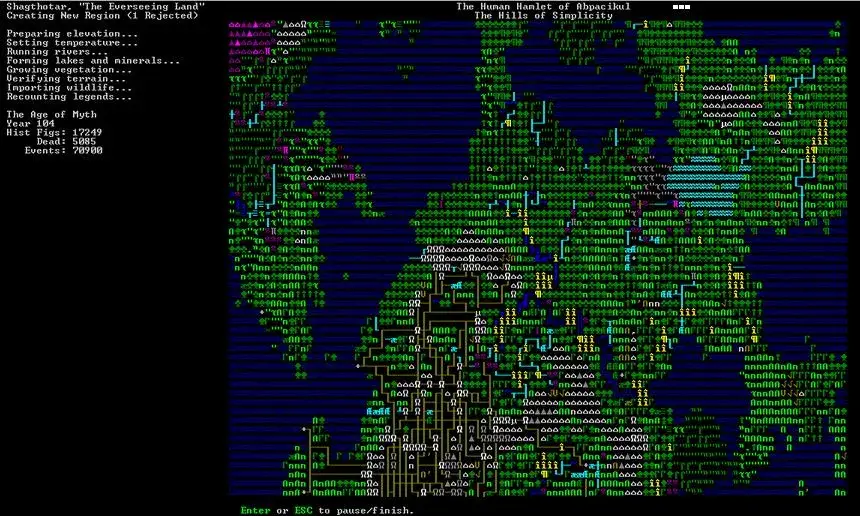
- 4World Generation
- 5Tutorial
- 6Embark
- Choosing a Good Site
- 7Skills and Equipment
- 8A Minimal Fortress
- Getting your bearings
- 9Controlling Your Dwarves
- Labor and work details
- 10Strike The Earth!
- Additional miners
- 11Delving Secure Lodgings
- Room dimensions
- 12Mining safety
- 13Stockpiles
- 14Stairways
- 15Temporary Meeting Area
- 16Refuse
- 17Food
- Farming
- 18Emergency food sources
- Plant gathering
- 19Butchering
- 20Building material
- Woodcutting
- 21Drinks
- 22Pasture
- 23Designing your first fortress
- 24Workshops
- "Where did I build that ____?"
- 25Brewing
- 26"Garbage" Dumping
- 27Trading
- Trade Depot
- 28Producing for export
- 29Trading
- 30What to buy
- 31Troubleshooting
- 32Migrants
- 33Bedrooms
- Location
- 34Layout
- 35Building
- 36Nobles and Administrators
- Manager & Broker
- 37Bookkeeper
- 38Offices (Studies)
- 39Furniture
- 40Dining and Food Prep Area
- 41Placing Furniture
- 42Meeting Hall
- 43Checking Supplies
- 44Brewing and Cooking
- 45Storage Space
- 46Beyond a Minimal Fortress
- Traps
- 47Guard Animals
- 48Drawbridge
- 49Metal Industry
- Wood Burning
- 50Mining
- 51Fuel
- 52Forging
- 53Gemcutting and Trinkets
- 54Sticking to the Plan
- 55Wealth and Invasion
- 56Military
- 57What Next?
- 58Feedback
Tips
- Always remember that losing is fun! Be prepared to lose a few fortresses before you get all the way through this guide.
- Losing means that next time, you'll remember how you lost. Dwarf Fortress uses the principle of learning from one's mistakes.
- The game is huge, complex, and totally open-ended. The goal is to build a sustainable fortress.
- A flowchart showing the typical sequence of actions for starting a new fort is available but not necessary to understand the guide.
- Refer to the Fortress Mode Reference Guide or use the wiki search function if you need to look something up.
- Don't hesitate to ask for help if you can't figure something out.
100% Human-Written. AI Fact-Checked. Community Verified. Learn how AntMag verifies content