
Welcome to Hoxxes IV, miner! In Deep Rock Galactic: Survivor, you'll dive into treacherous caves as one of the iconic dwarves, blasting through endless hordes of Glyphids and other alien horrors. It's an arcade roguelike where you'll gather vital minerals, manage your arsenal, and survive against overwhelming odds. Think intense single-player survival with a sci-fi, atmospheric edge.
This guide is your ticket to mastering the chaos. We'll cover everything from essential starting tips and smart item management to advanced combat strategies for taking down tough enemies and understanding powerful weapon overclocks. Whether you're aiming for those Steam Achievements or just trying to survive your first few dives, we've got you covered.
Getting Started
Learn the basics of Deep Rock Galactic: Survivor. This guide covers essential tips and information to help new players get started and survive the alien hordes.
Getting Started
Learn the basics of Deep Rock Galactic: Survivor. This guide covers essential tips and information to help new players get started and survive the alien hordes.


Controls & UI — Deep Rock Galactic: Survivor Guide
Navigate the alien depths with ease! This guide details essential controls, UI elements, and tips for Deep Rock Galactic: Survivor to maximize your mining and combat efficiency.
Deep Rock Galactic: Survivor, a spin-off of the popular cooperative shooter, introduces players to a Reverse Bullet Hell Roguelike experience. Understanding the game's controls and user interface (UI) is crucial for survival and success against the relentless alien hordes. This guide breaks down the essential elements you need to know.
| Action | Default Keybind |
|---|---|
| Move Forward | W |
| Move Backward | S |
| Move Left | A |
| Move Right | D |
| Primary Weapon | Left Mouse Button |
| Secondary Weapon | Right Mouse Button |
| Reload | R |
| Interact/Mine | E |
| Use Equipment (e.g., Flare, Zipline) | Q |
| Jump | Spacebar |
| Crouch | Ctrl |
| Sprint | Shift |
| Map | Tab |
| Inventory/Loadout | I |
| Pause/Menu | Escape |
UI Elements:
- Health Bar: Displays your current health. Depletes as you take damage.
- Ammo Count: Shows the remaining ammunition for your currently equipped weapon.
- Objective Tracker: Displays the current mission objective and progress.
- Minimap/Radar: Provides a tactical overview of your immediate surroundings, including nearby objectives, enemies, and resources.
- Resource Counter: Tracks the amount of minerals and other resources you have collected.
- Experience Bar: Shows your progress towards the next level.
- Class Ability Cooldown: Indicates when your class-specific abilities are ready to be used again.
- Keybind Customization: Explore the game's settings to rebind keys to your preference for optimal comfort and efficiency.
- UI Scaling: Adjust UI elements to your screen size and resolution for better readability.
- Situational Awareness: Regularly check your minimap and objective tracker to stay informed about the mission's status and potential threats.
- Resource Management: Keep an eye on your ammo count and resource inventory to ensure you have what you need for combat and objectives.
- Ability Timing: Learn the cooldowns of your class abilities and use them strategically during intense combat encounters or when facing environmental hazards.
Game Overview and UI — Deep Rock Galactic: Survivor Guide
Explore the game overview and UI of Deep Rock Galactic: Survivor. Learn about the classes, objectives, and core mechanics in this comprehensive guide.
Game Overview and UI — Deep Rock Galactic: Survivor Guide
Explore the game overview and UI of Deep Rock Galactic: Survivor. Learn about the classes, objectives, and core mechanics in this comprehensive guide.

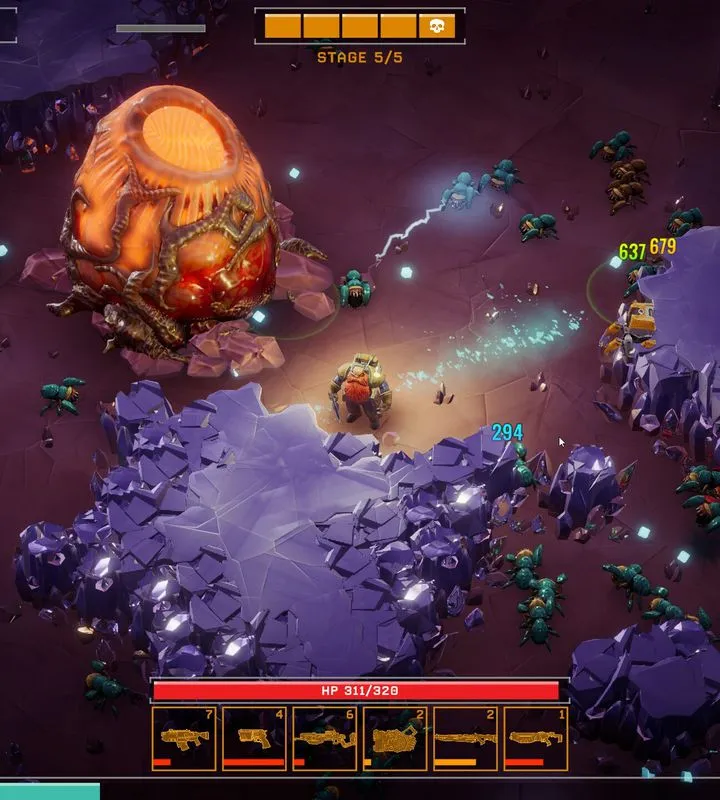
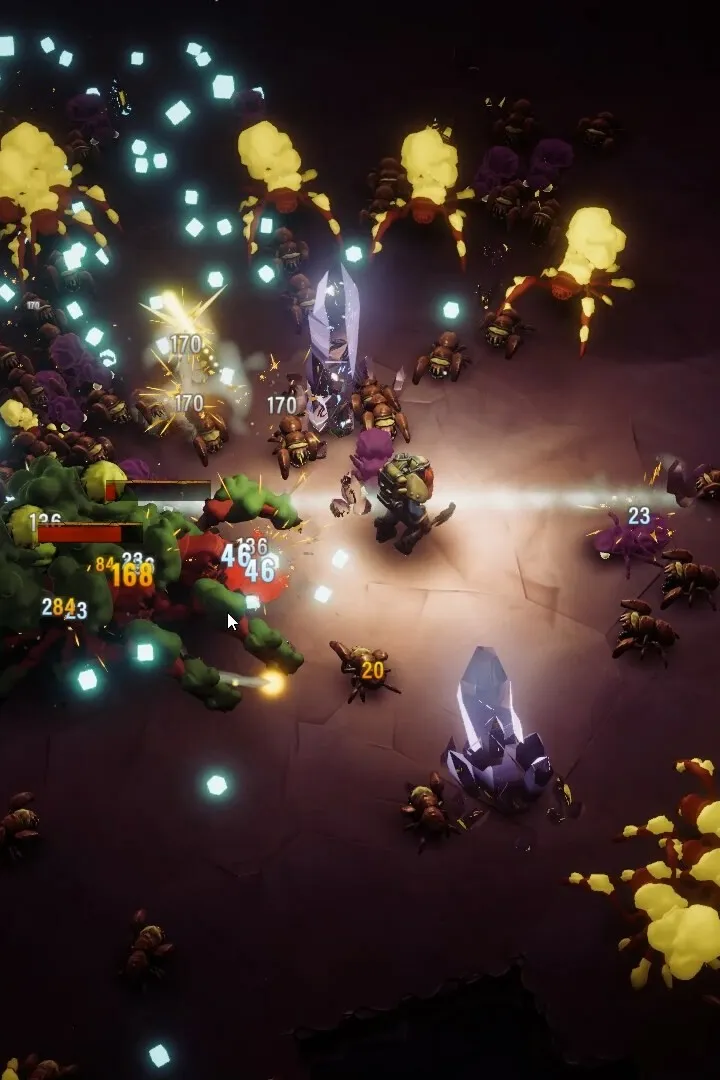
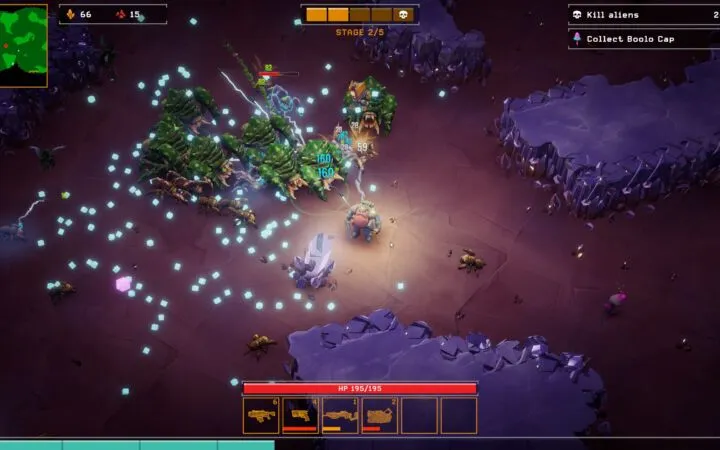
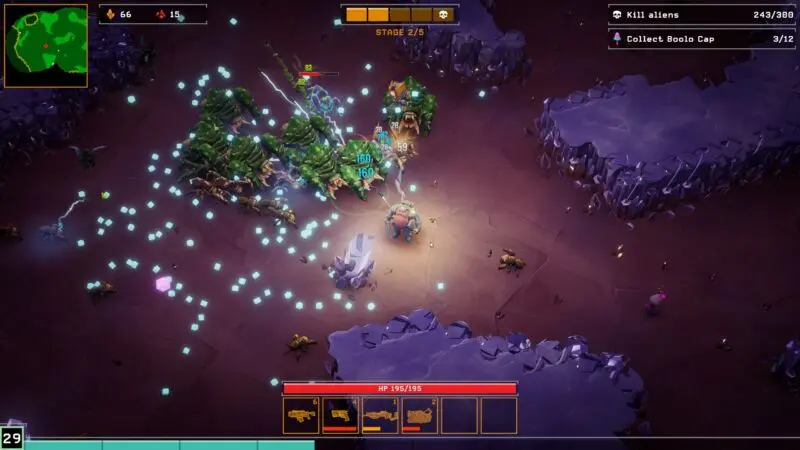
Enemy Types and Behavior
Learn enemy types and behaviors in Deep Rock Galactic: Survivor. Understand Swarmers, Mactera, and other alien threats to develop winning tactics for Hoxxes IV.
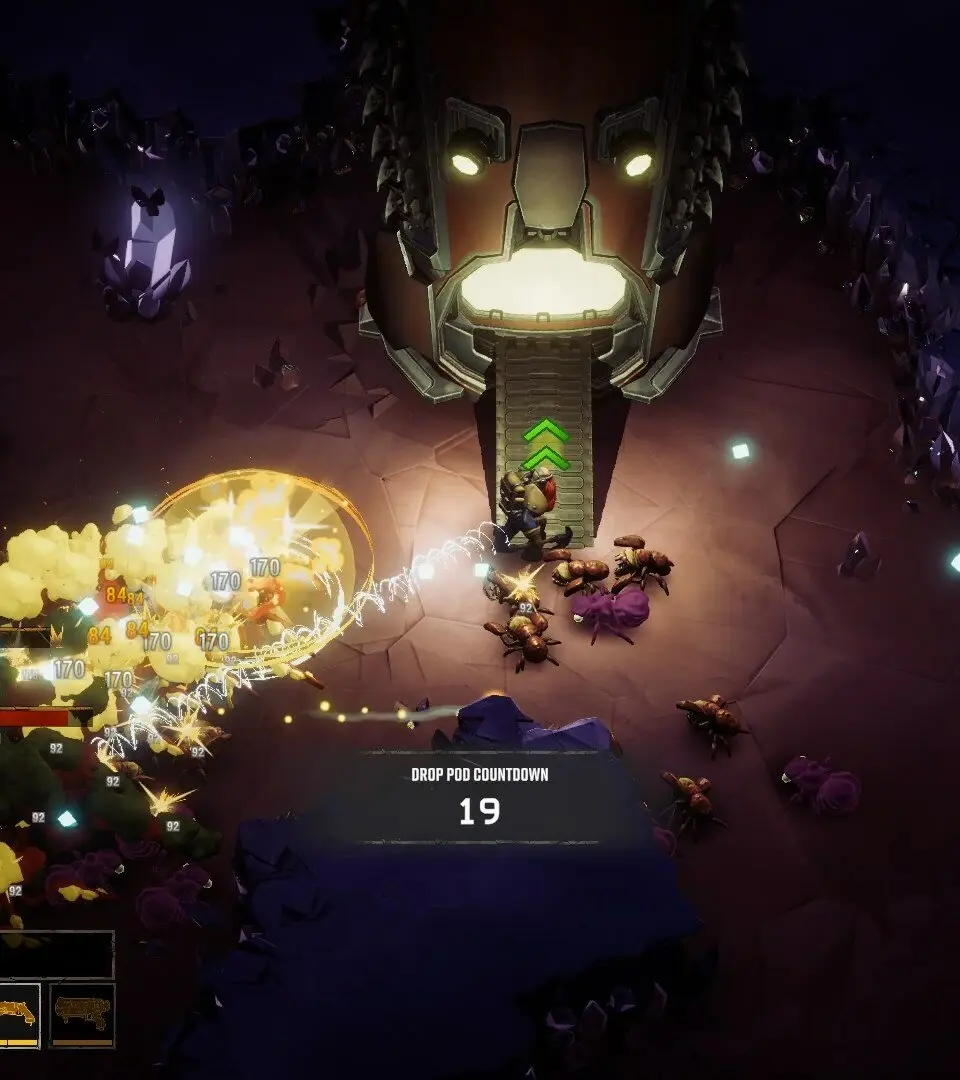
Surviving the hostile environments of Hoxxes IV requires a keen understanding of the alien threats you'll face. Each enemy type presents unique challenges, demanding specific tactics and loadouts to overcome. This section details the common foes you'll encounter and provides strategies for dealing with them effectively.

Swarmer Types
These are the bread-and-butter of any hostile alien infestation. While individually weak, their sheer numbers can quickly overwhelm an unprepared miner.
-
Glyphid Grunt: The most basic enemy. They charge directly at you.
- Behavior: Slow-moving, melee-focused. They will swarm if not dealt with quickly.
- Strategy: Any weapon can handle them efficiently. Prioritize clearing them out when they appear in large groups to prevent being surrounded. Weapons with wide area-of-effect (AoE) damage, like the Shredder Gatling Gun or Cryo Cannon, excel at clearing swarms.
-
Glyphid Grubber: Similar to Grunts but with a slightly faster movement speed.
- Behavior: Aggressive melee attackers.
- Strategy: Treat them like Grunts, but be slightly more mindful of their increased speed. A well-placed Plasma Cutter shot can take out multiple Grubbers at once.
-
Glyphid Slasher: These enemies are faster and deal more melee damage.
- Behavior: Quick, darting melee attackers. They can close the distance rapidly.
- Strategy: Keep your distance and utilize weapons that can hit multiple targets or stagger them. The Boomstick with its spread is excellent for close-quarters defense against Slashers.
Ranged Threats
These enemies prefer to keep their distance, forcing you to either close the gap or find cover.
-
Glyphid Spitballer: Launches corrosive projectiles from a distance.
- Behavior: Stationary or slow-moving, fires globs of acid that leave damaging puddles.
- Strategy: Prioritize eliminating Spitballers as soon as they are spotted. Their projectiles can be dodged, but the lingering acid pools are a significant hazard. The Engineer's PGL (Platform Gun) can be used to create temporary cover or block their line of sight.
-
Glyphid Exploder: A walking bomb that detonates when near a player.
- Behavior: Moves erratically towards players and explodes on proximity, dealing significant damage in an area.
- Strategy: Shoot them from a safe distance to detonate them before they reach you. Weapons with good single-target damage, like the Driller's Flamethrower (at range) or the Scout's M1000 Classic, are effective. Be aware of their detonation radius.
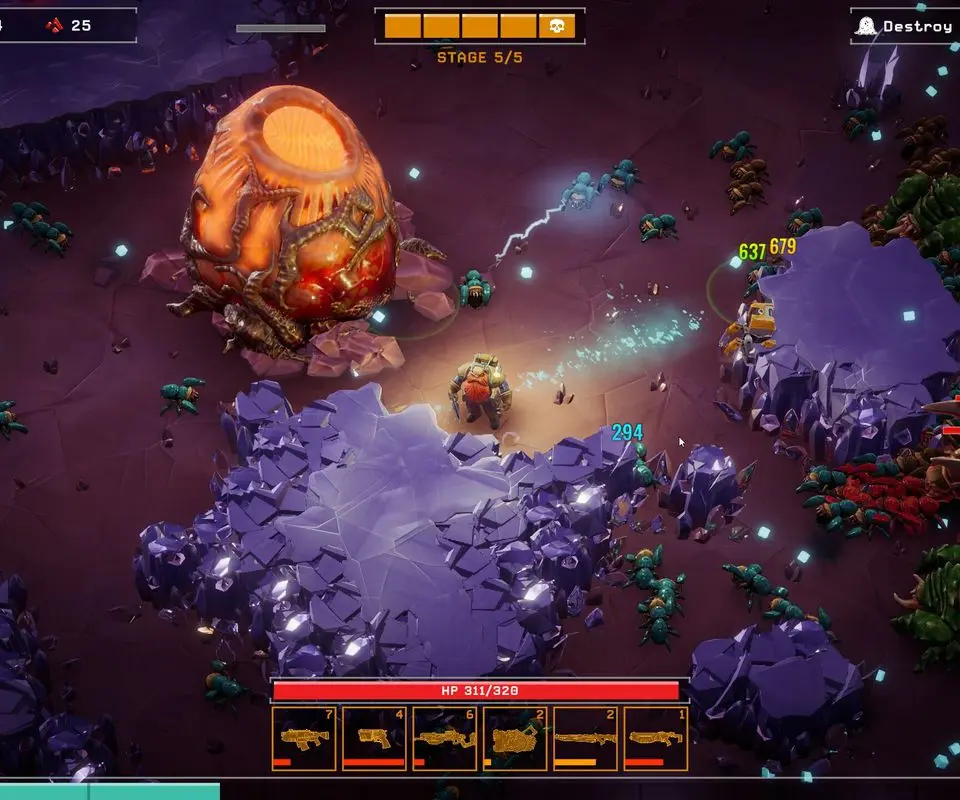
Specialized Enemies
These enemies introduce unique mechanics and require specific counters.
-
Glyphid Praetorian: A larger, tougher variant with a ranged acid attack and a powerful melee slam.
- Behavior: A mini-boss type. Slow but heavily armored, fires a cone of acid, and can perform a devastating ground slam.
- Strategy: Focus fire on its weak points (usually the head or glowing sacs). Weapons like the Minigun or Rocket Launcher are good for sustained damage. Keep moving to avoid its acid spray and ground slam.
-
Glyphid Dreadnought (various forms): These are boss-level encounters.
- Behavior: Highly aggressive, with multiple attack phases and significant health pools. Specific behaviors vary by Dreadnought type (e.g., shell-based defenses, burrowing attacks).
- Strategy: These fights are endurance tests. Coordinate with your team if playing multiplayer. Utilize your highest damage output weapons and any Grenades or Special Ammo you have. Prioritize dodging their powerful attacks and exploiting any openings. Items like the Resupply Pod are crucial for sustaining yourself during these encounters.
Remember to always be aware of your surroundings and listen for audio cues. Many enemies have distinct sounds that can alert you to their presence before they become visible.
Similar guides you might like


100% Human-Written. AI Fact-Checked. Community Verified. Learn how AntMag verifies content